> ## Documentation Index
> Fetch the complete documentation index at: https://docs.firmhouse.com/llms.txt
> Use this file to discover all available pages before exploring further.
# Email template tags reference
> Practical examples of Firmhouse email template tags you can use to inject dynamic content like customer details, orders, and invoices into emails.
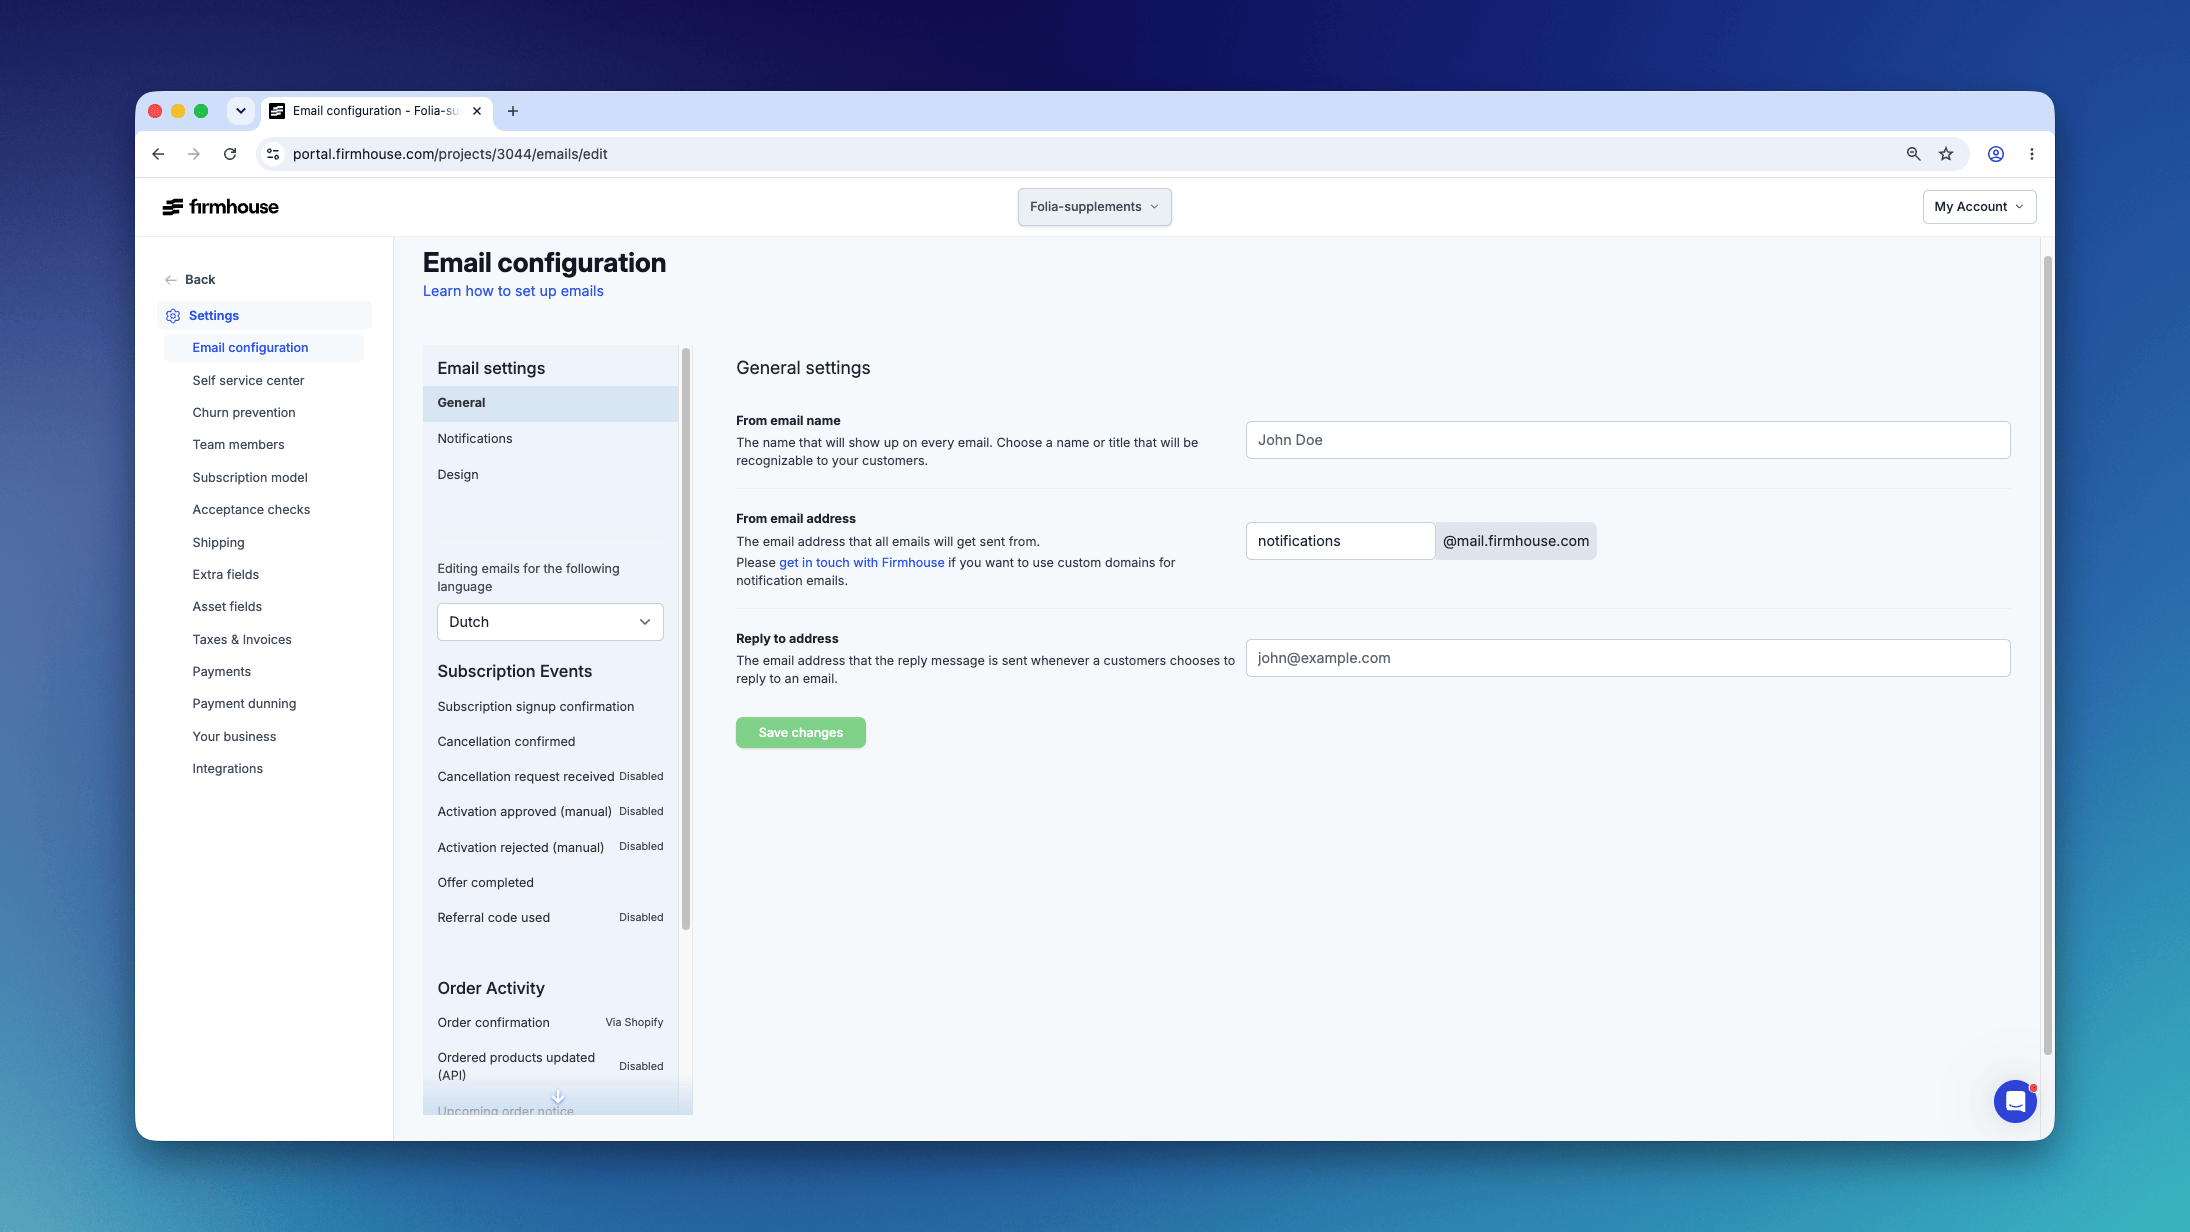
You can configure dynamic content of your emails sent out to your subscribers via the **Email Configuration** page under **Settings**. This article shows practical examples of template tags you can use to load dynamic relevant content into your email body.
 For the complete list of available tags, see [Dynamic Email Liquid Tags](liquid-tags).
## Dynamic Tags
Tags are formatted with curly braces `{{ }}`. By using the correct variable name (e.g., `{{plan.name}}`) together with the curly braces, you can show relevant dynamic content to your customer. Depending on the email template, there are several categories of dynamic content available:
* **Plan**: Current customer plan information like `name` and `monthly_price`
* **Project**: Your `company` and `product` names
* **Subscription**: Subscriber details like `full_name` and `full_address`
* **Extra fields**: Optional extra fields added to your project like `date of birth`
The category tags look like: `{{plan.name}}`, `{{subscription.full_name}}`, `{{extra_fields.birthday}}`
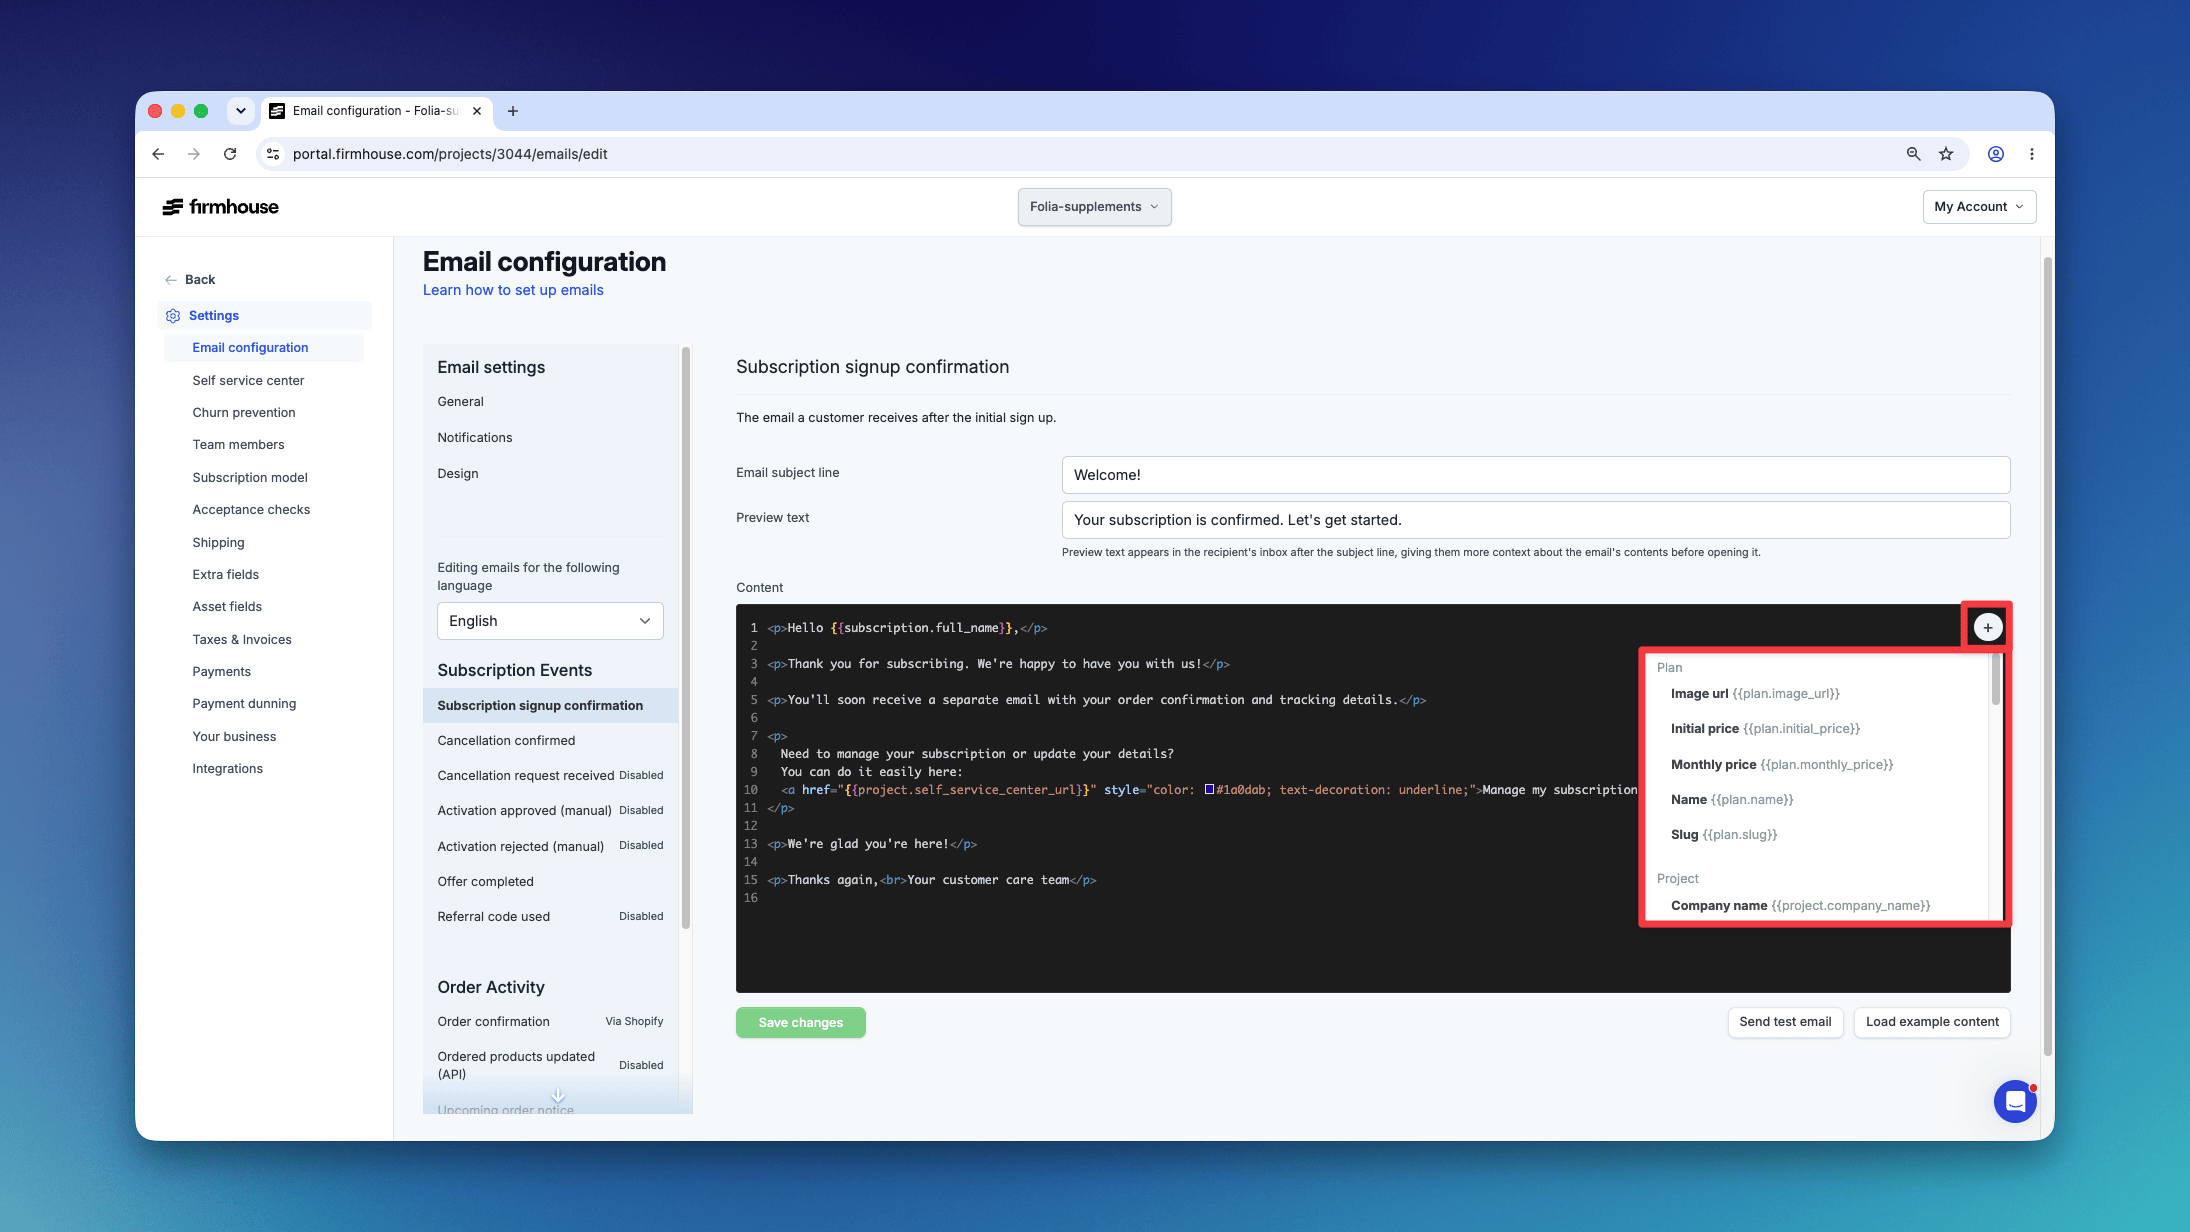
Available tags depend on the type of email that is being sent and are available under the plus sign in the email configuration edit box.
For the complete list of available tags, see [Dynamic Email Liquid Tags](liquid-tags).
## Dynamic Tags
Tags are formatted with curly braces `{{ }}`. By using the correct variable name (e.g., `{{plan.name}}`) together with the curly braces, you can show relevant dynamic content to your customer. Depending on the email template, there are several categories of dynamic content available:
* **Plan**: Current customer plan information like `name` and `monthly_price`
* **Project**: Your `company` and `product` names
* **Subscription**: Subscriber details like `full_name` and `full_address`
* **Extra fields**: Optional extra fields added to your project like `date of birth`
The category tags look like: `{{plan.name}}`, `{{subscription.full_name}}`, `{{extra_fields.birthday}}`
Available tags depend on the type of email that is being sent and are available under the plus sign in the email configuration edit box.
 Some template tags require a bit of HTML to make your emails look professional.
## Example: Cancellation URL
To configure a link like the URL to cancel a subscription, you can add some HTML to make a link more "human readable":
```html theme={null}
Cancel my subscription
```
The `{{subscription.cancellation_url}}` is the dynamic tag used and "Cancel my subscription" is the text that will be displayed to your customer.
## Example: Outstanding Invoices overview
You can display all outstanding invoices to your customer using the `outstanding_invoices` variable. To display all the invoices and create a separate line with the invoice data, use the `{% %}` braces (instead of just `{{ }}` for displaying data).
The basic structure is:
```liquid theme={null}
{% for invoice in outstanding_invoices %}
...display invoice data like {{invoice.amount}}...
{% endfor %}
```
Here's a complete example to display outstanding invoices with their amount, current status, and a link to pay:
```html theme={null}
Some template tags require a bit of HTML to make your emails look professional.
## Example: Cancellation URL
To configure a link like the URL to cancel a subscription, you can add some HTML to make a link more "human readable":
```html theme={null}
Cancel my subscription
```
The `{{subscription.cancellation_url}}` is the dynamic tag used and "Cancel my subscription" is the text that will be displayed to your customer.
## Example: Outstanding Invoices overview
You can display all outstanding invoices to your customer using the `outstanding_invoices` variable. To display all the invoices and create a separate line with the invoice data, use the `{% %}` braces (instead of just `{{ }}` for displaying data).
The basic structure is:
```liquid theme={null}
{% for invoice in outstanding_invoices %}
...display invoice data like {{invoice.amount}}...
{% endfor %}
```
Here's a complete example to display outstanding invoices with their amount, current status, and a link to pay:
```html theme={null}
{% for invoice in outstanding_invoices %}
| {{invoice.number}} |
{{invoice.amount}} |
{{invoice.status}} |
Show invoice |
{% endfor %}
```
## Example: Show text only after subscription is 90 days old
Sometimes you only want a piece of information to be available when a subscription has been running for some time. This can be useful for displaying extra services or motivating subscribers to re-order.
In this example, we calculate if the subscription is at least 90 days old, then only show the information for those subscribers:
```liquid theme={null}
{% assign contract_start = subscription.subscription_started_at | date: '%s' %}
{% assign three_months_ago = 'now' | date: '%s' | minus: 7776000 | date: '%s' %}
{% if three_months_ago > contract_start %}
YES! You are eligible for our service upgrade
{% else %}
Not yet a subscriber for three months
{% endif %}
```
The `{% assign %}` command creates a temporary variable and the pipe `|` puts this value through a "filter". The code works as follows:
* Set `contract_start` to the subscription start date, formatted as seconds since 1970 (the `%s` format)
* Set `three_months_ago` to the current date/time, formatted as seconds from 1970, subtract 7,776,000 seconds (60*60*24\*90), and format it again as a date in seconds
* The `{% if three_months_ago > contract_start %}` compares the two values and shows "yes" if the subscription is older than 90 days or "no" if younger