Create an Integration in Veriff
First, you need to create an Integration in your Veriff account. After creating the integration, you can obtain the necessary API credentials that you will need to set up the Veriff app in your Firmhouse project.Steps
- Log in to your Veriff account
- Click Workspace on the sidebar, and select All integrations
- Click Add integration
- Enter a name for the integration (for example, “Firmhouse”)
- Choose the integration type - you can choose Test integration or Live integration. With the Test integration, you can test how the flow works without being charged for verification checks, but you will need to change the status of each initiated identification check manually in your Veriff account. Learn more in Veriff’s help center article.
- Click Add integration to complete the setup
Configure the Veriff App in Firmhouse
Steps
- In your Firmhouse project, go to Apps in the sidebar
- Find the Veriff app card and click Configure
- Select the Environment and enter your Veriff API key and Veriff Shared Secret - you can find these on the detail page of the integration in your Veriff account
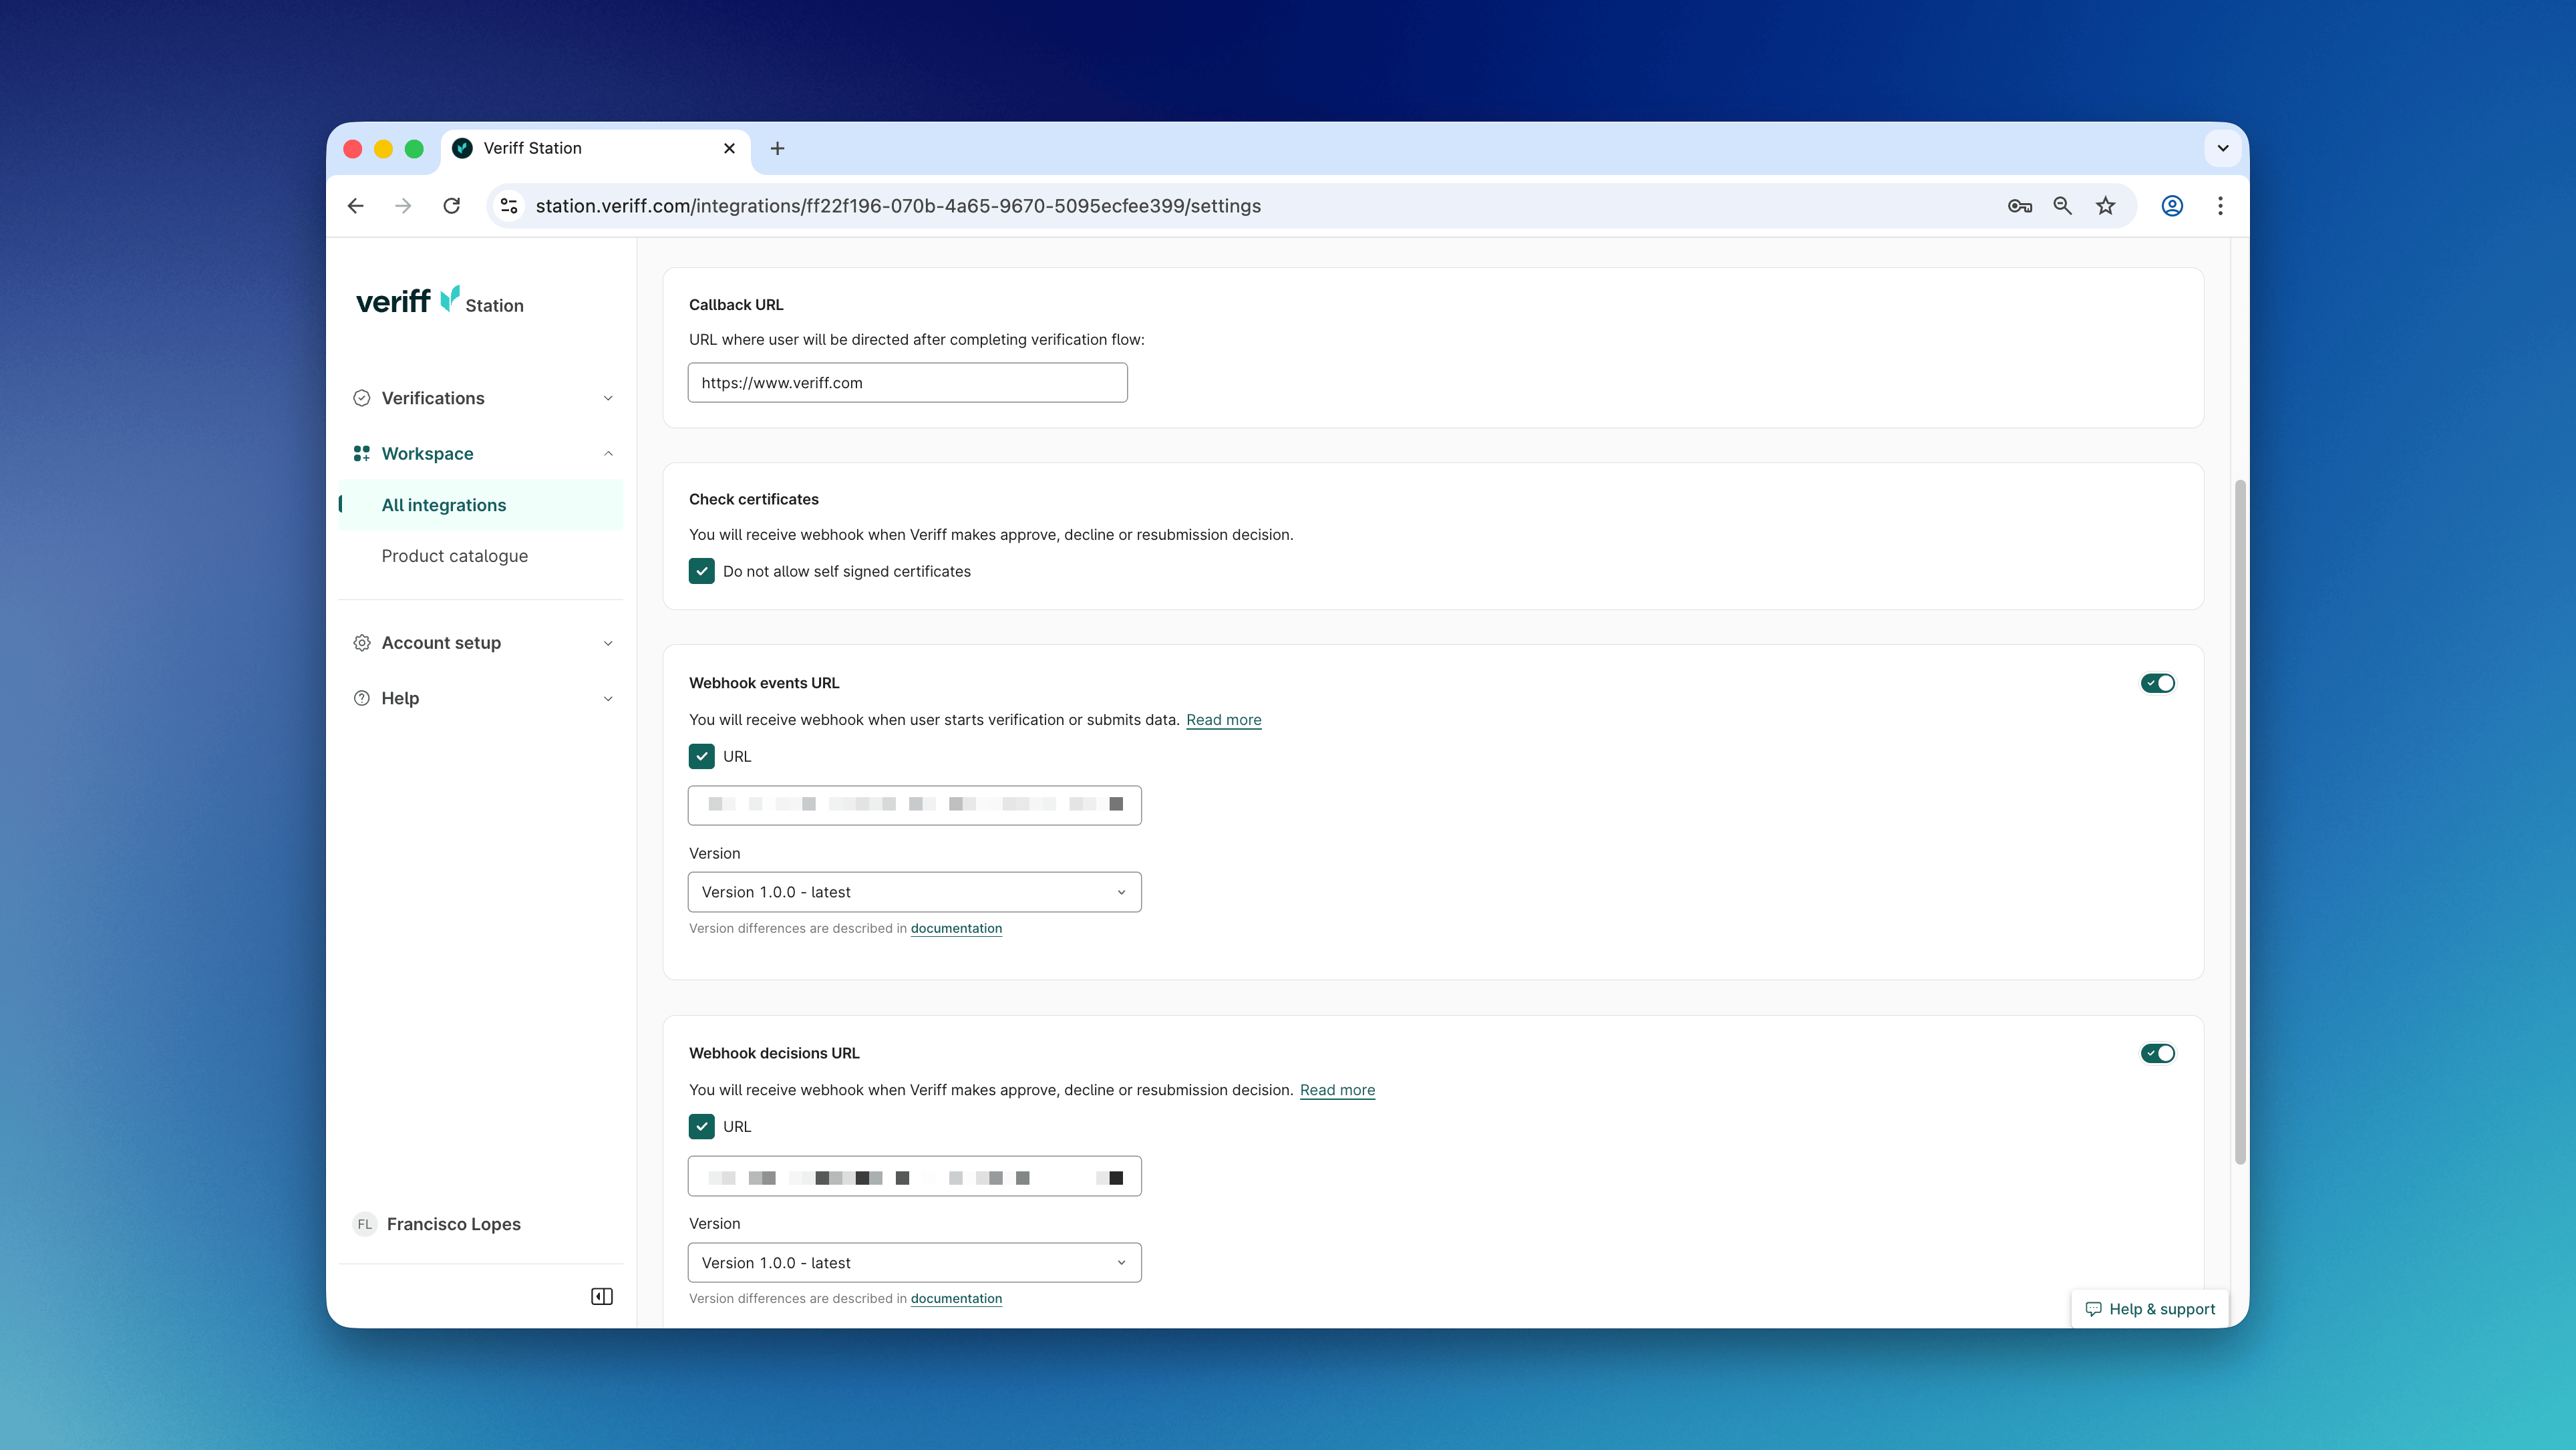
- Copy and paste the value from Webhook URL into the appropriate places in the Integration in your Veriff account

Set Up an Acceptance Check for Veriff
Now that you have configured the connection between Firmhouse and Veriff, you can set up an acceptance check in Firmhouse. This way you can keep track of which customers completed verifying their identity via Veriff and thus manually or automatically accept the customer for their subscription or order. Pending, completed, or failed acceptance checks will be visible from the Customer detail page after they signed up.Steps
- Go to Subscription model, under Settings in the sidebar
- Next to Activation strategy, select Manual activation
- Scroll to the bottom of the page, and press Update project
- Go to Acceptance checks in the sidebar of your Firmhouse project
- Click New acceptance check
- On Acceptance check type, select Identity verification
- Give the acceptance check a name (for example “Identity verified via Veriff”)
- Select Veriff from the Identity verification service provider dropdown
- Click Save acceptance check to complete the setup
Informing Your Customer to Perform Identity Verification
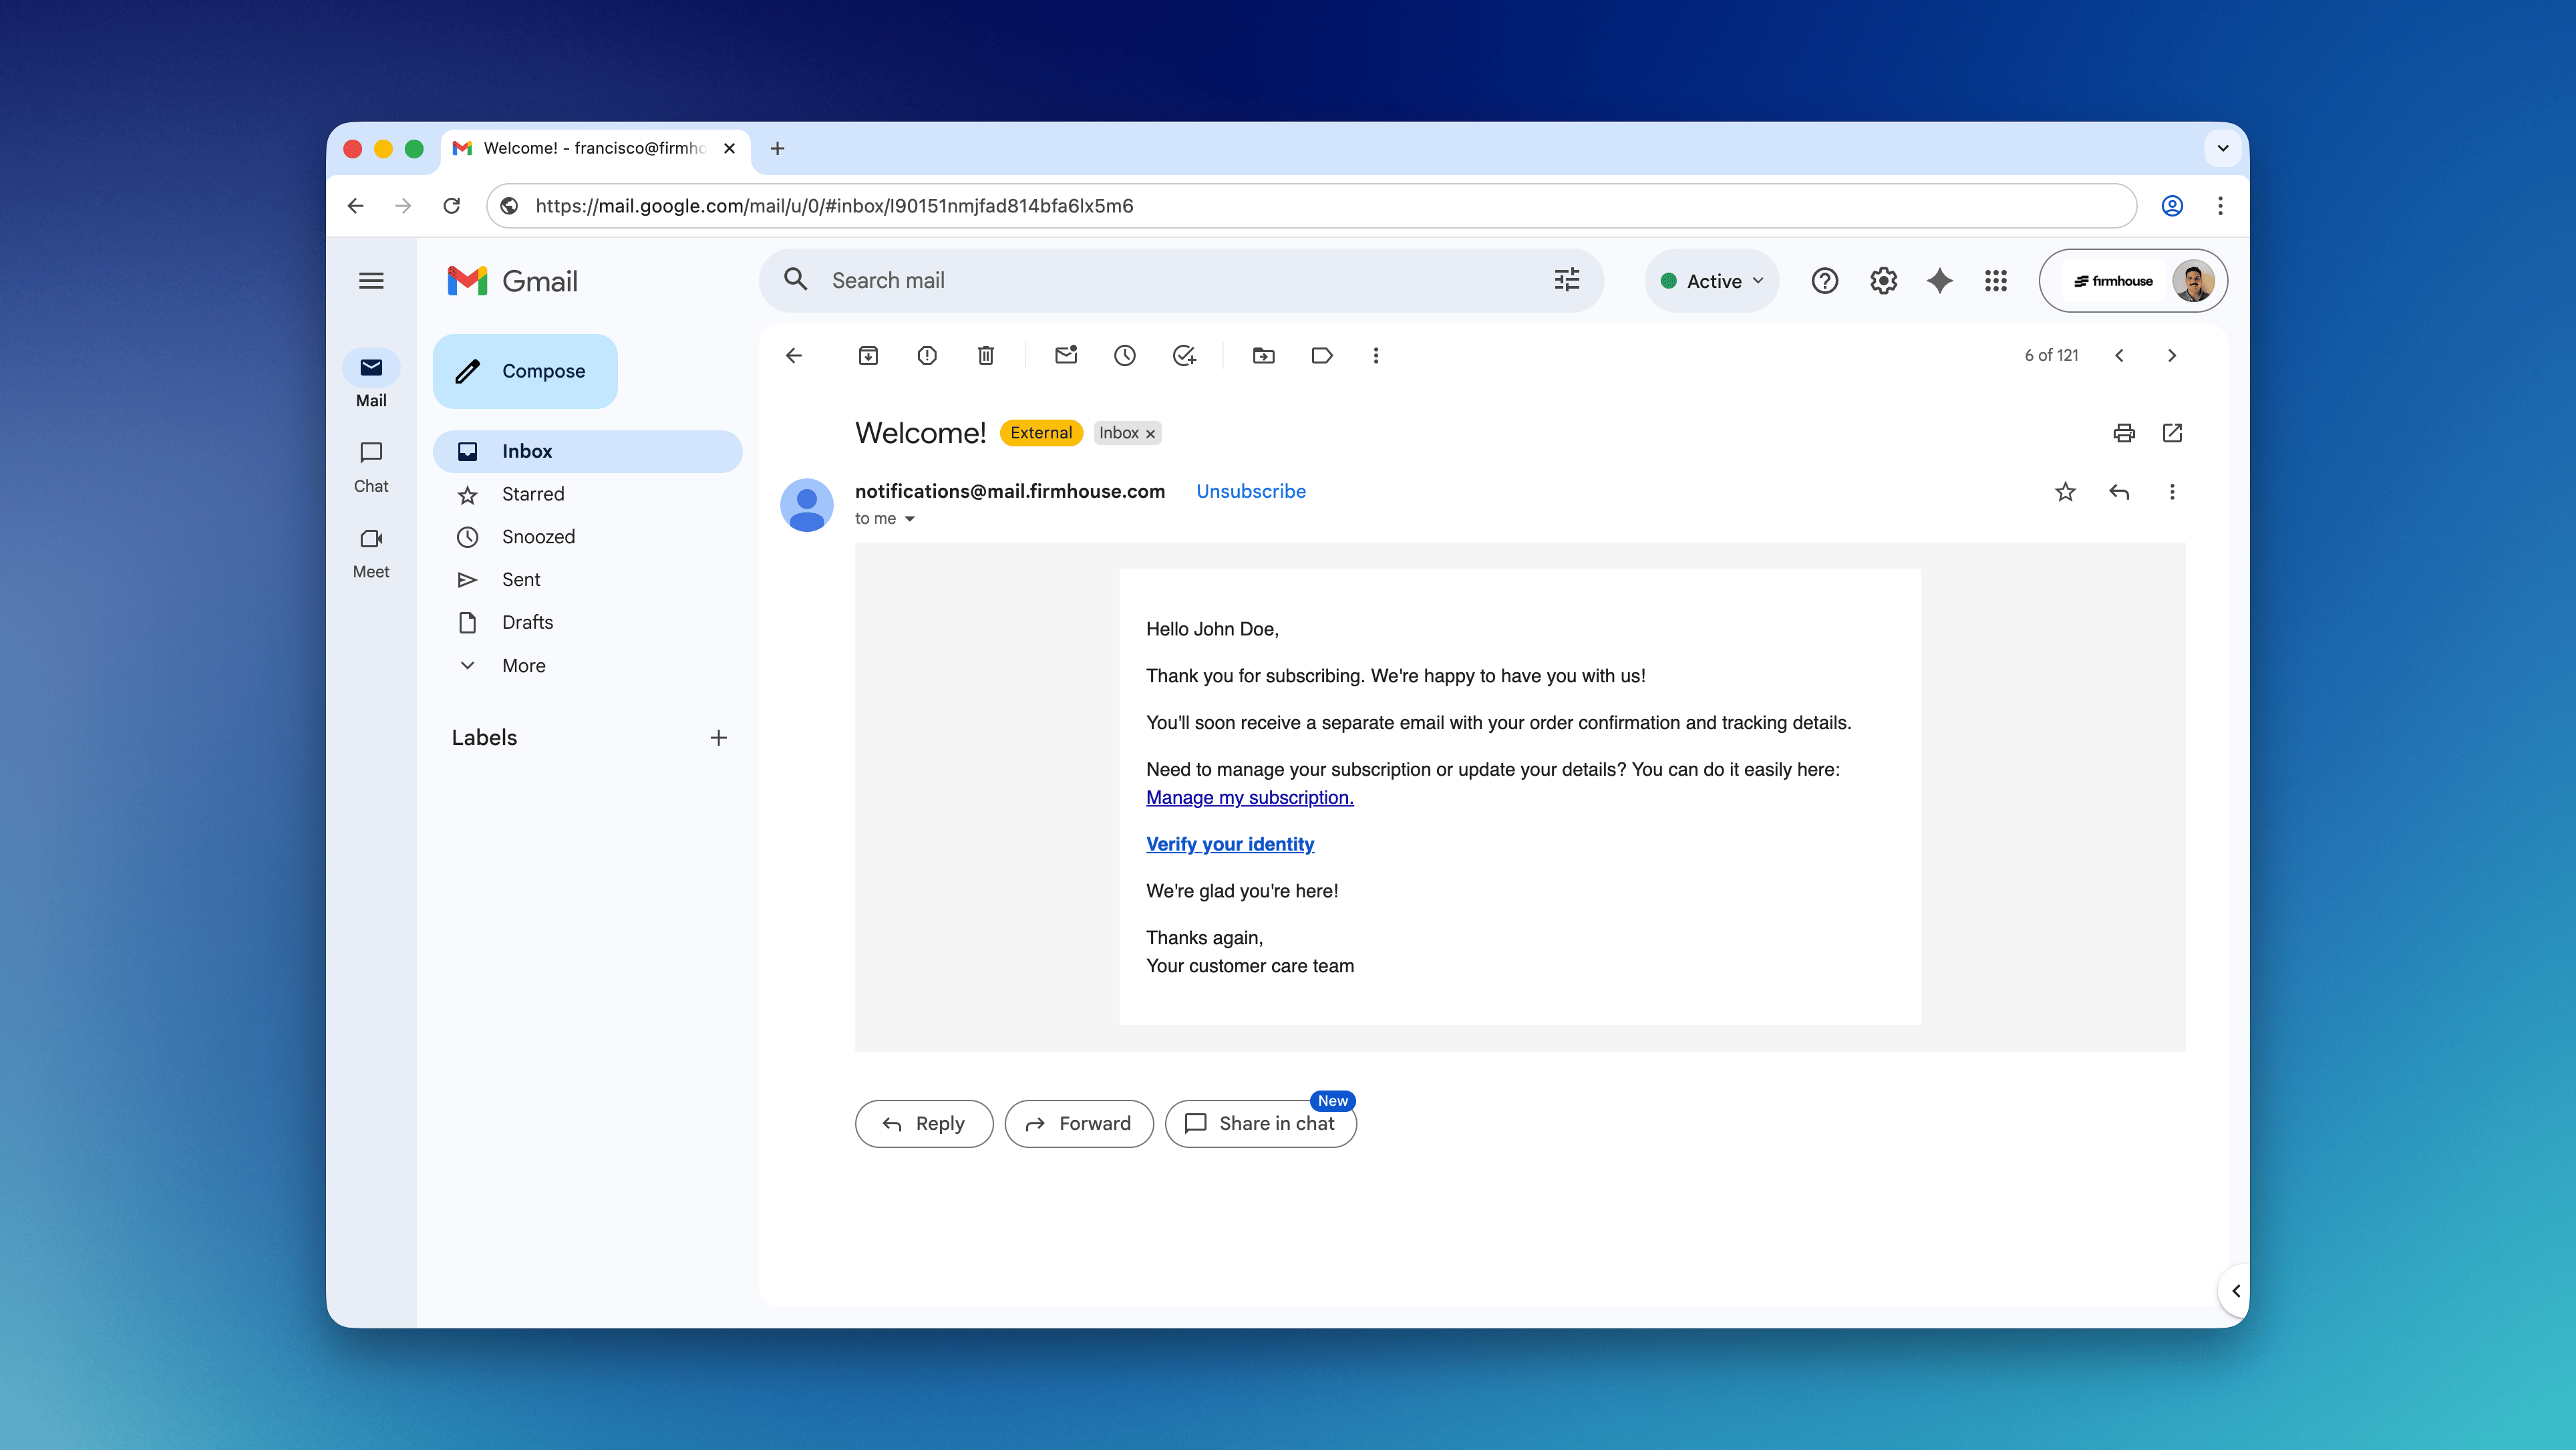
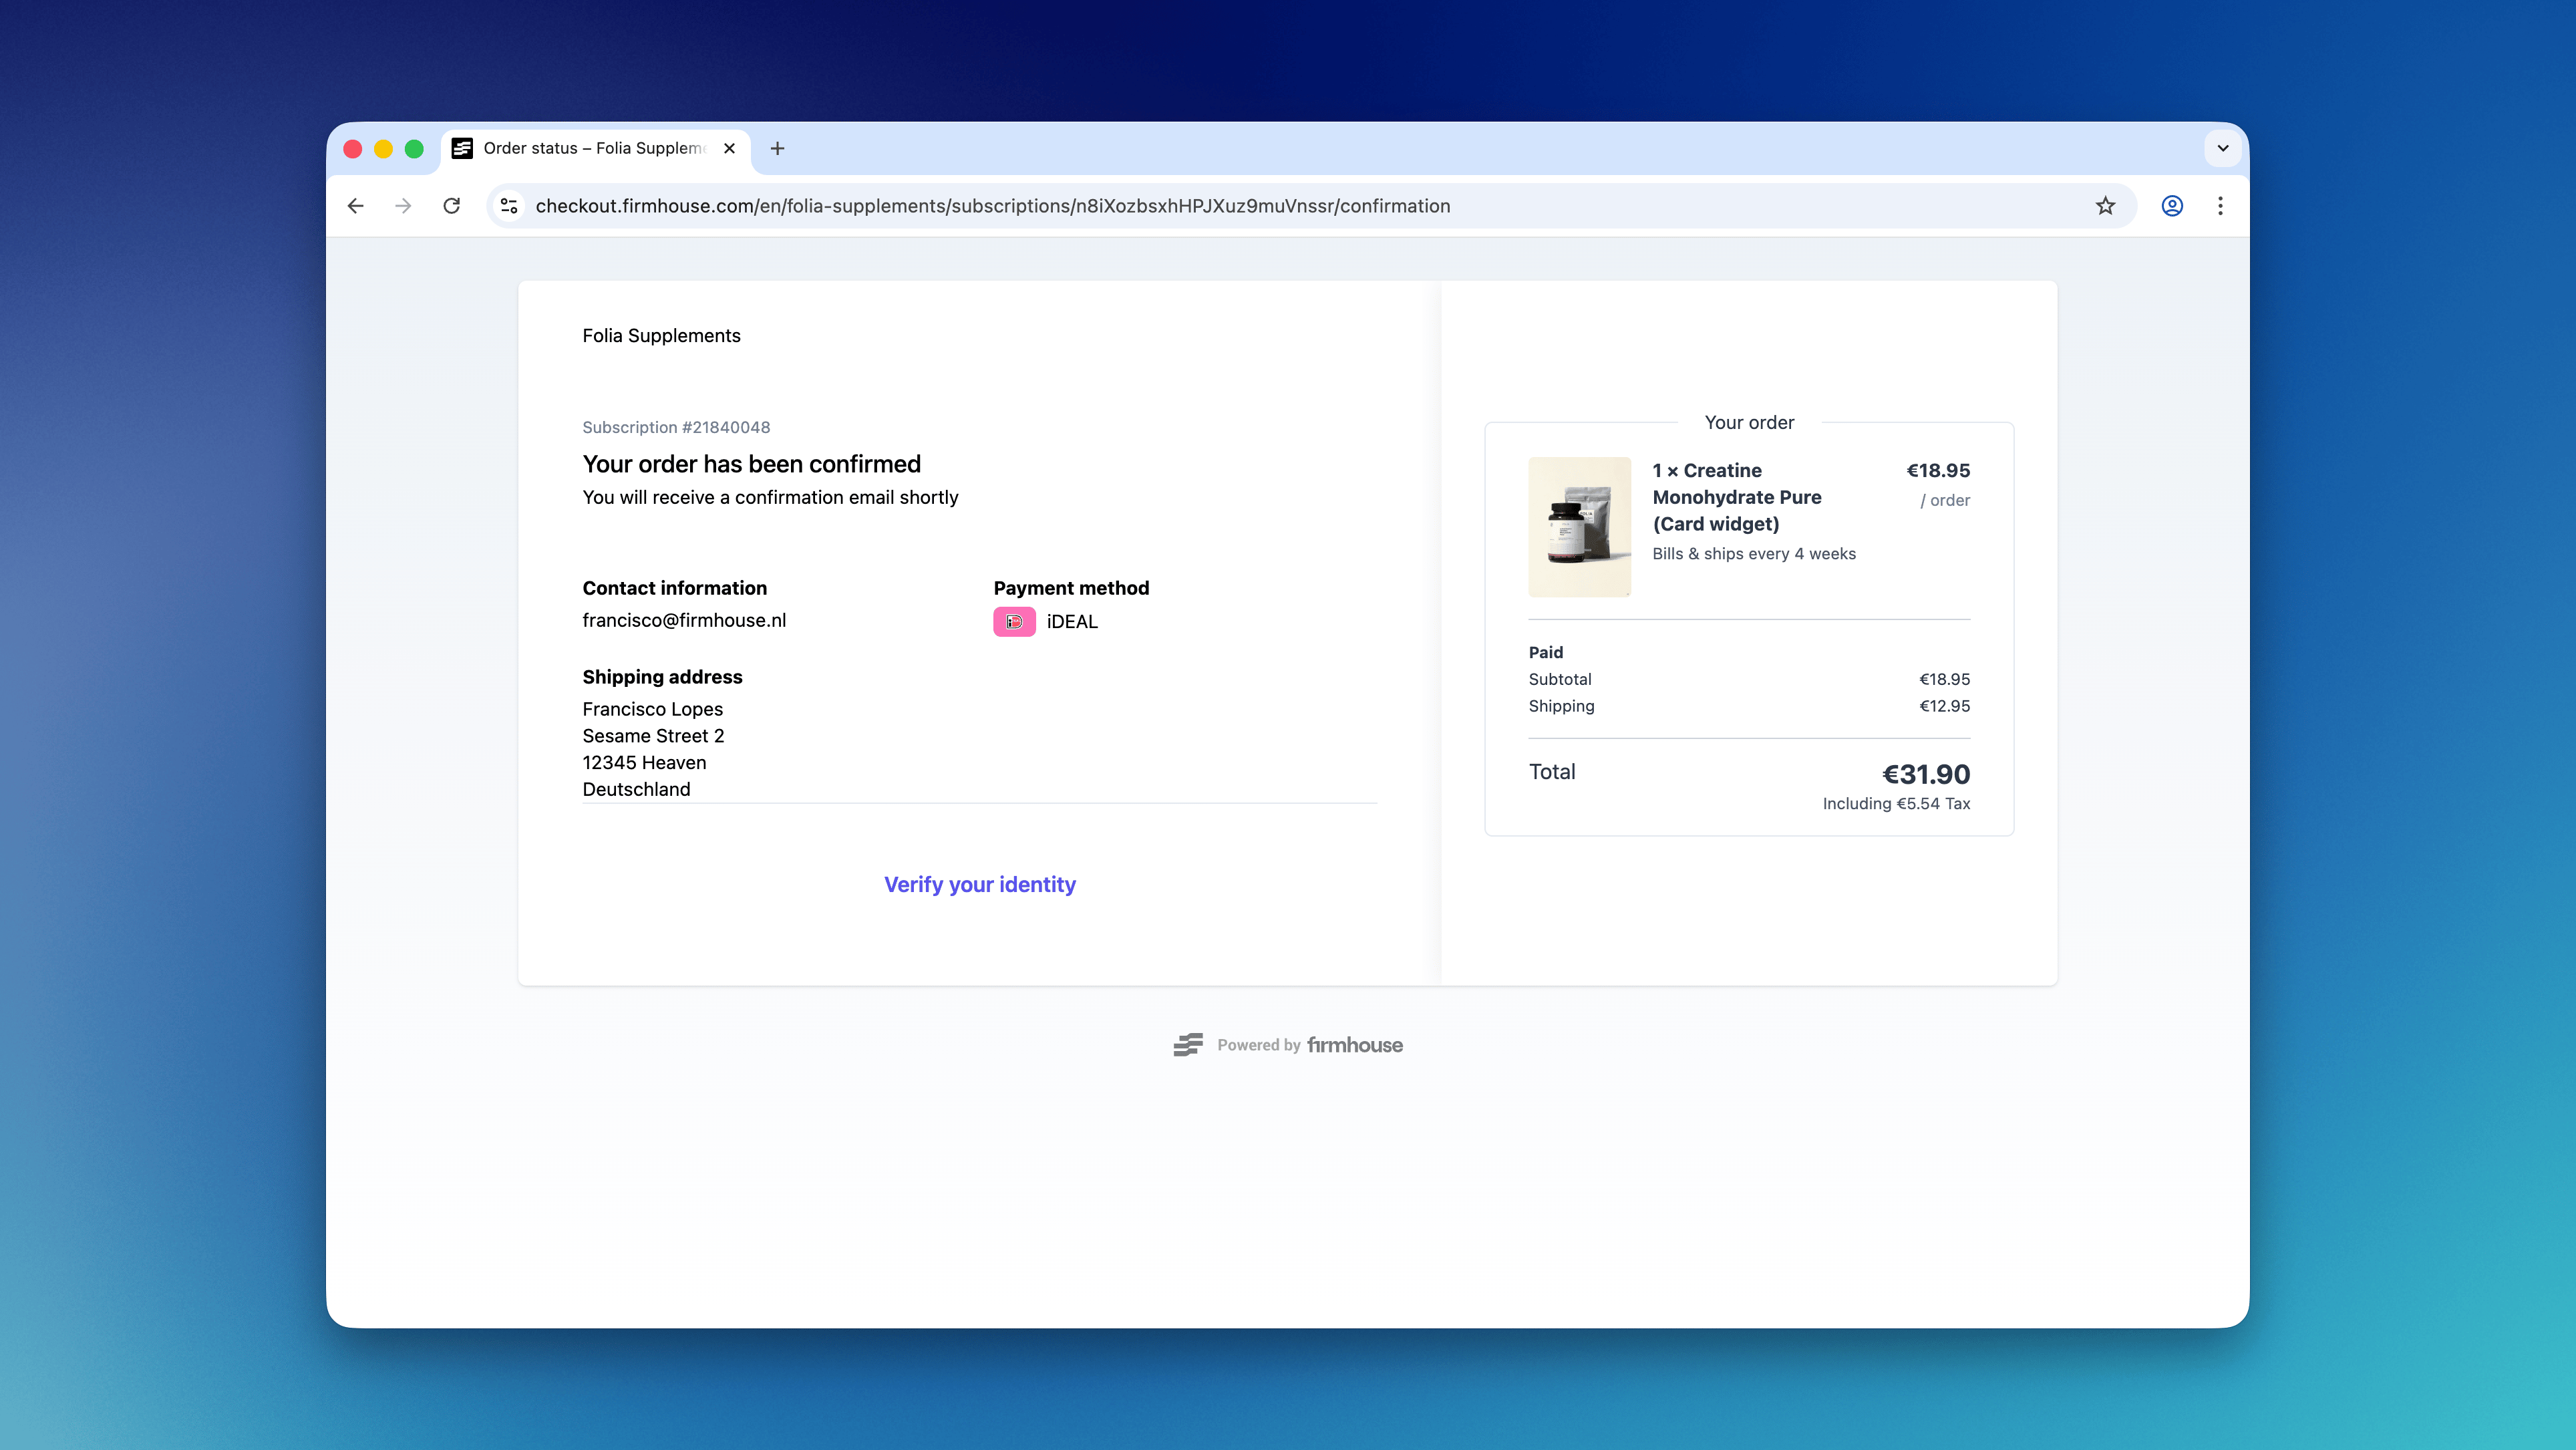
When your customers sign up and have made their initial payment, they need to be informed that you want to verify their identity before you onboard them to your subscription or send out their products. By adding a verification link to your customer communications, you can guide them directly to the identity verification flow. You can include this link in the signup confirmation email by adding additional instructions or display it on the thank you/confirmation page in Firmhouse Checkout. To display a Verify your identity link, add the following code to the email or page content:Redirect to another page after verification
Use thewith_veriff_return_url filter to send the customer to another HTTPS page after they finish the Veriff flow. You can use subscription variables to make the destination unique for each customer.
For example, this link sends the subscription token and locale to an external questionnaire: