

Extra Field Configuration Options
When attempting to create a new Extra field, you will have to configure several settings. Let’s dive into each of them and their function.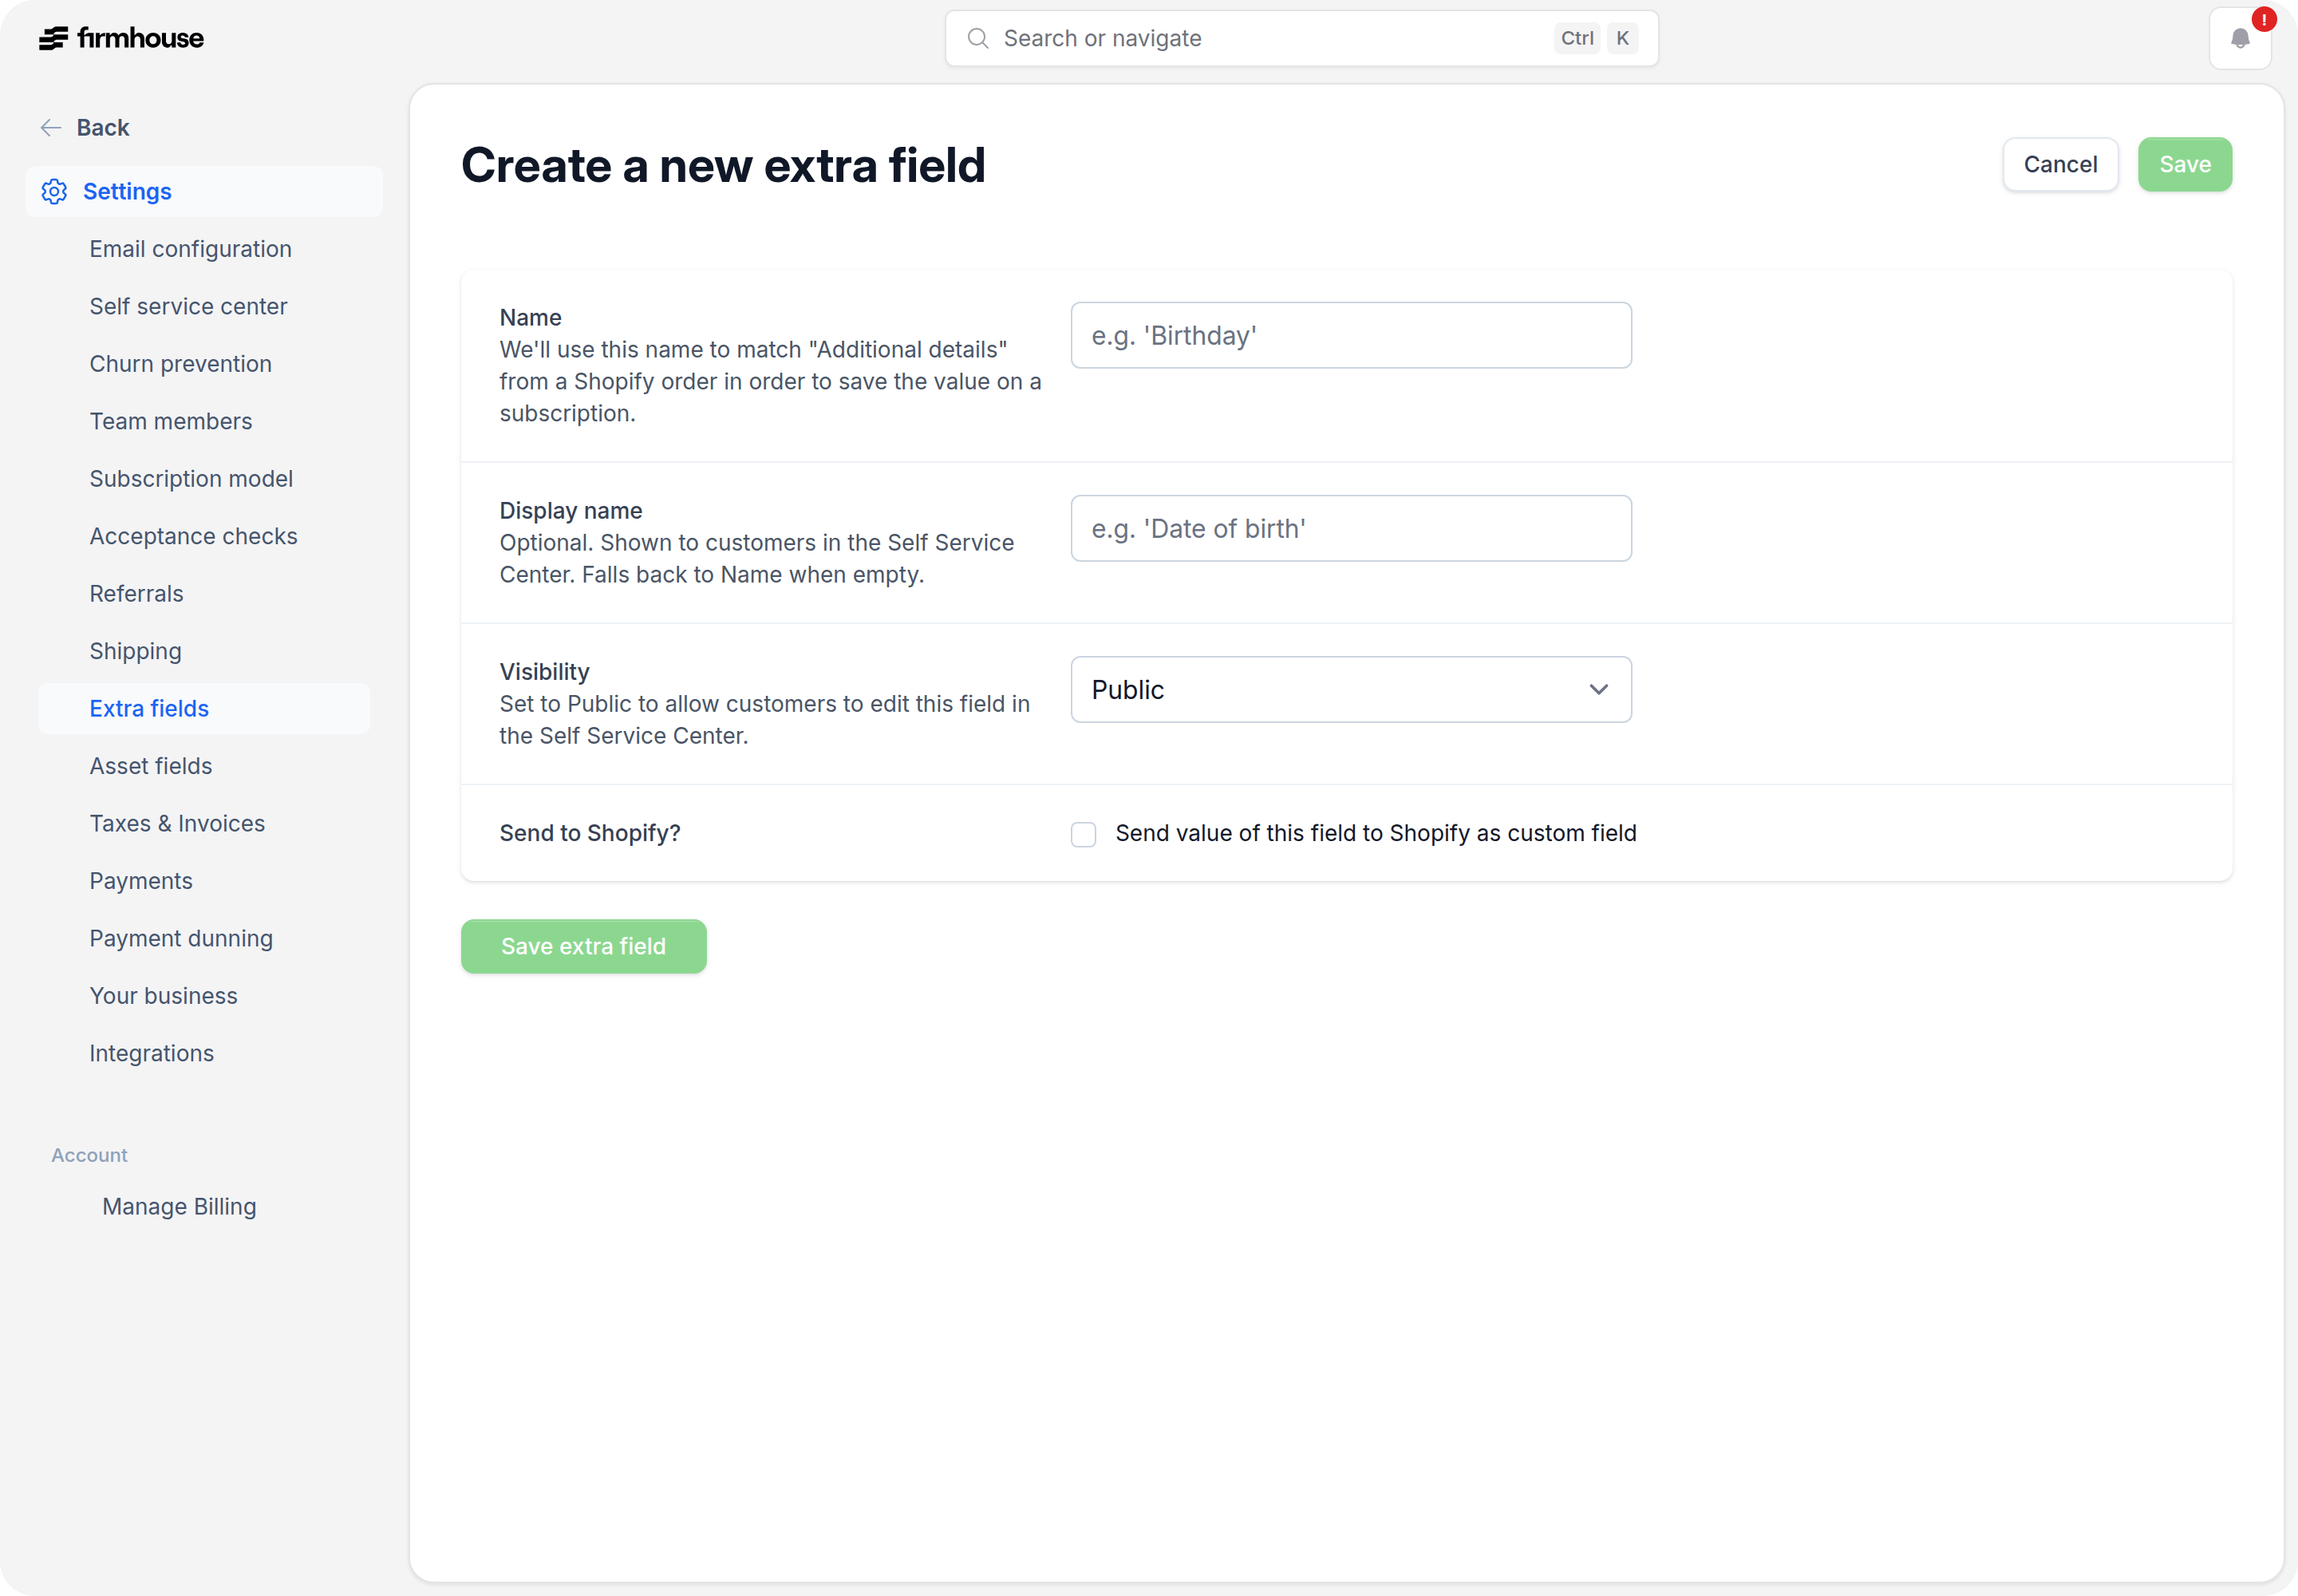
Field Types
Every extra field has a type. The type influences how the field is shown on Checkout or when editing through the Firmhouse Portal. It also dictates what type of information you need to pass on when setting a field via the API. Currently supported types are:- Short text - shows as single-line entry
- Long text - shows as multi-line text box
- Date - shows a date picker
- Dropdown - select from a list of pre-defined values
Visibility
A field is either Public or Internal. Public fields are automatically shown on Checkout. They can be entered and modified by the customer at this point. Internal fields are private fields. They can only be seen and edited in the Portal or through an API key with write access.Prefill public field values from the checkout URL
On Firmhouse Checkout, a public extra field can be prefilled from a URL parameter when the key insideextra_fields matches the extra field name. This is useful when a quiz, form, campaign page, or other pre-checkout flow needs to pass a value into the subscription.
For example, if you create an extra field named bmi, you can send customers to checkout with ?extra_fields[bmi]=27 and Firmhouse stores that value on the subscription.
If the value should not be edited by customers, hide the field in your checkout custom code after it has been prefilled. Use one general-purpose extra field if you need to pass different kinds of custom values through the same flow.
Required or Not
A field can be set to be required. If a field is required an error message will be displayed at Checkout if an empty value is entered. The API will also return a validation error message if the field is blank or not passed in.Purpose (Only with Certain Integrations)
When certain integrations are enabled on your project, you can set a field’s Purpose. The purpose setting is used to inform external or 3rd party integrations of what the content of the field means. This is useful when the field’s name might be different or customized in a non-generic way. By setting the purpose there’s a uniform way for external integrations to know for what use case the field is used so that integrations can explicitly look for the field’s value depending on the use case. Currently supported values are:- Phone number
Shopify app-enabled projects
If your project uses the Shopify app, extra fields can only be used to map Shopify order Additional details (customAttributes) to subscription data.
In Shopify app-enabled projects:
- create a field with the exact same name as the key in Shopify Additional details
- fields are used only for this mapping flow
- values are stored as internal long text by default
- the value is saved on the subscription when names match
What this means in practice
For Shopify app-enabled projects, Firmhouse does not automatically render extra fields in these places:- the Self Service Center
- the standard Shopify checkout
- the Firmhouse-managed parts of the Shopify storefront
customAttributes).
The most common setup is:
- Add a custom field on the cart page or another storefront step before checkout.
- Save that value into Shopify Additional details (
customAttributes). - Create a Firmhouse extra field with the exact same name so Firmhouse can copy that value onto the subscription.
Create an Extra Field
Steps
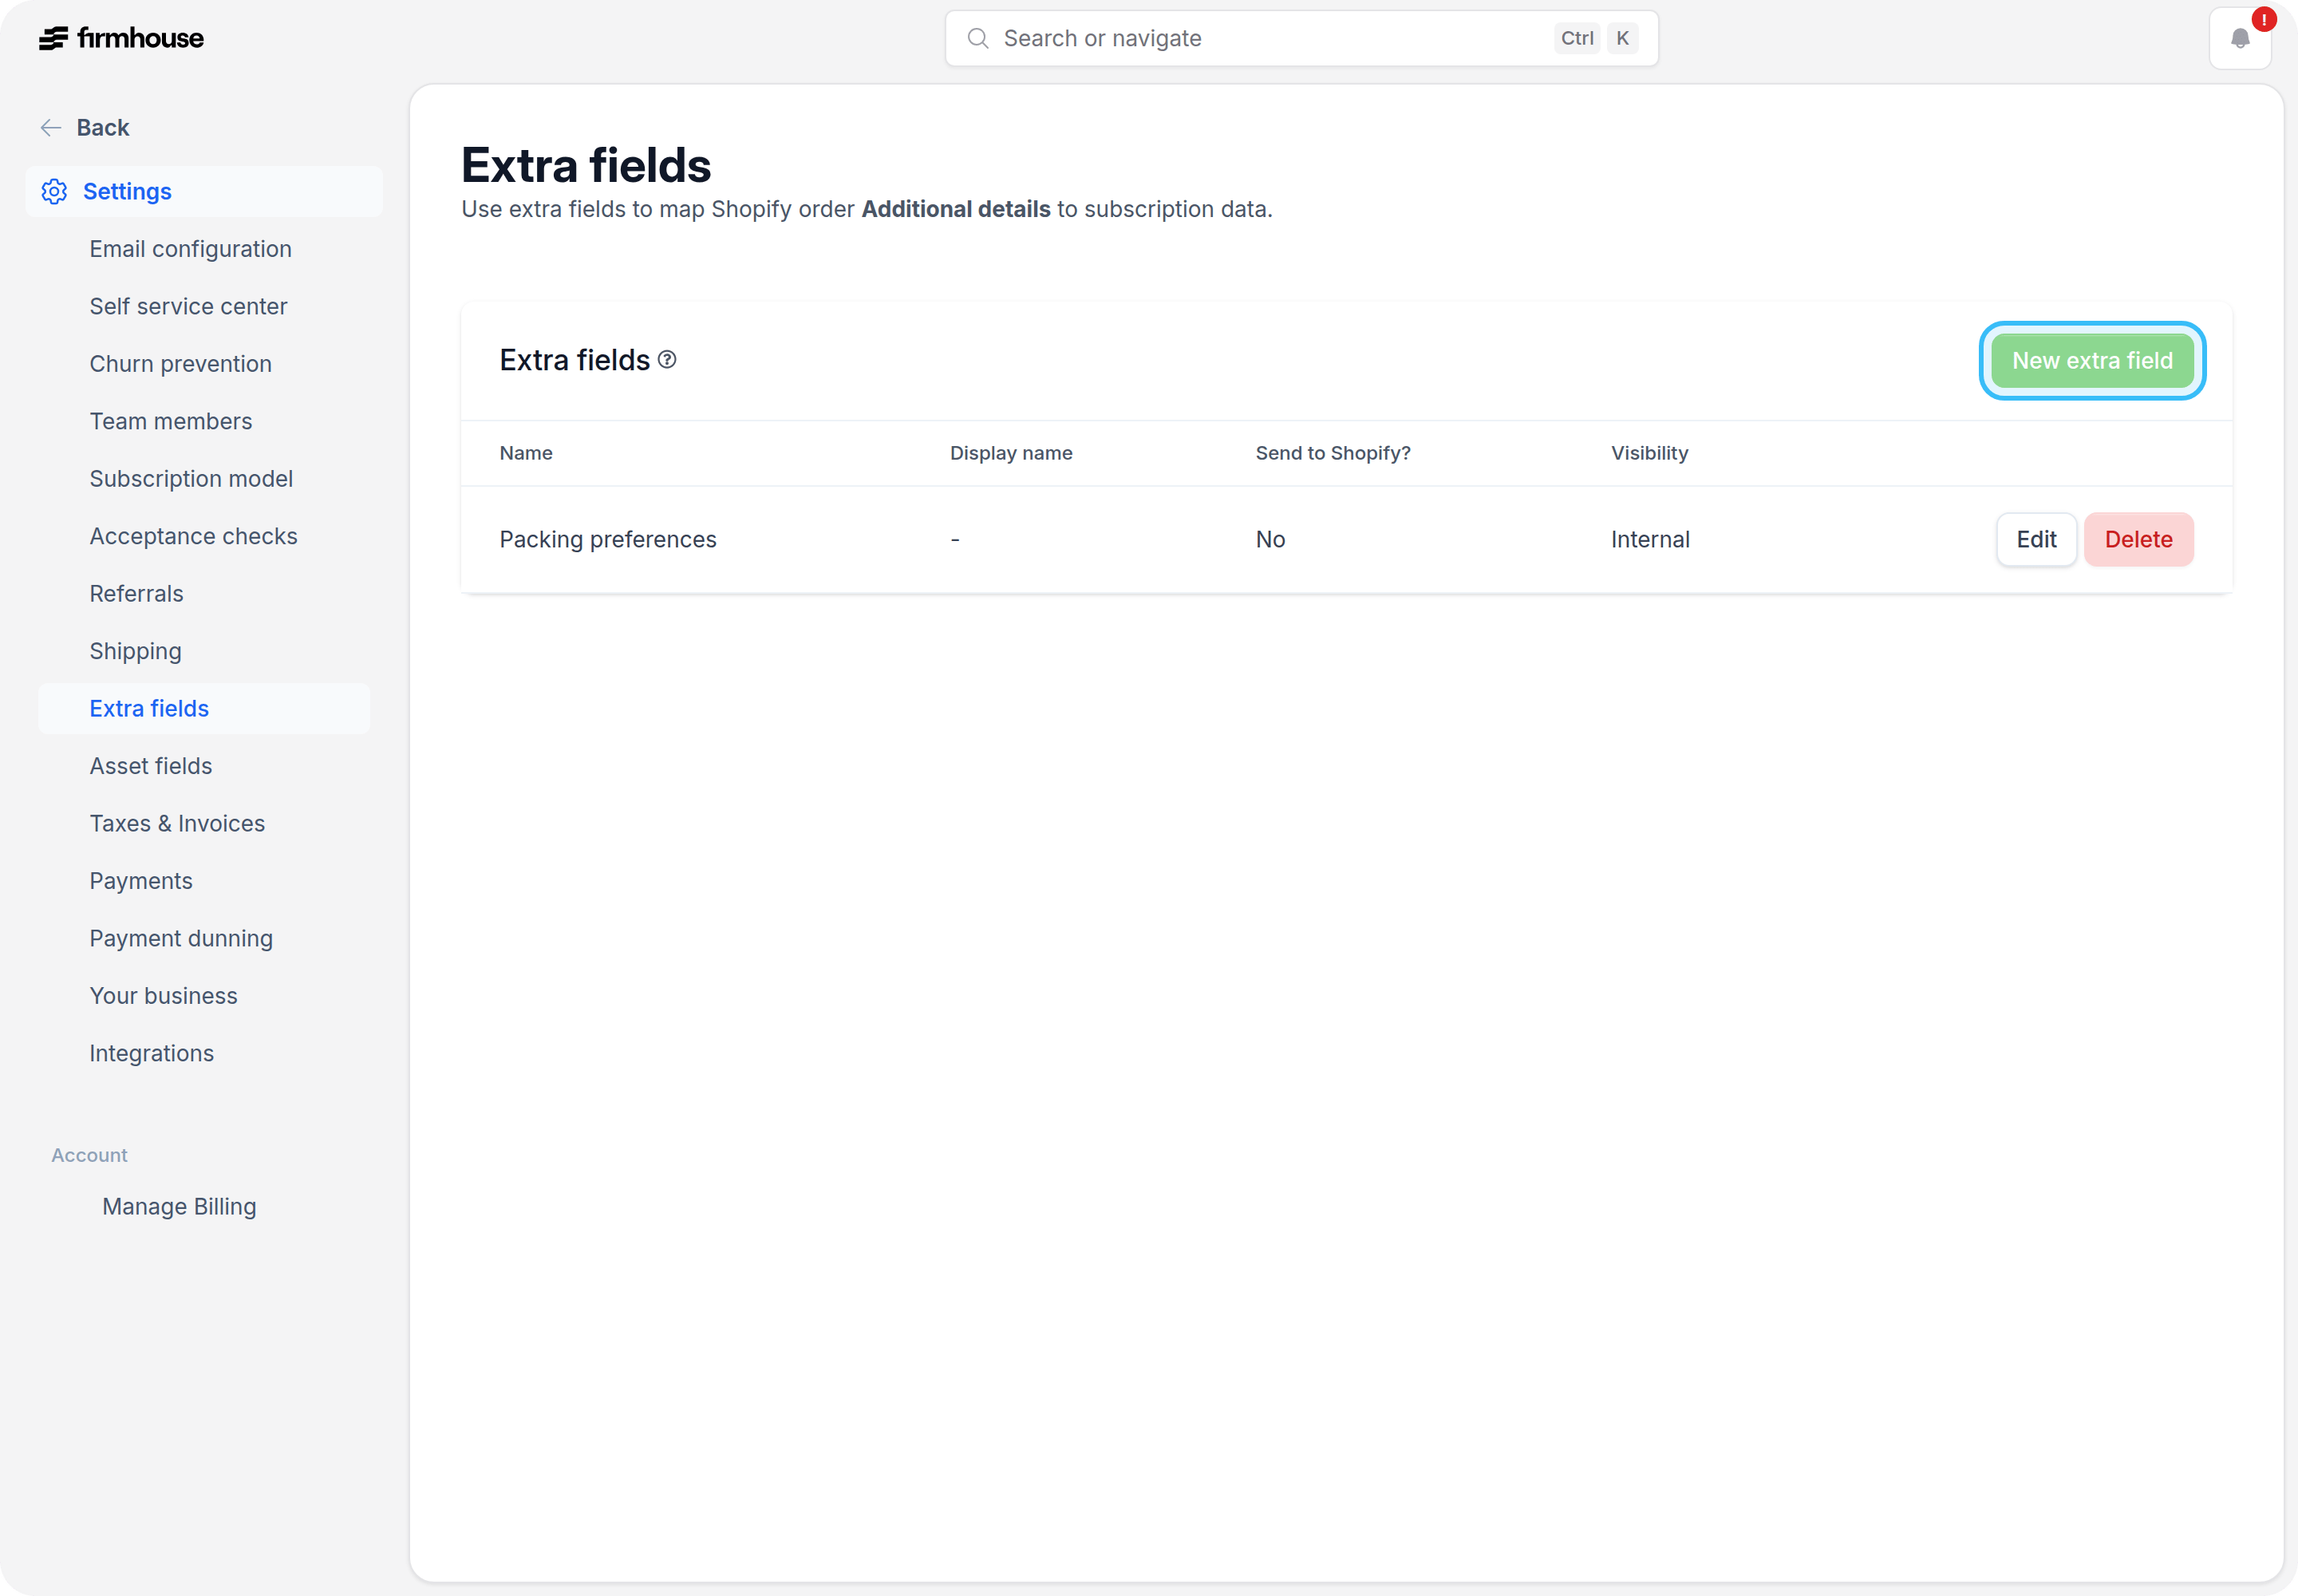
- In your Firmhouse project, go to Checkout > Extra fields & validations from the sidebar.
- From the Extra fields overview, click the New extra field button.
- Give your field a name. This is how the field will appear on Checkout and Portal.
- Set the field type, visibility, requirement, and if available its purpose and if you want the field to be sent to Shopify.
- Click Save extra field.
Edit an Extra Field
Steps
- In your Firmhouse project, go to Checkout > Extra fields & validations from the sidebar.
- From the Extra fields overview, click Edit on the field you’d like to edit.
- Change any of the settings of the field.
- Click Save extra field.
Remove an Extra Field
Steps
- In your Firmhouse project, go to Checkout > Extra fields & validations from the sidebar.
- From the Extra fields overview, click Delete on the field you’d like to delete. Confirm the removal in the dialog.