Enable the Customer Service Page
Steps
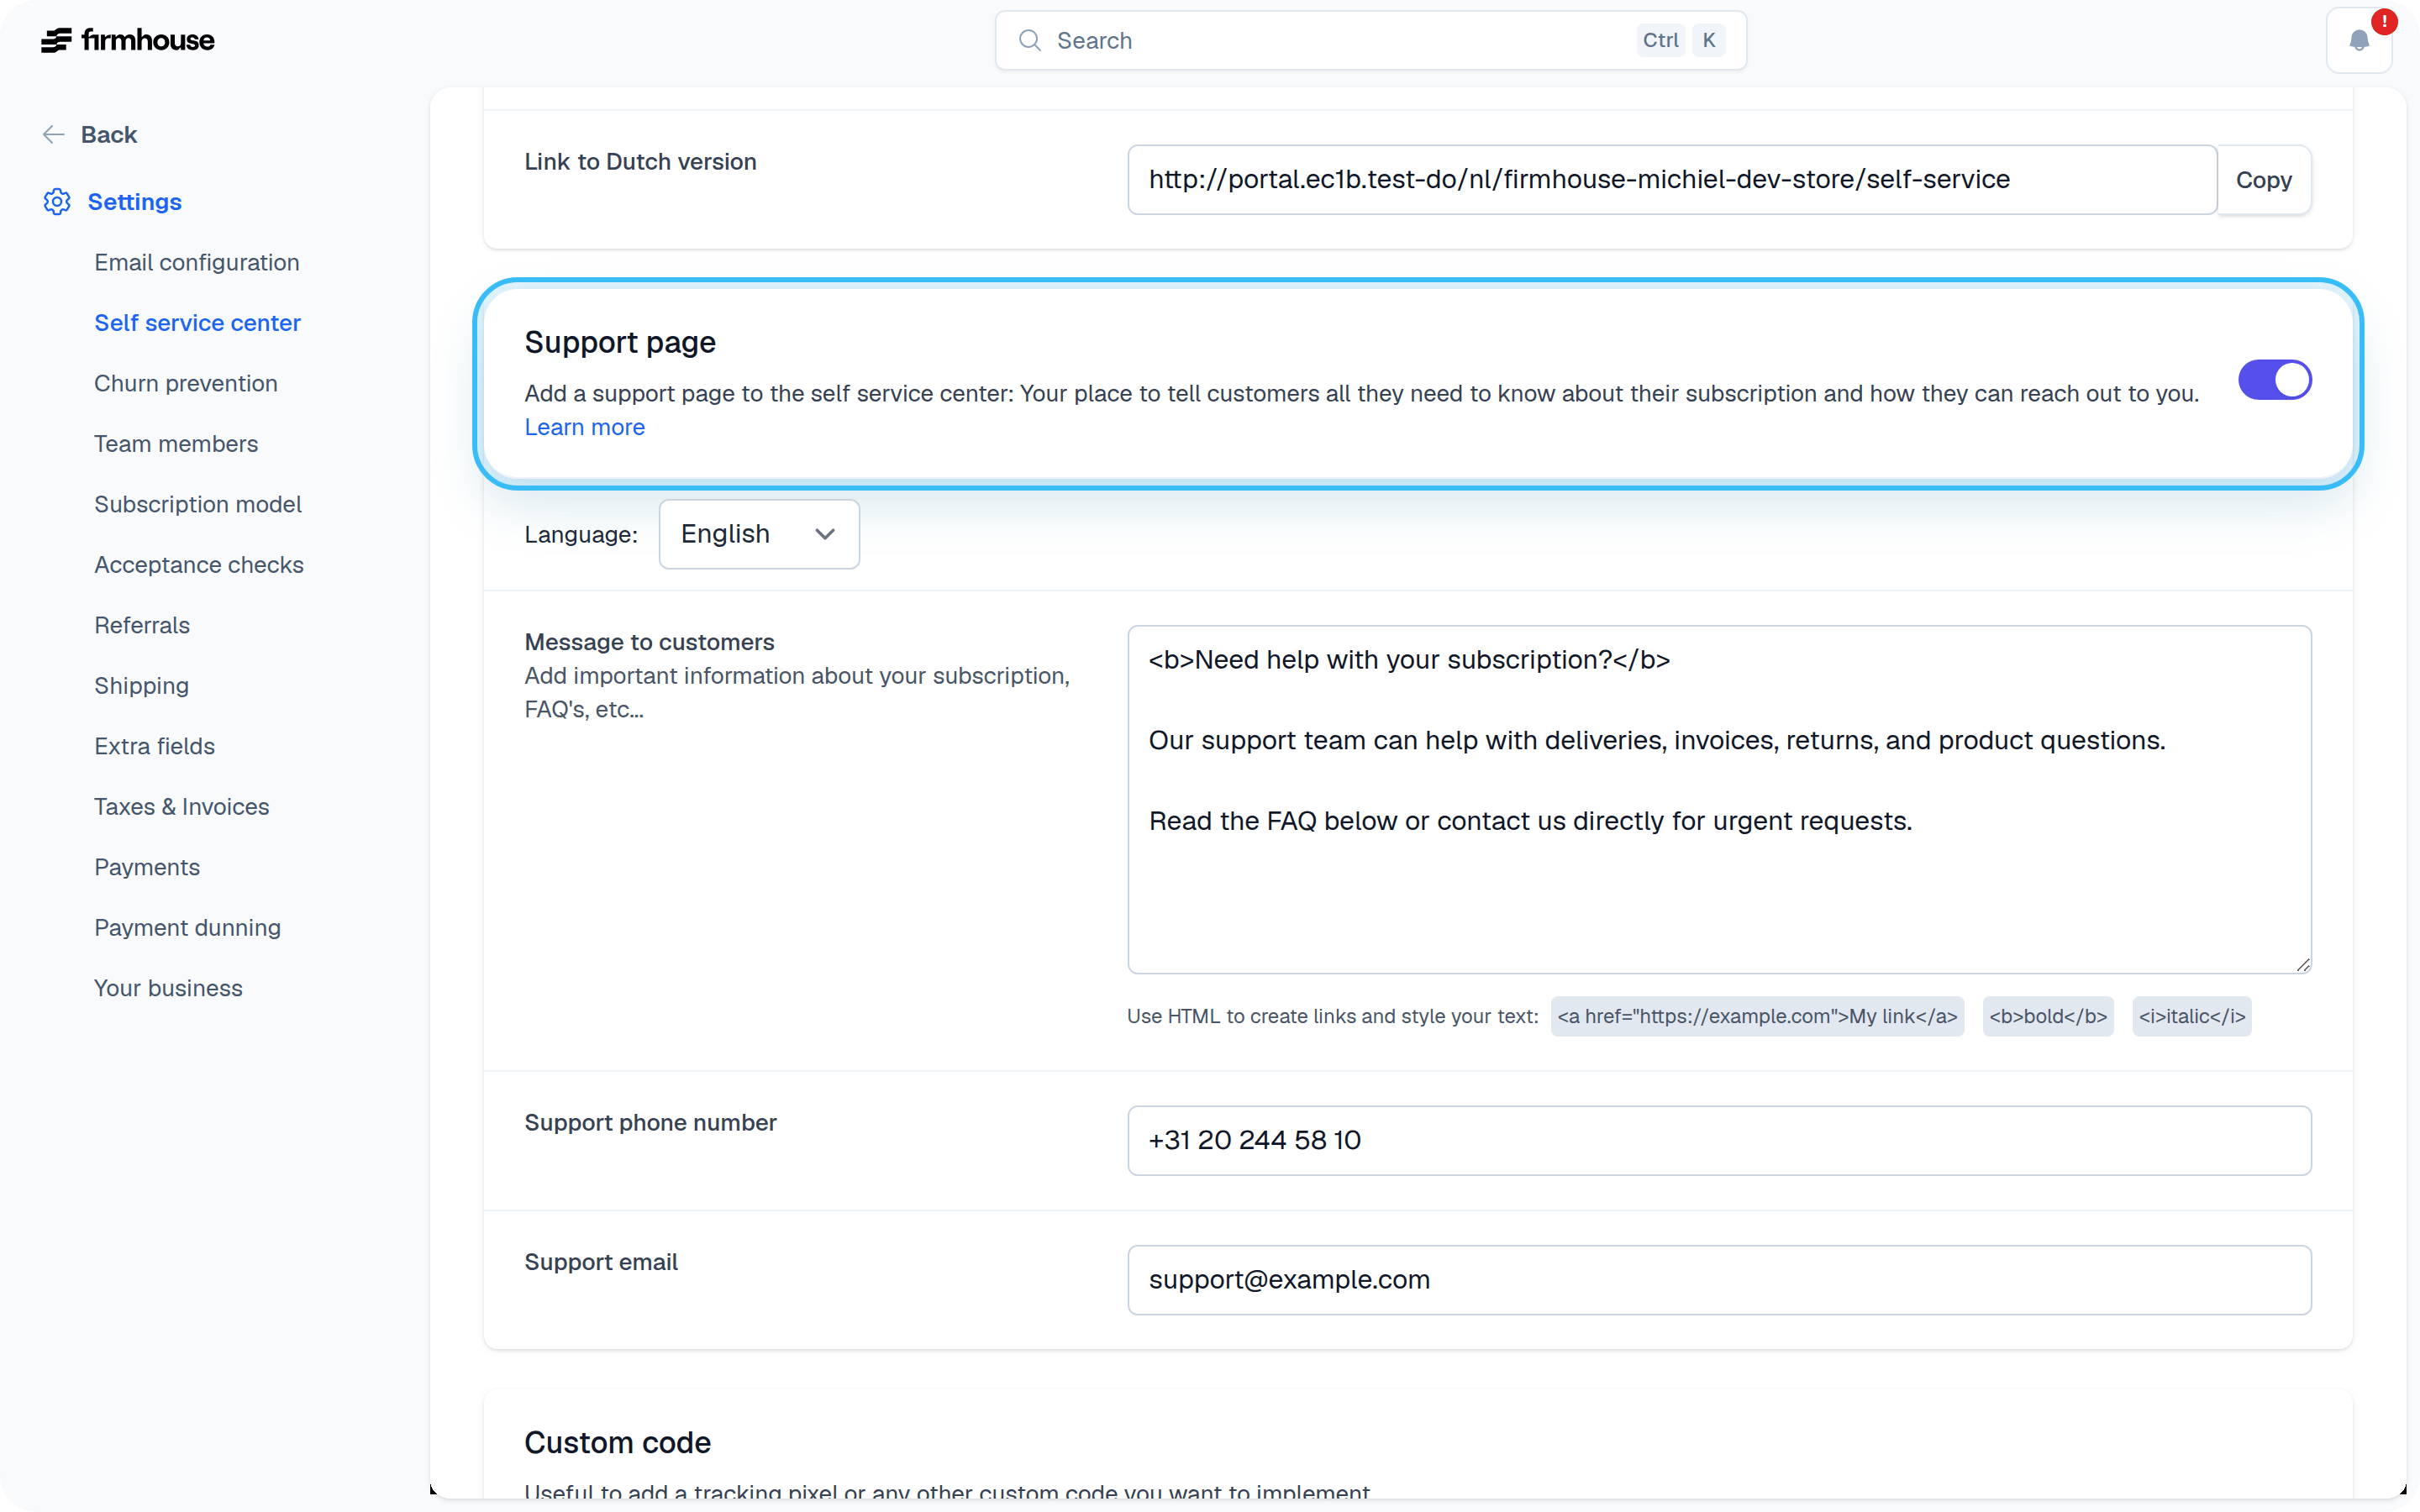
- Navigate to Settings > Self Service Center
- Scroll down to the Support page section
- Configure the following options:
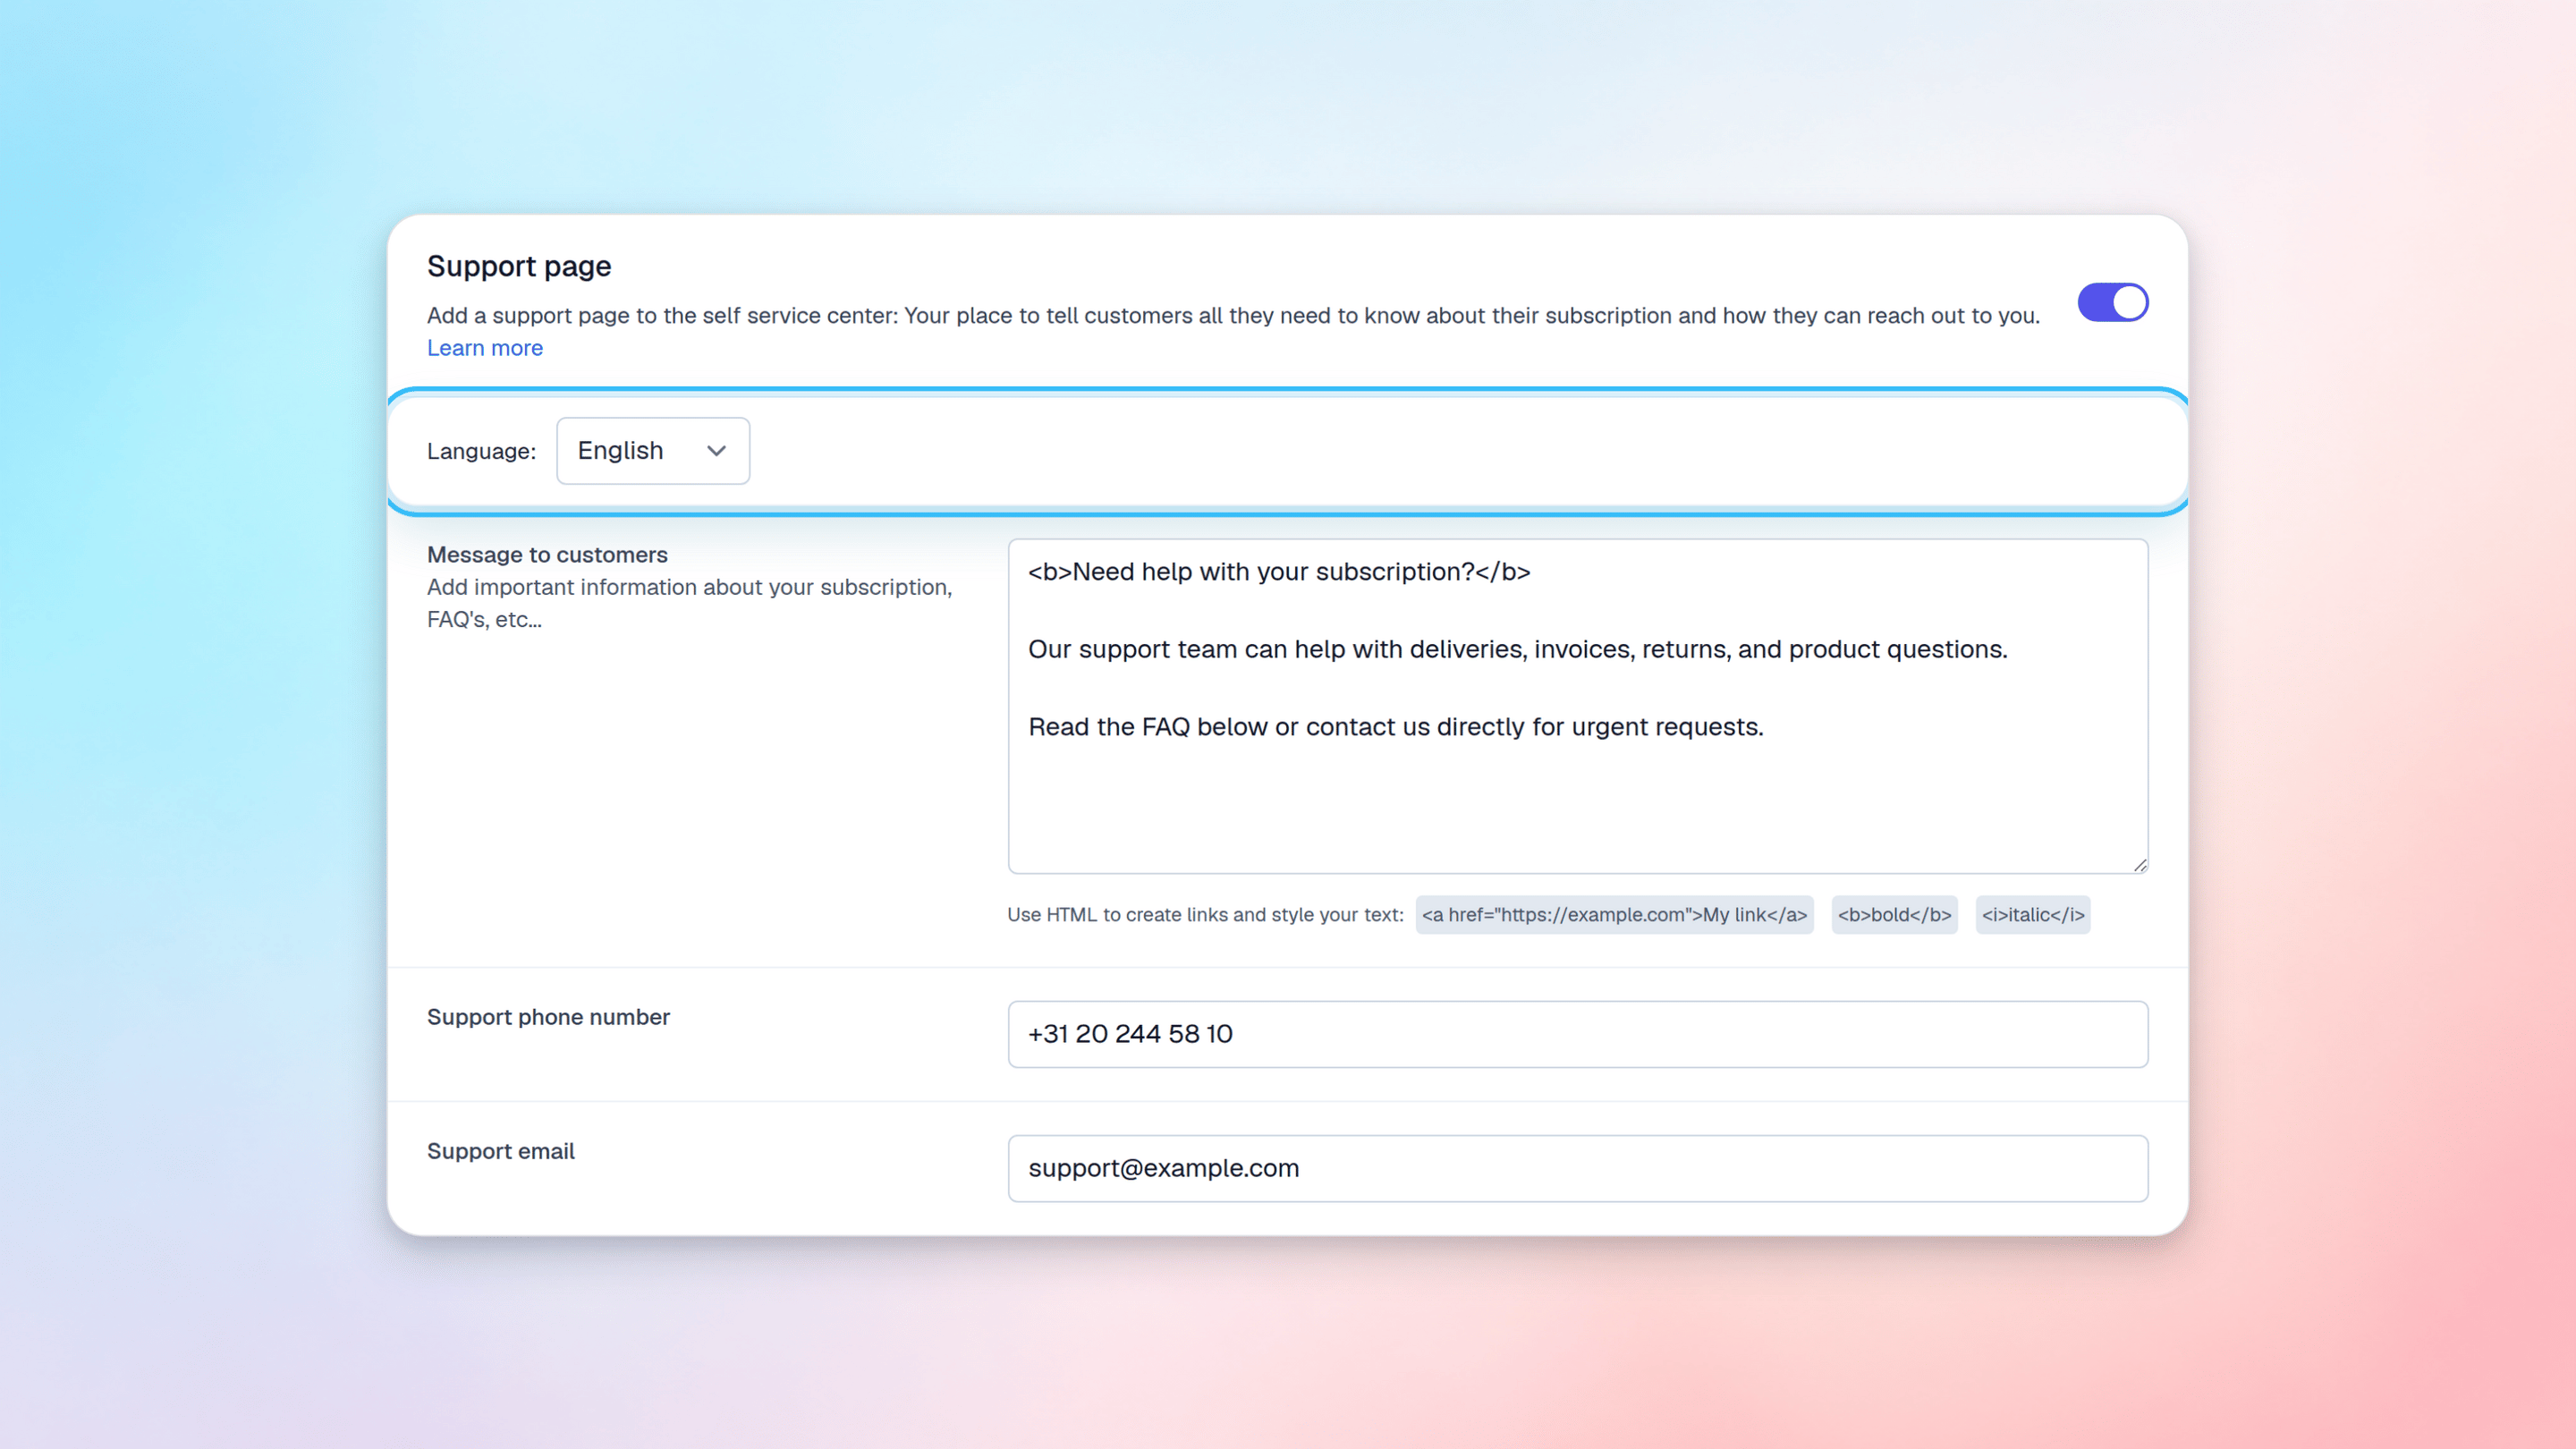
Message to Customers
This field is useful for adding important information about your subscription, deliveries, FAQs, and other relevant details. You can use HTML to style your text and create links. Available HTML tags include:- Bold:
<b>This text is bold</b> - Italic:
<i>This text is italic</i> - Links:
<a href="https://example" target="_blank">This is a link</a>
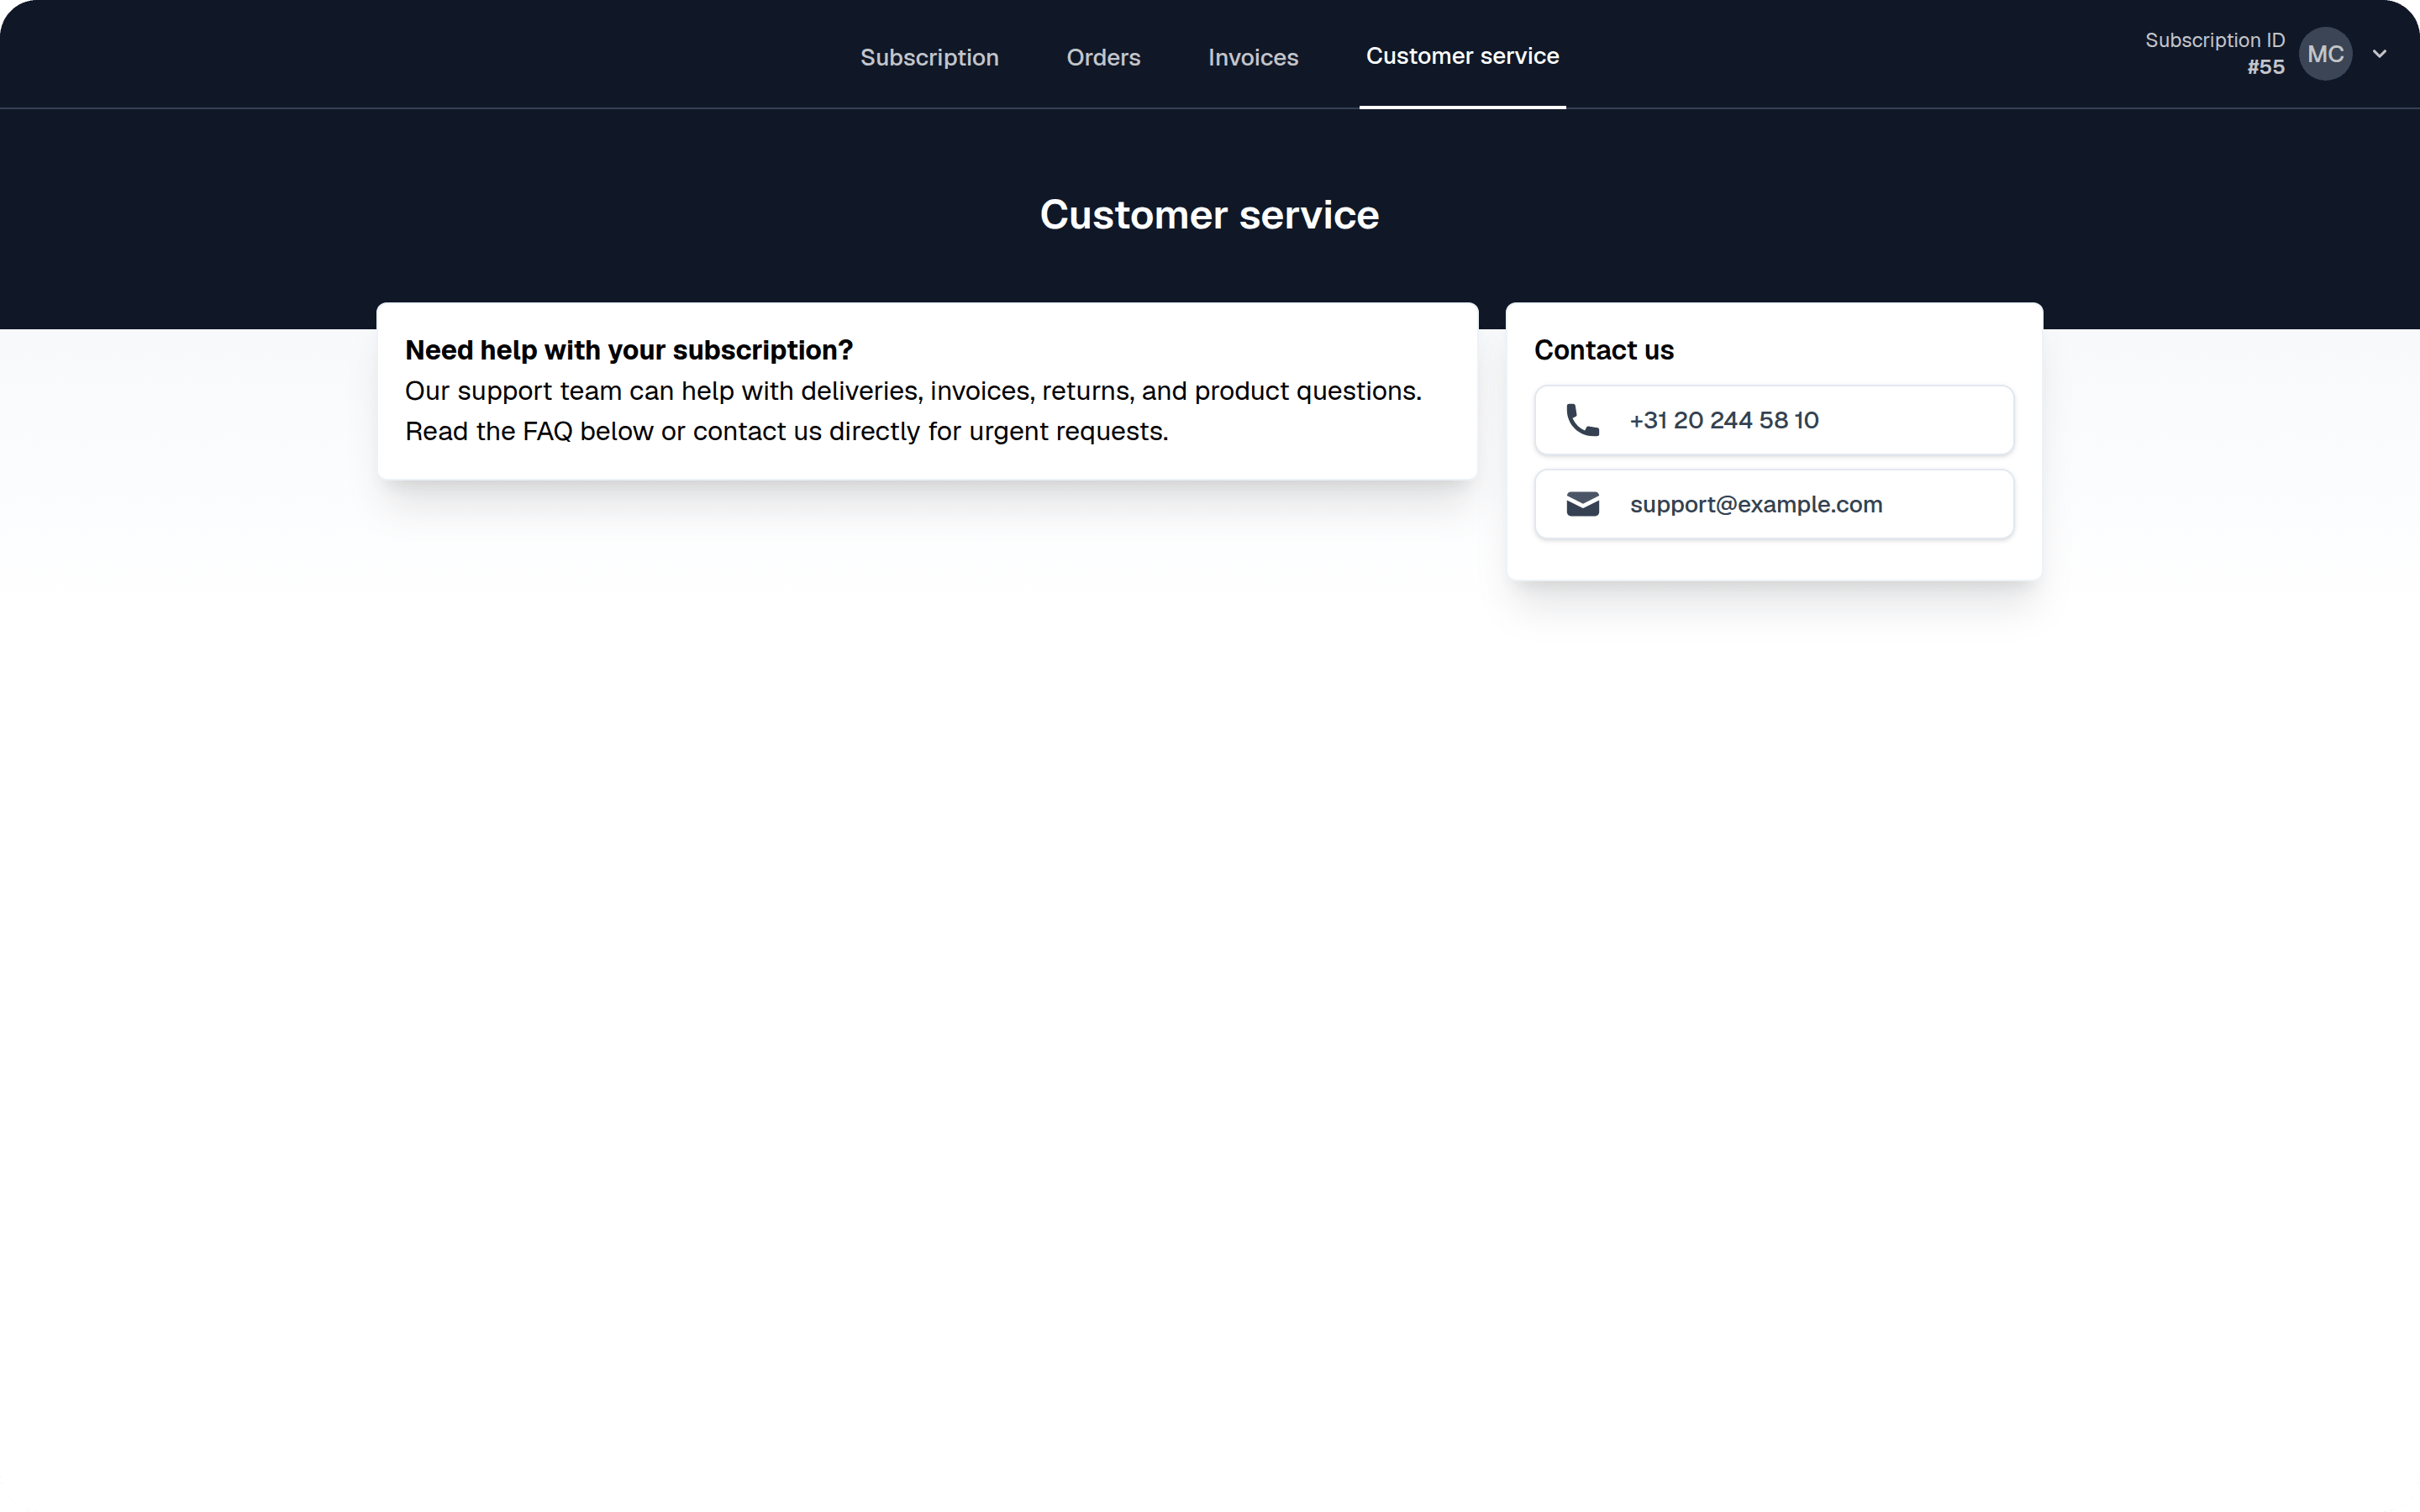
Support Phone Number and Email Address
These two support channels will be visible to customers on the customer service page. Enter your support phone number and email address so customers can easily reach you. Don’t forget to save your changes after configuring these settings.Managing Multiple Languages
If you have multiple languages configured for your project, you will find a dropdown menu to select the language you want to edit. Important: Make sure you fill out the fields for every language, otherwise customers might see an empty support page when viewing in their preferred language.