All checkout pages for the products and/or plans you set up are automatically generated. This article explains where to find and how to adjust them. This works slightly differently based on the subscription business type of your project: Smart Order-based subscription: Your customers subscribe to products where they pay per order based on a personalized replenishment schema. Product as Service Subscription: Your customers subscribe to your products plus any additional services by paying a recurring monthly amount based on the Plan they sign up for. This article covers both project types.

Checkout pages for smart order-based subscriptions

Steps

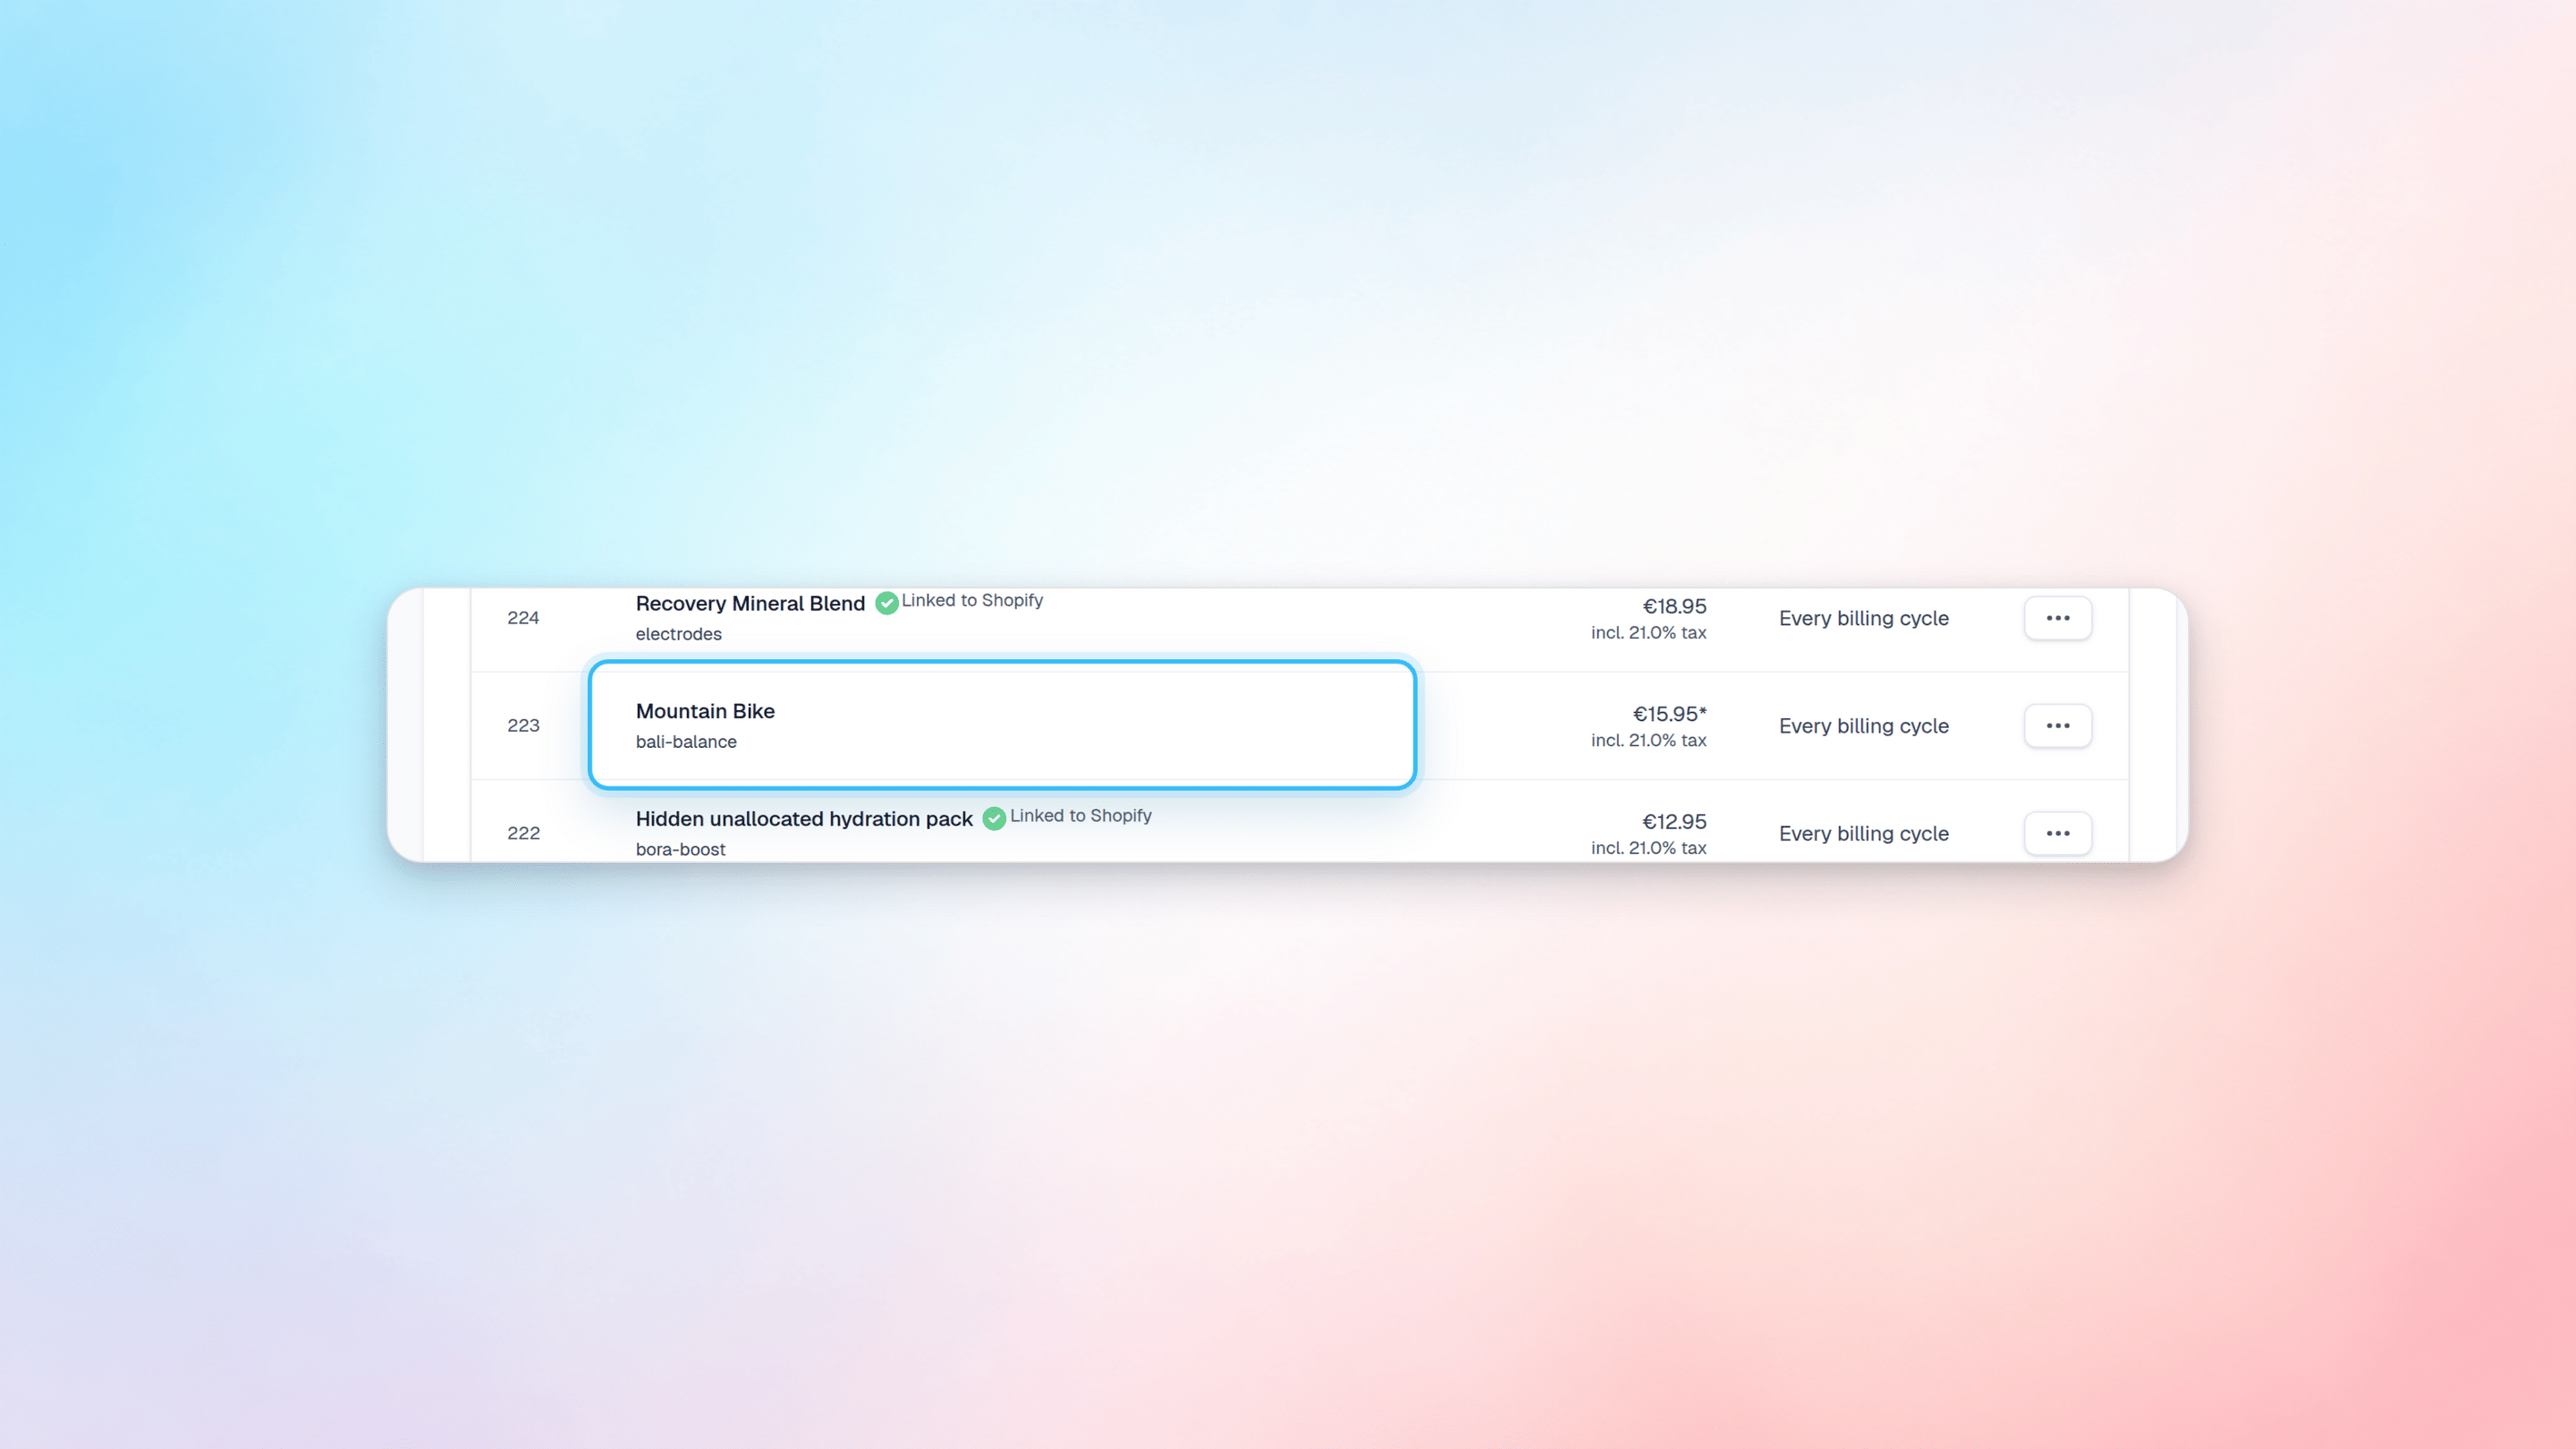
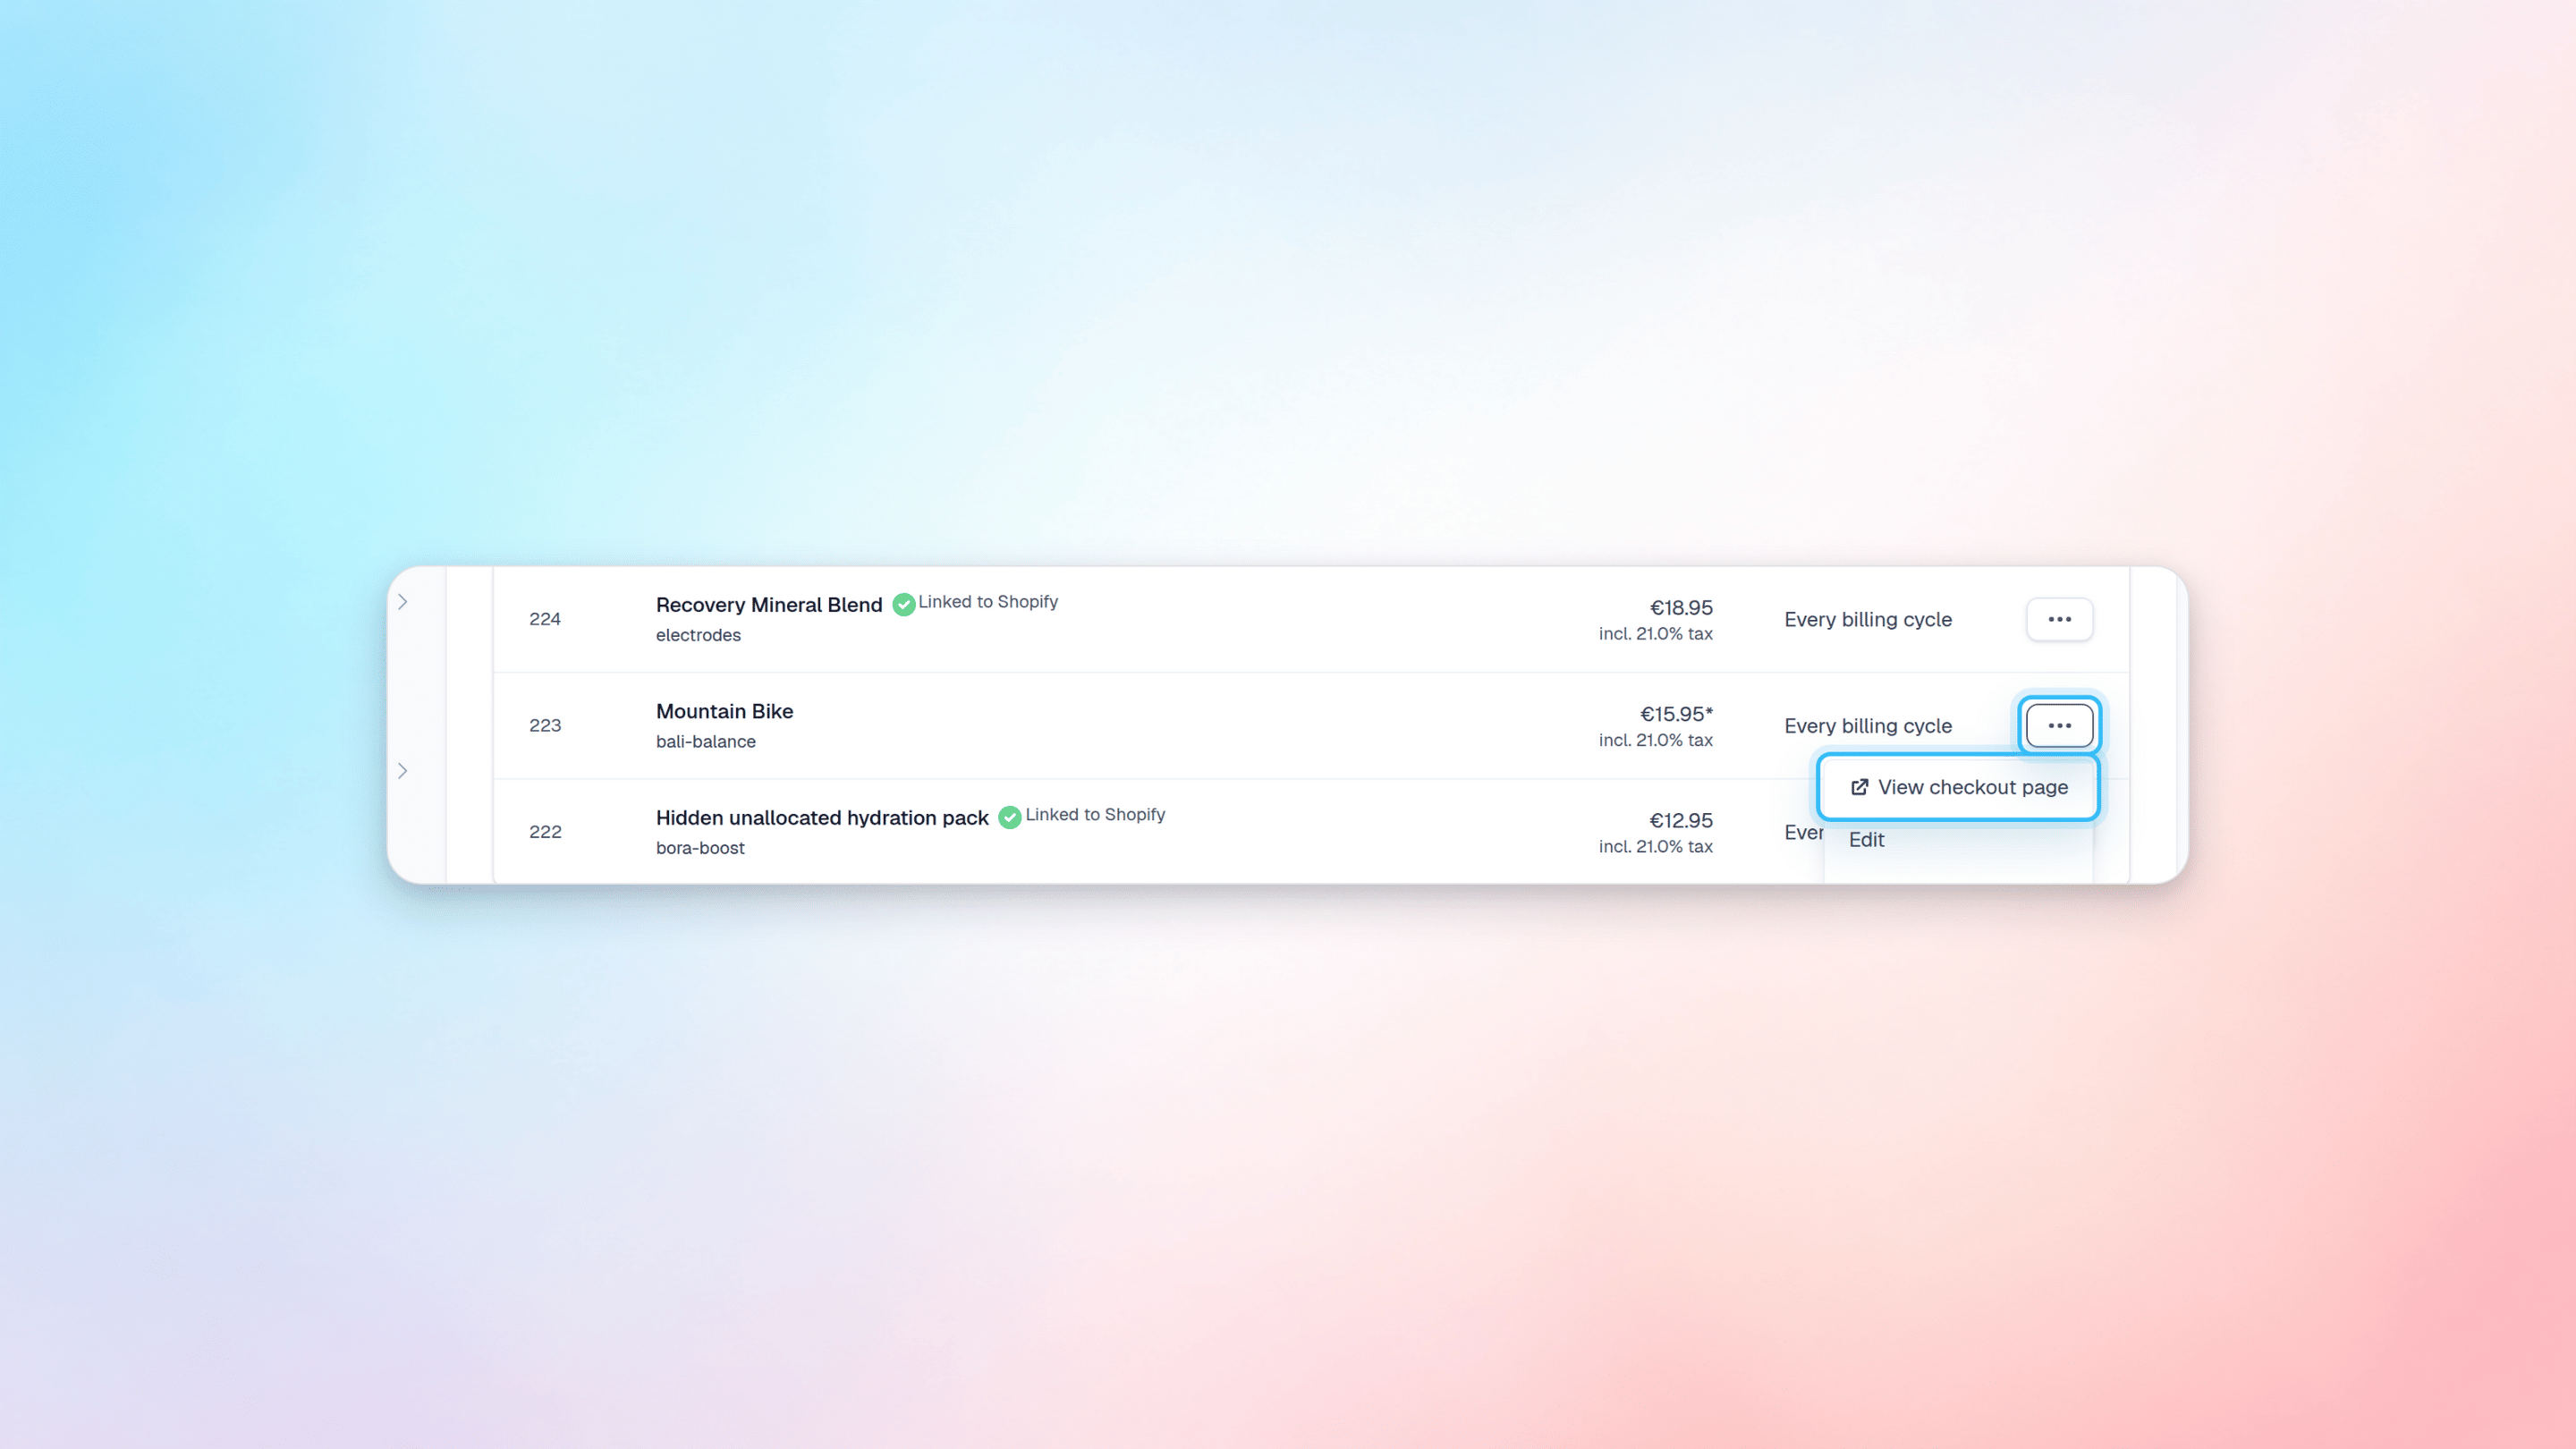
  1. Go to Products and find the product you want to get the payment link for.
  2. Click on the three horizontal dots menu.
  3. Click on View Payment Page. This will open the product’s payment page in a new window.
Product menu with View Payment Page option You can send that link to your customers or integrate it in your existing website.

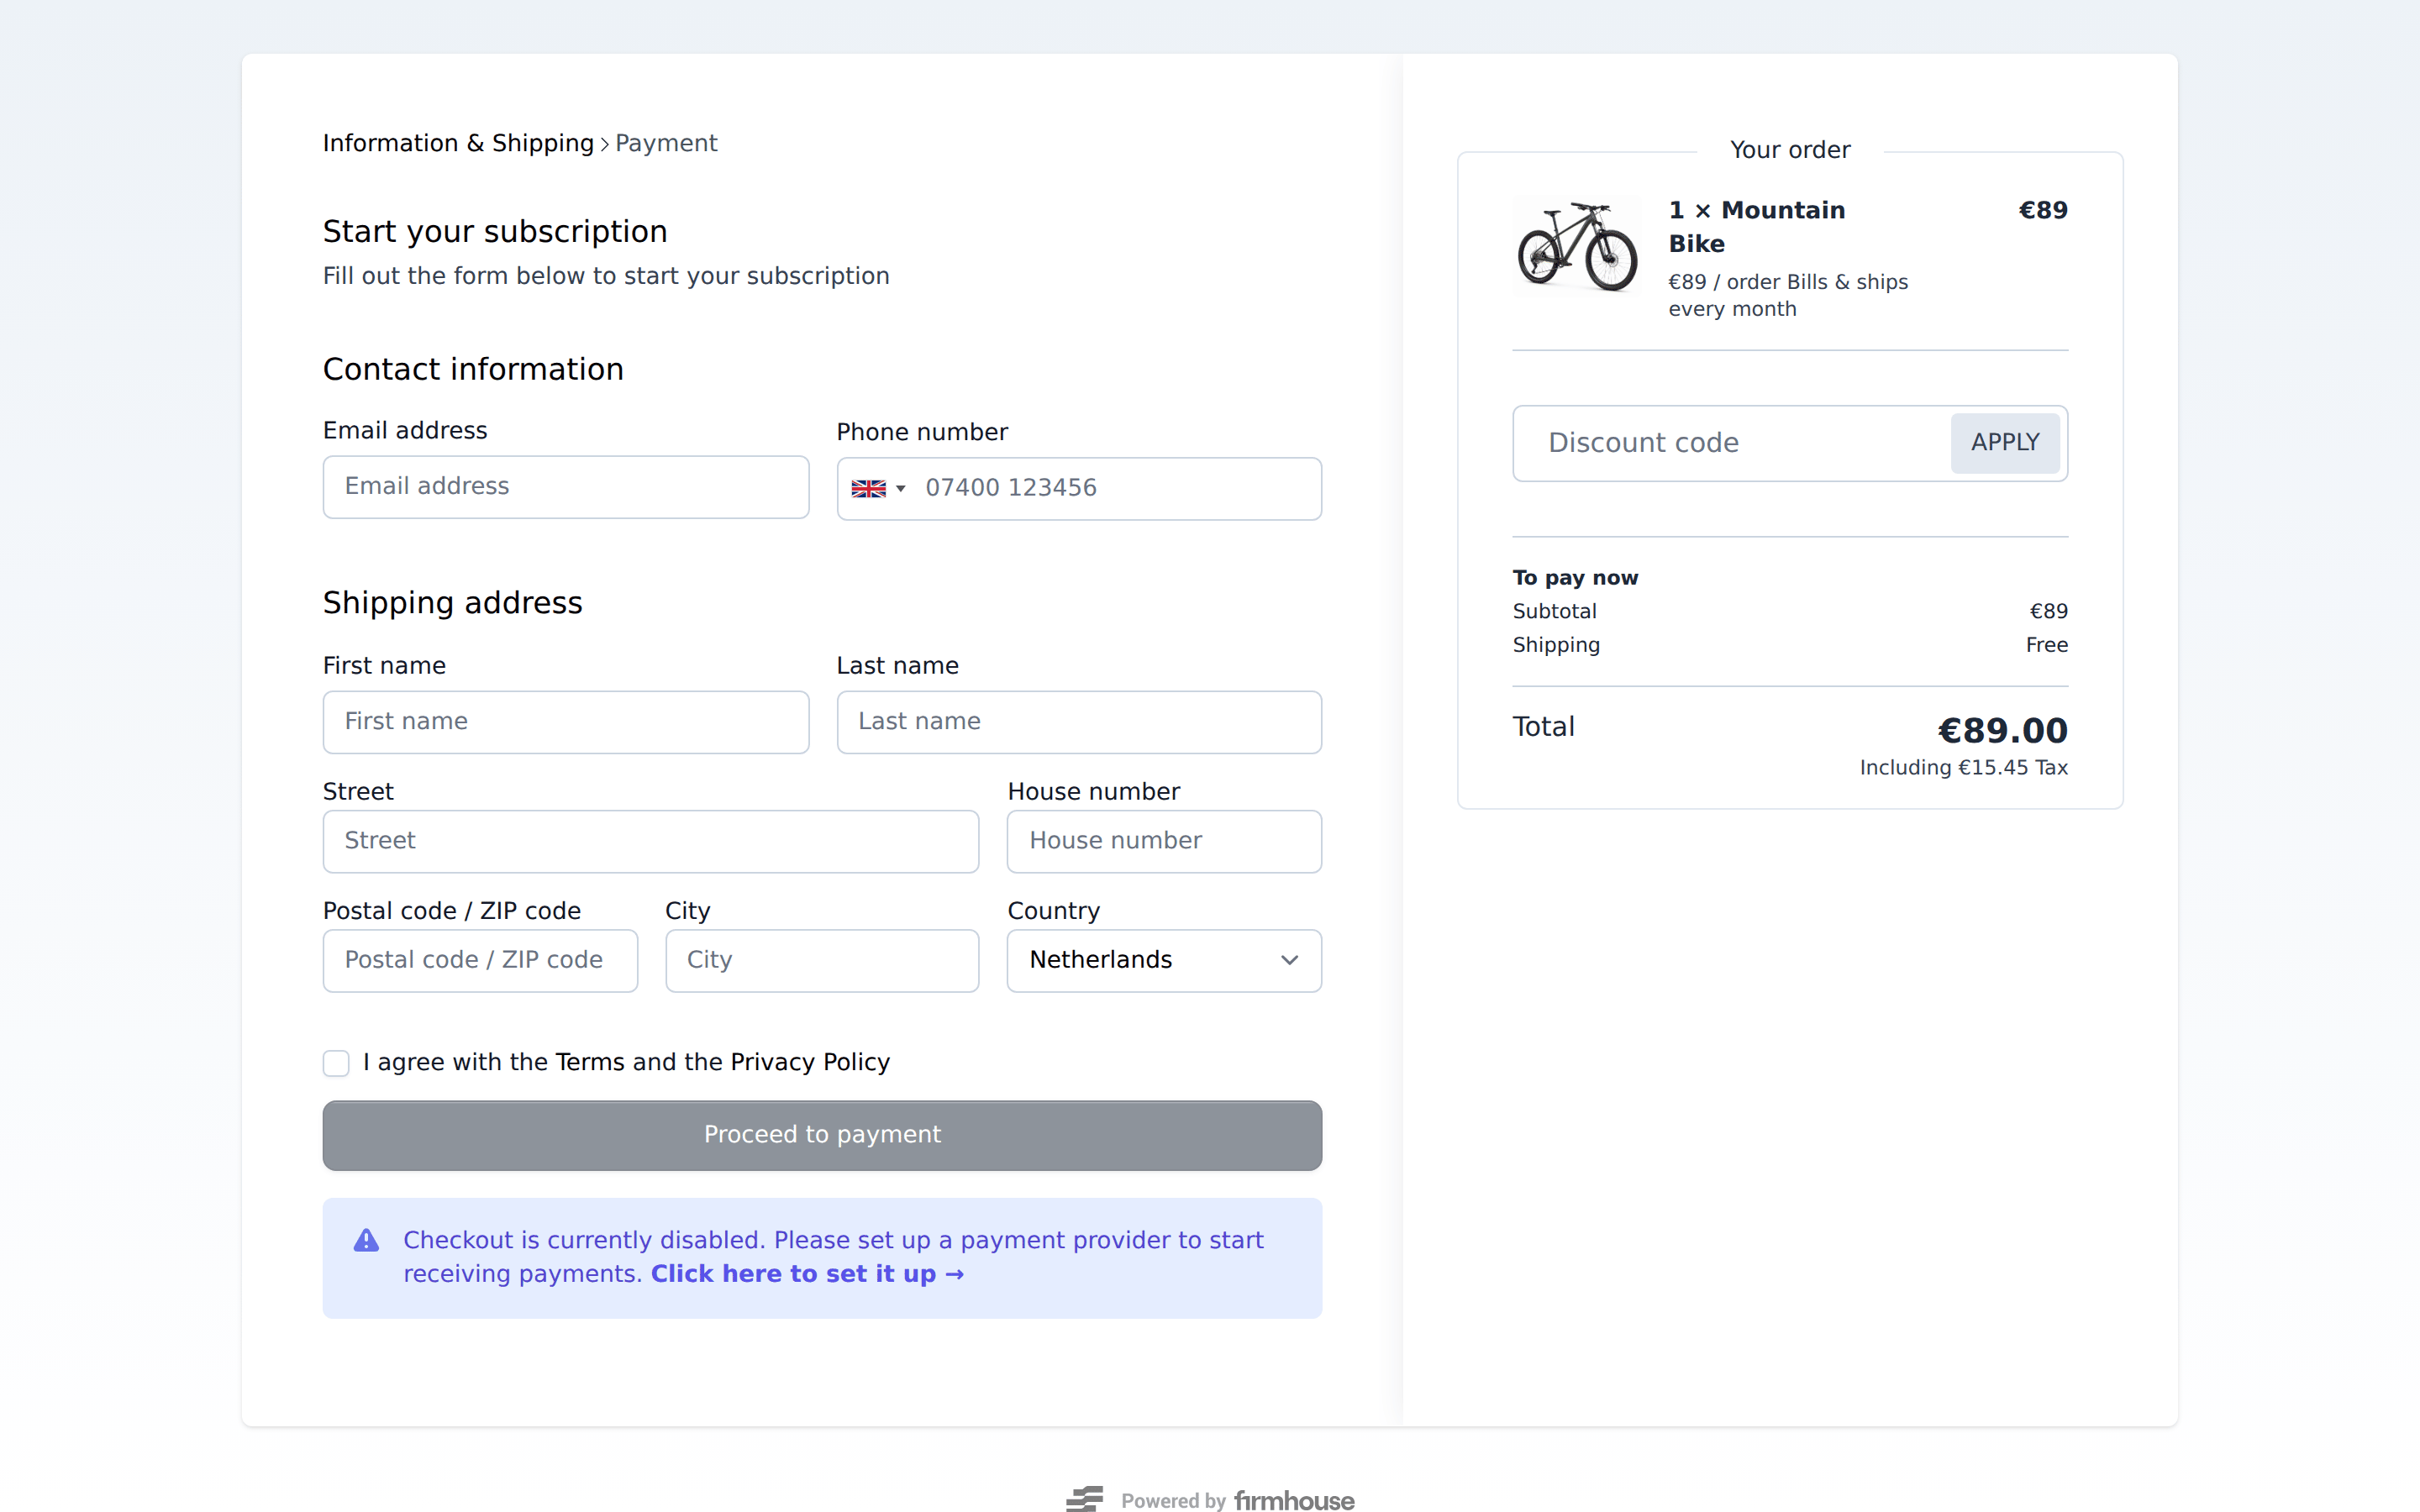
Adjusting the quantity

By default the quantity of a product is set to 1. If you want to adjust that, click on the URL in your browser and go to the end of the URL. There you will find a number that represents the quantity. Adjust it as you wish. As of right now it’s not possible yet for your customers to change the quantity of a product in the checkout.

Product as Service Subscription

Steps

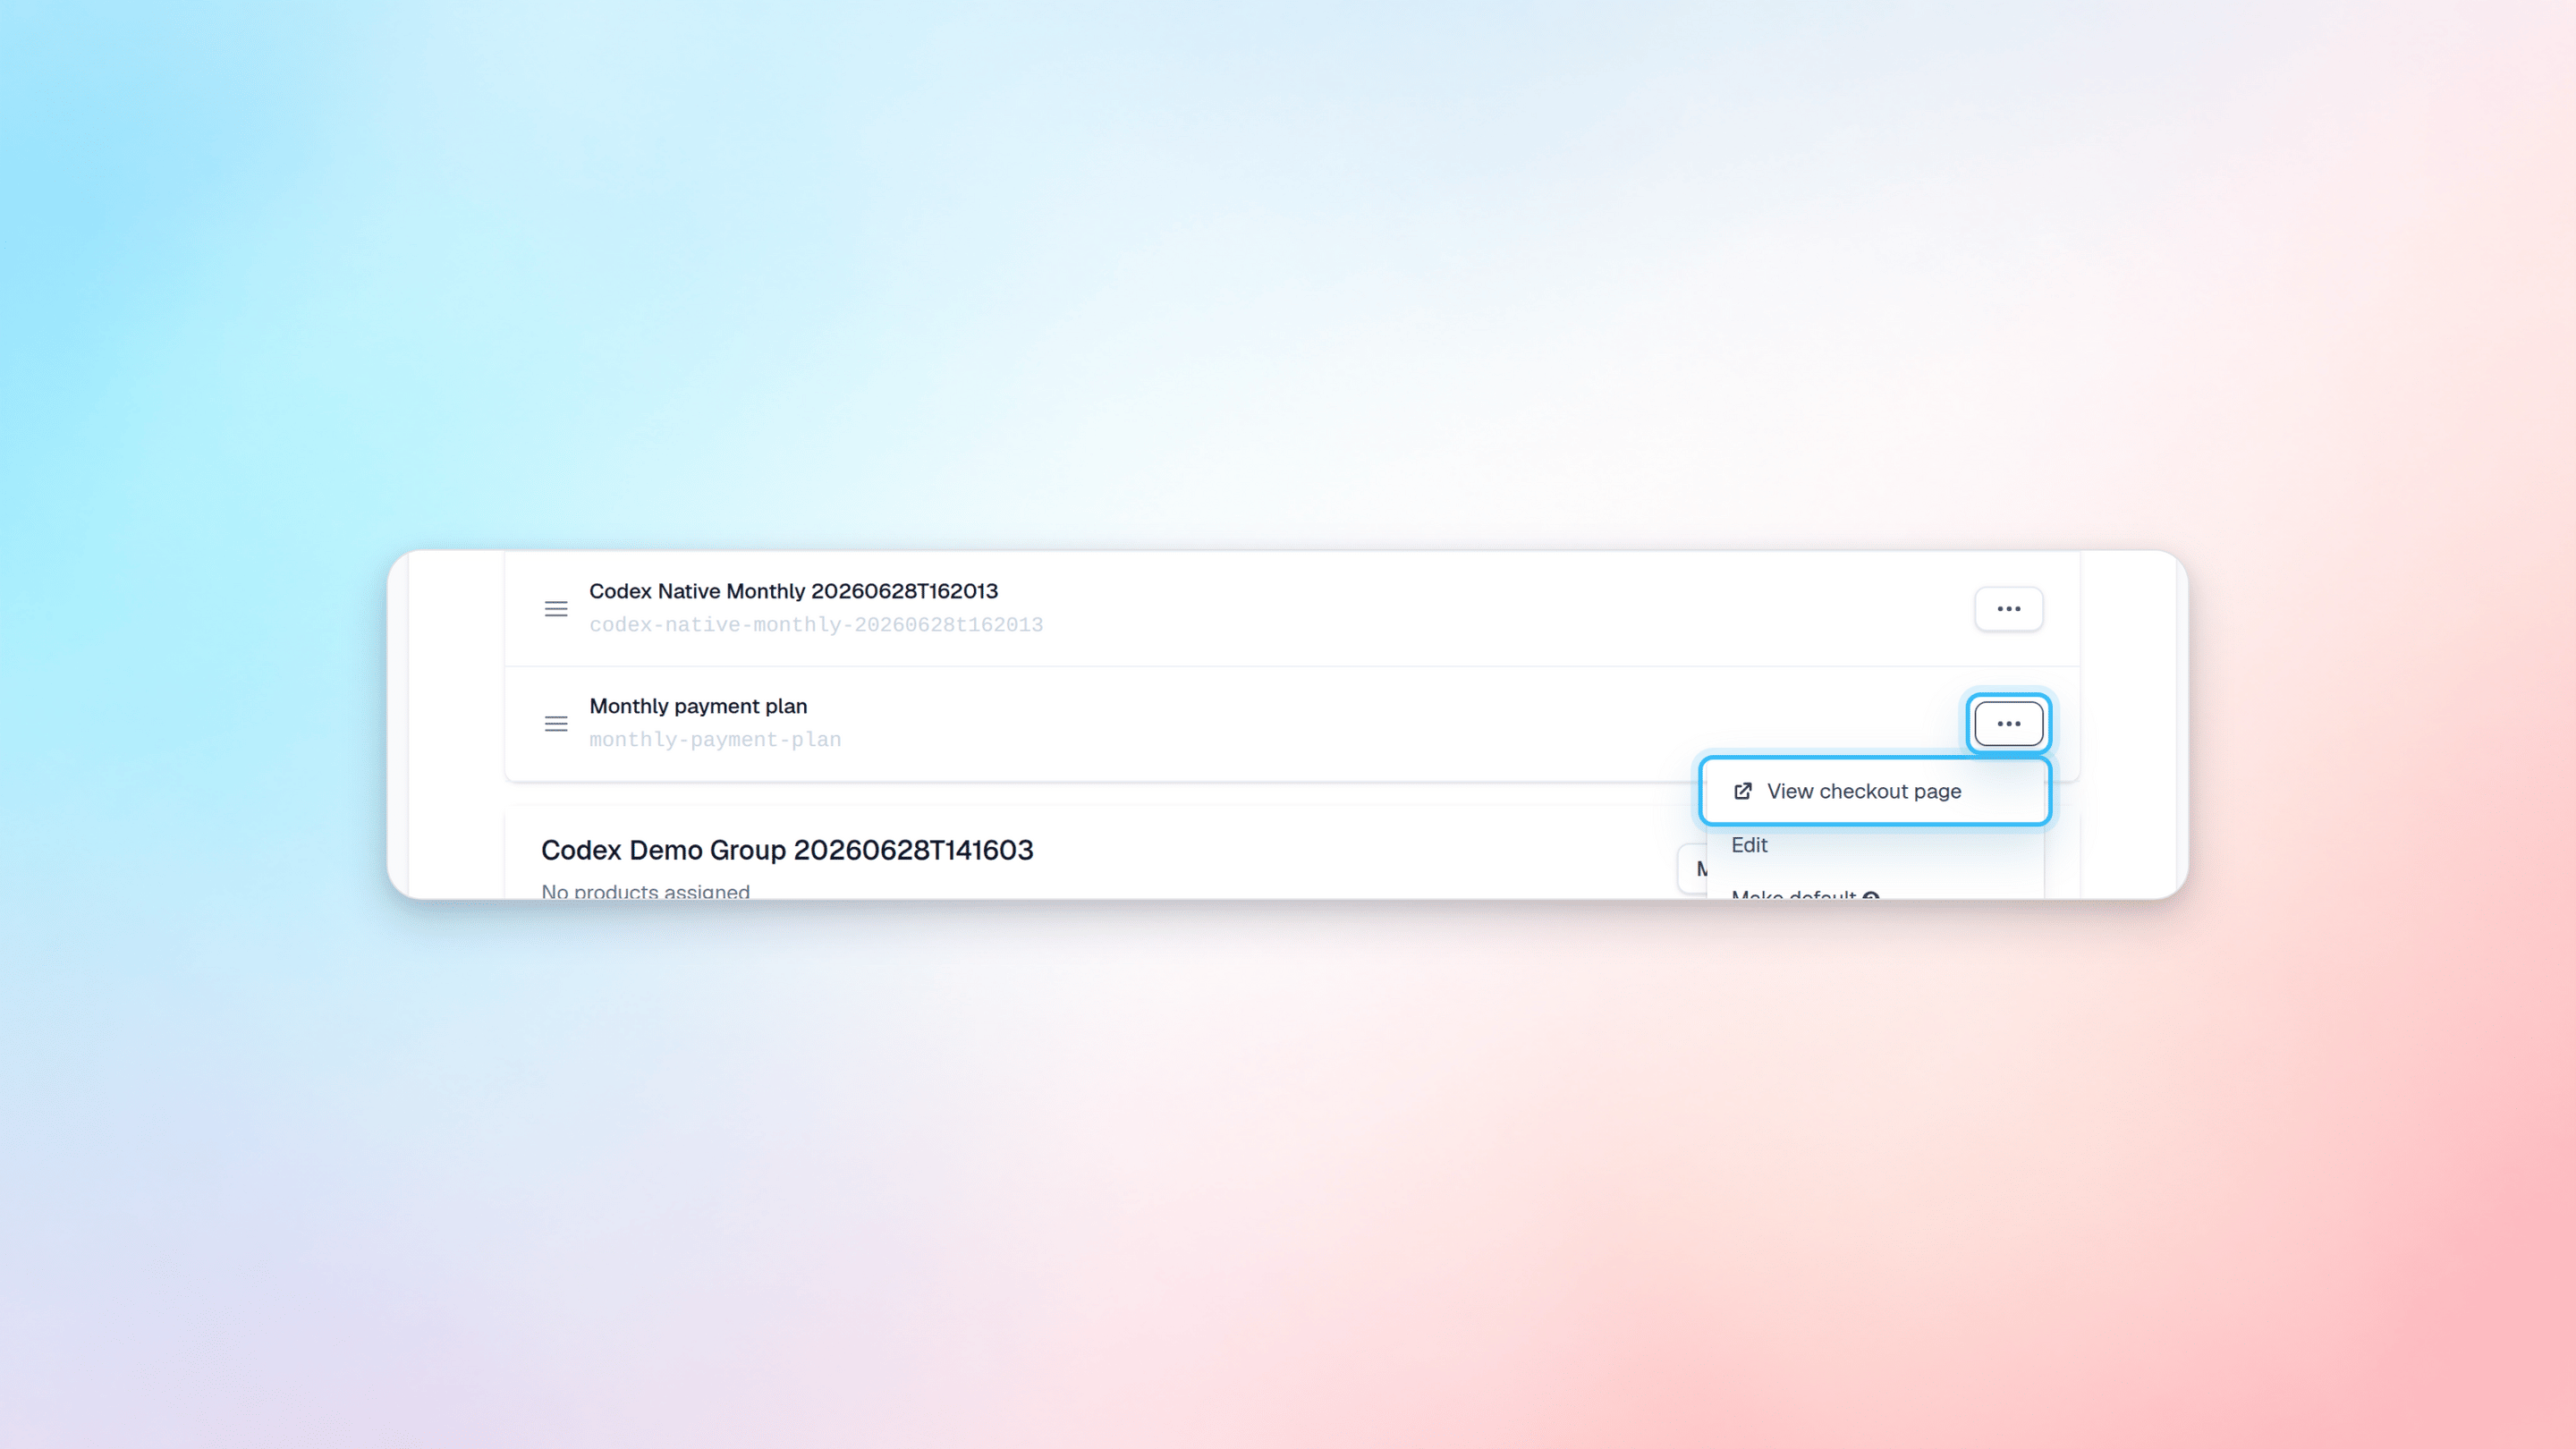
  1. Go to Plans and find the plan you want to get the payment link for.
  2. Click on the three horizontal dots menu.
  3. Click on View Payment Page. This will open the plan’s payment page in a new window.
Plan menu with View Payment Page option You can send that link to your customers or integrate it in your existing website. If you need to create a link that checks out to a plan and one or several products, you can do that by adjusting the URL. To do that you will need the product slug. You can find that if you navigate to Products in the main menu. The slug is located right underneath a product’s name. Product slug location Here’s how to adjust the payment link:
https://checkout.firmhouse.com/en/demo-project?plan=my-plan&products=my-product
If you need to add several products, use a comma as a separator:
https://checkout.firmhouse.com/en/demo-project?plan=my-plan&products=my-product,another-product,even-more-products
If the products show up in the order breakdown on the right hand side, you successfully created the link. Checkout with plan and products You can build even more sophisticated checkout URLs. See the Advanced Checkout URLs article for more examples.