

Where you can add tracking scripts
Firmhouse supports tracking scripts in different customer-facing areas:- Customer Portal: Add scripts directly in your Customer Portal page templates.
- Self Service Center (legacy): Add scripts through the legacy Self Service Center custom code fields.
- Firmhouse Checkout: Add scripts to checkout pages, payment pages, payment status pages, and order confirmation pages.
Before you start
Only add scripts that you trust and actively maintain. Custom code can affect page loading, customer privacy, and checkout conversion. Please note: Header and Body custom code fields are only available for Firmhouse projects that have a custom domain configured. This applies to the legacy Self Service Center and Firmhouse Checkout custom code setup. Customer Portal tracking is template-based instead.Customer Portal templates and custom code fields
Customer Portal and the legacy Self Service Center do not use the same setup:- Customer Portal uses page templates.
- Self Service Center (legacy) and Firmhouse Checkout use Header and Body custom code fields.
Add scripts to the Customer Portal
Use these steps when your project uses the new Customer Portal and you want tracking code to run on Customer Portal pages. If you do not see Customer Portal in the sidebar yet, first enable Customer Portal v2 in New Features. Then use the Overview page in the new Customer Portal settings to test with Preview mode or enable the new portal for all customers. See Customer Portal quickstart.Steps
- In your Firmhouse project, open Customer Portal > Templates.
- Open the page template where the script should run, such as
dashboard.liquidor another relevant template. - Add the tracking snippet directly in the template using
<script>tags where needed. - Click Save to create a new template version.
- Use Preview latest package to test the change.
- Publish the template version when you are ready to make it live for customers.
Add scripts to the Self Service Center (legacy)
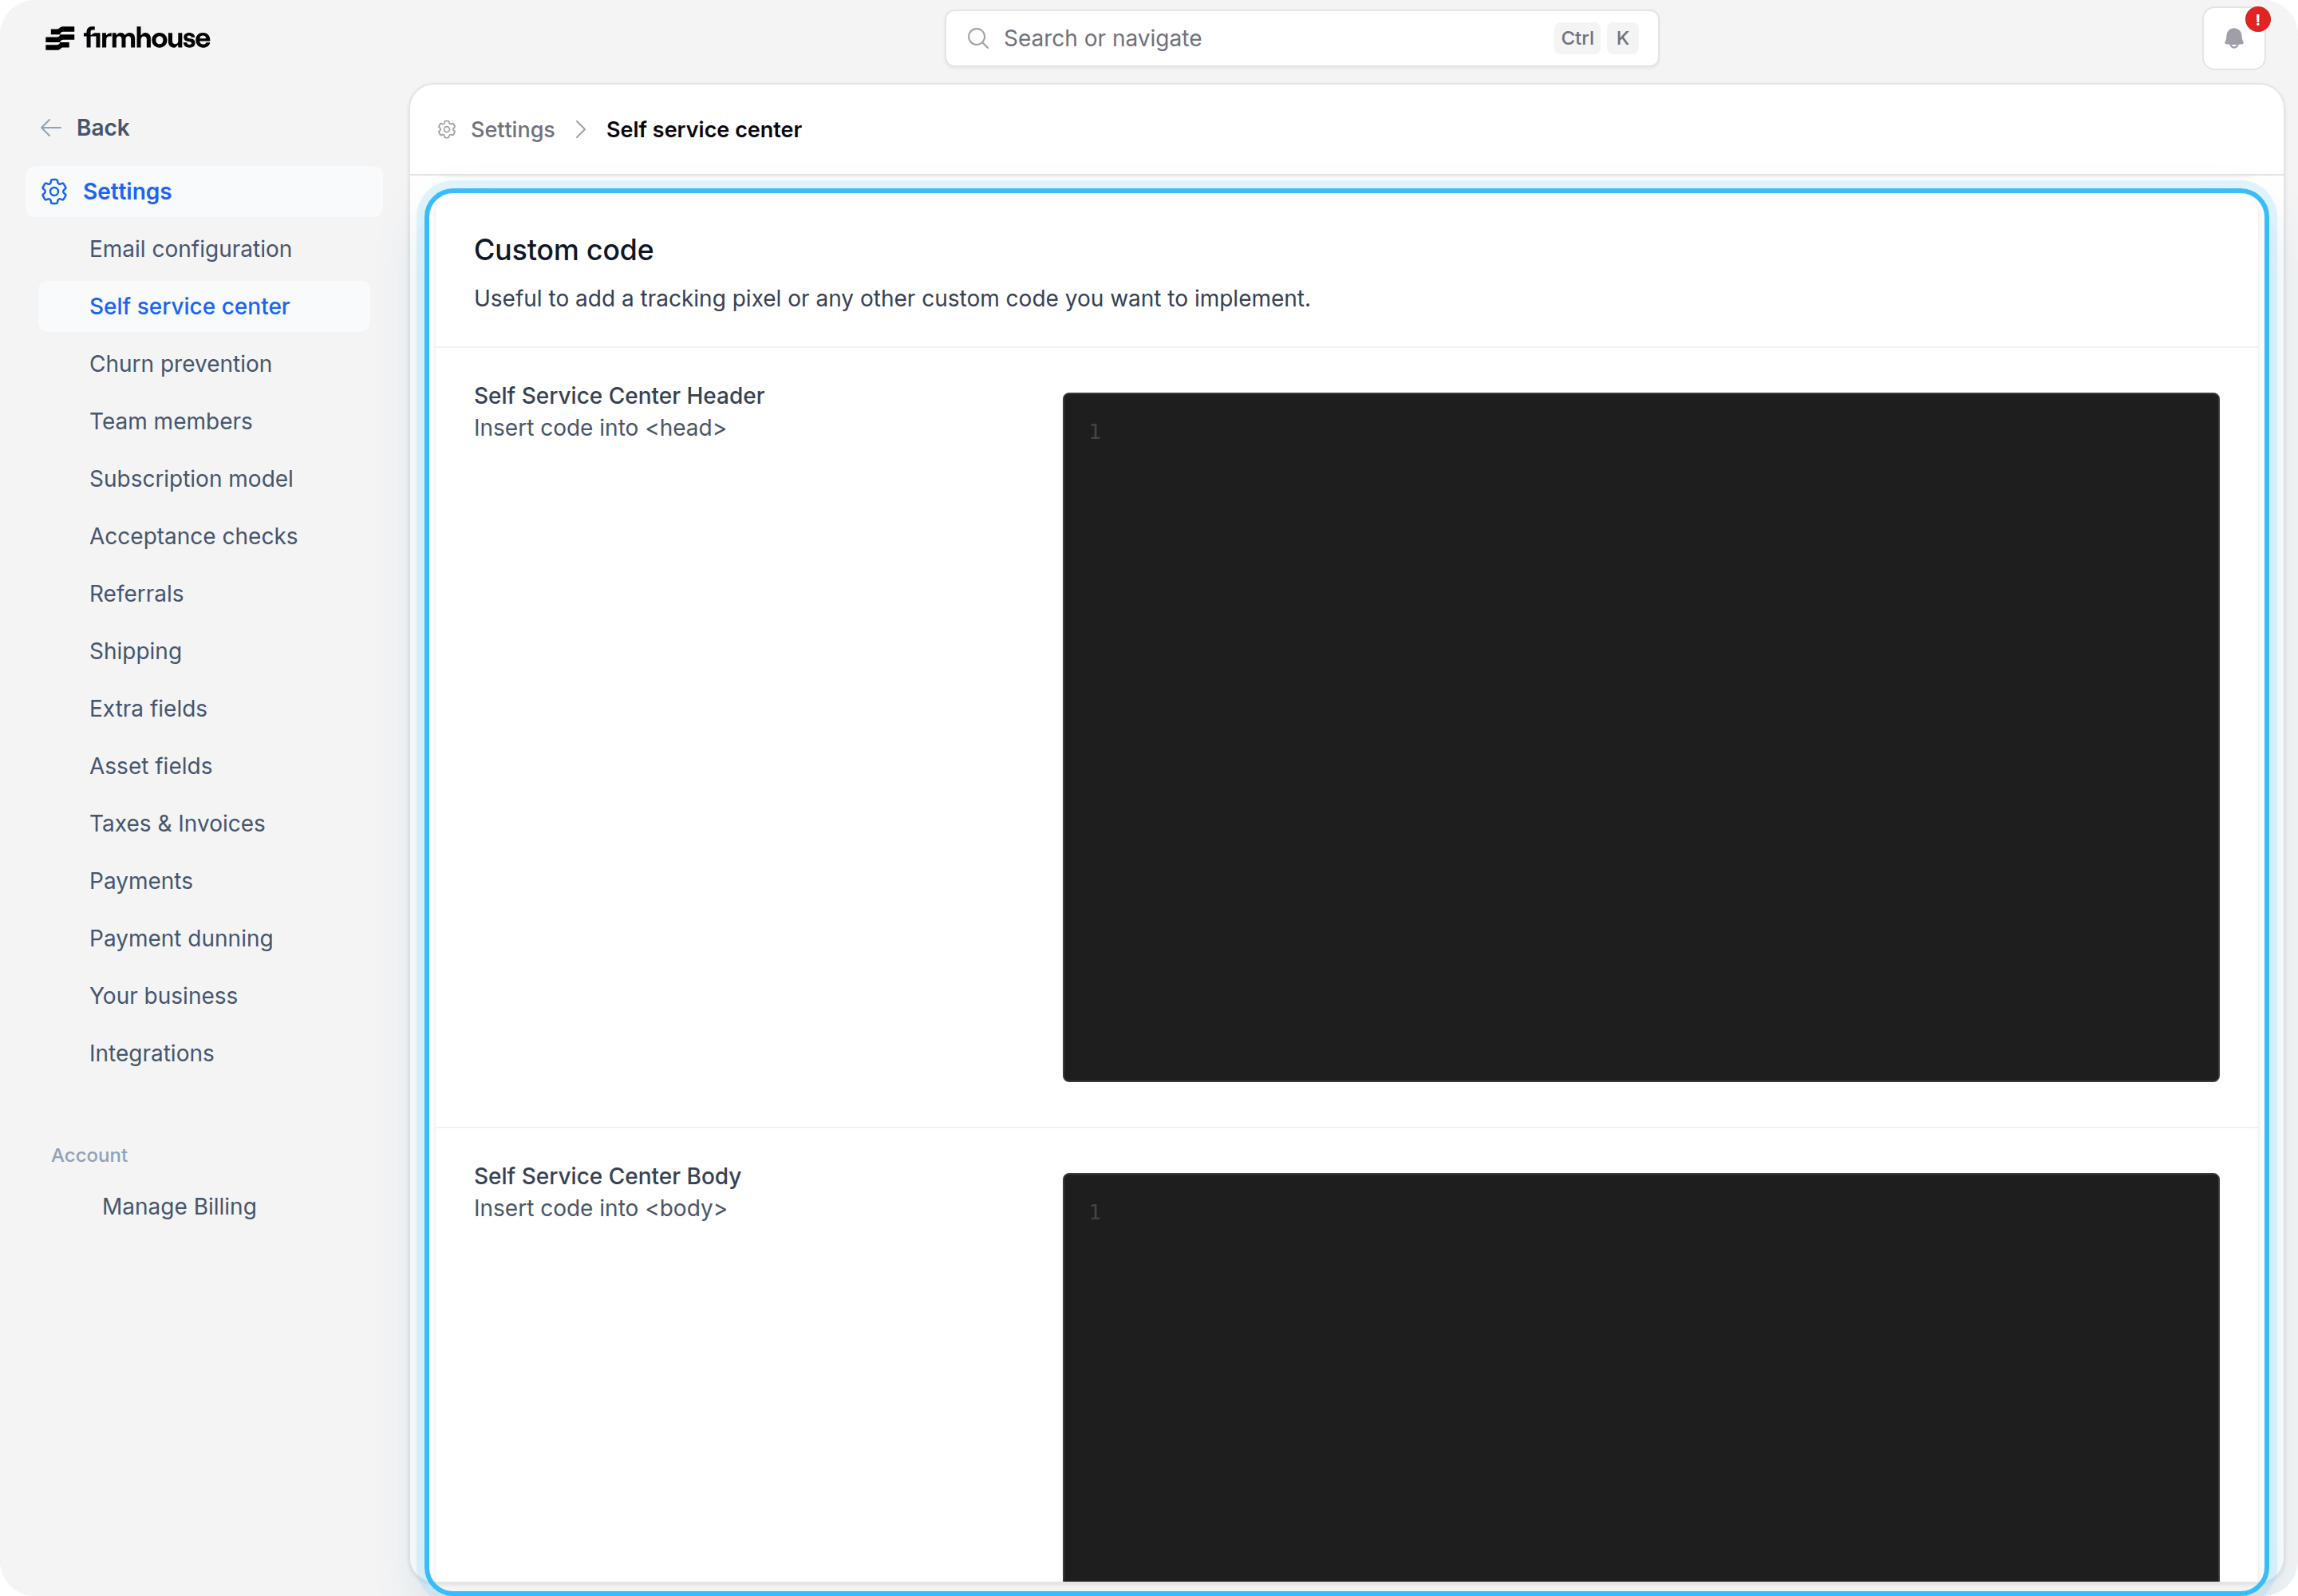
Use these steps for legacy Self Service Center analytics, support widgets, or behavior tracking. Use the Header field for code that must load inside the page<head>, such as tag manager snippets, site verification tags, CSS, consent managers, and scripts that need to initialize early.
Use the Body field for code that must load inside the page <body>, such as fallback snippets, noscript snippets, event snippets, widgets, and tracking code that should run after the page starts rendering.
Follow the instructions from your tracking tool. If the tool provides two snippets, add each snippet to the matching field.
Steps
- In your Firmhouse project, go to Settings > Self Service Center.
- Scroll to the Custom code section.
- Paste code that must load in
<head>into the Self Service Center Header field. - Paste code that must load in
<body>into the Self Service Center Body field. - Click Update project.
- Open the Self Service Center and confirm that the script loads.
Add scripts to Firmhouse Checkout
Use these steps for checkout analytics, Google Tag Manager, Google Analytics, Google pixels, and purchase tracking pixels.Steps
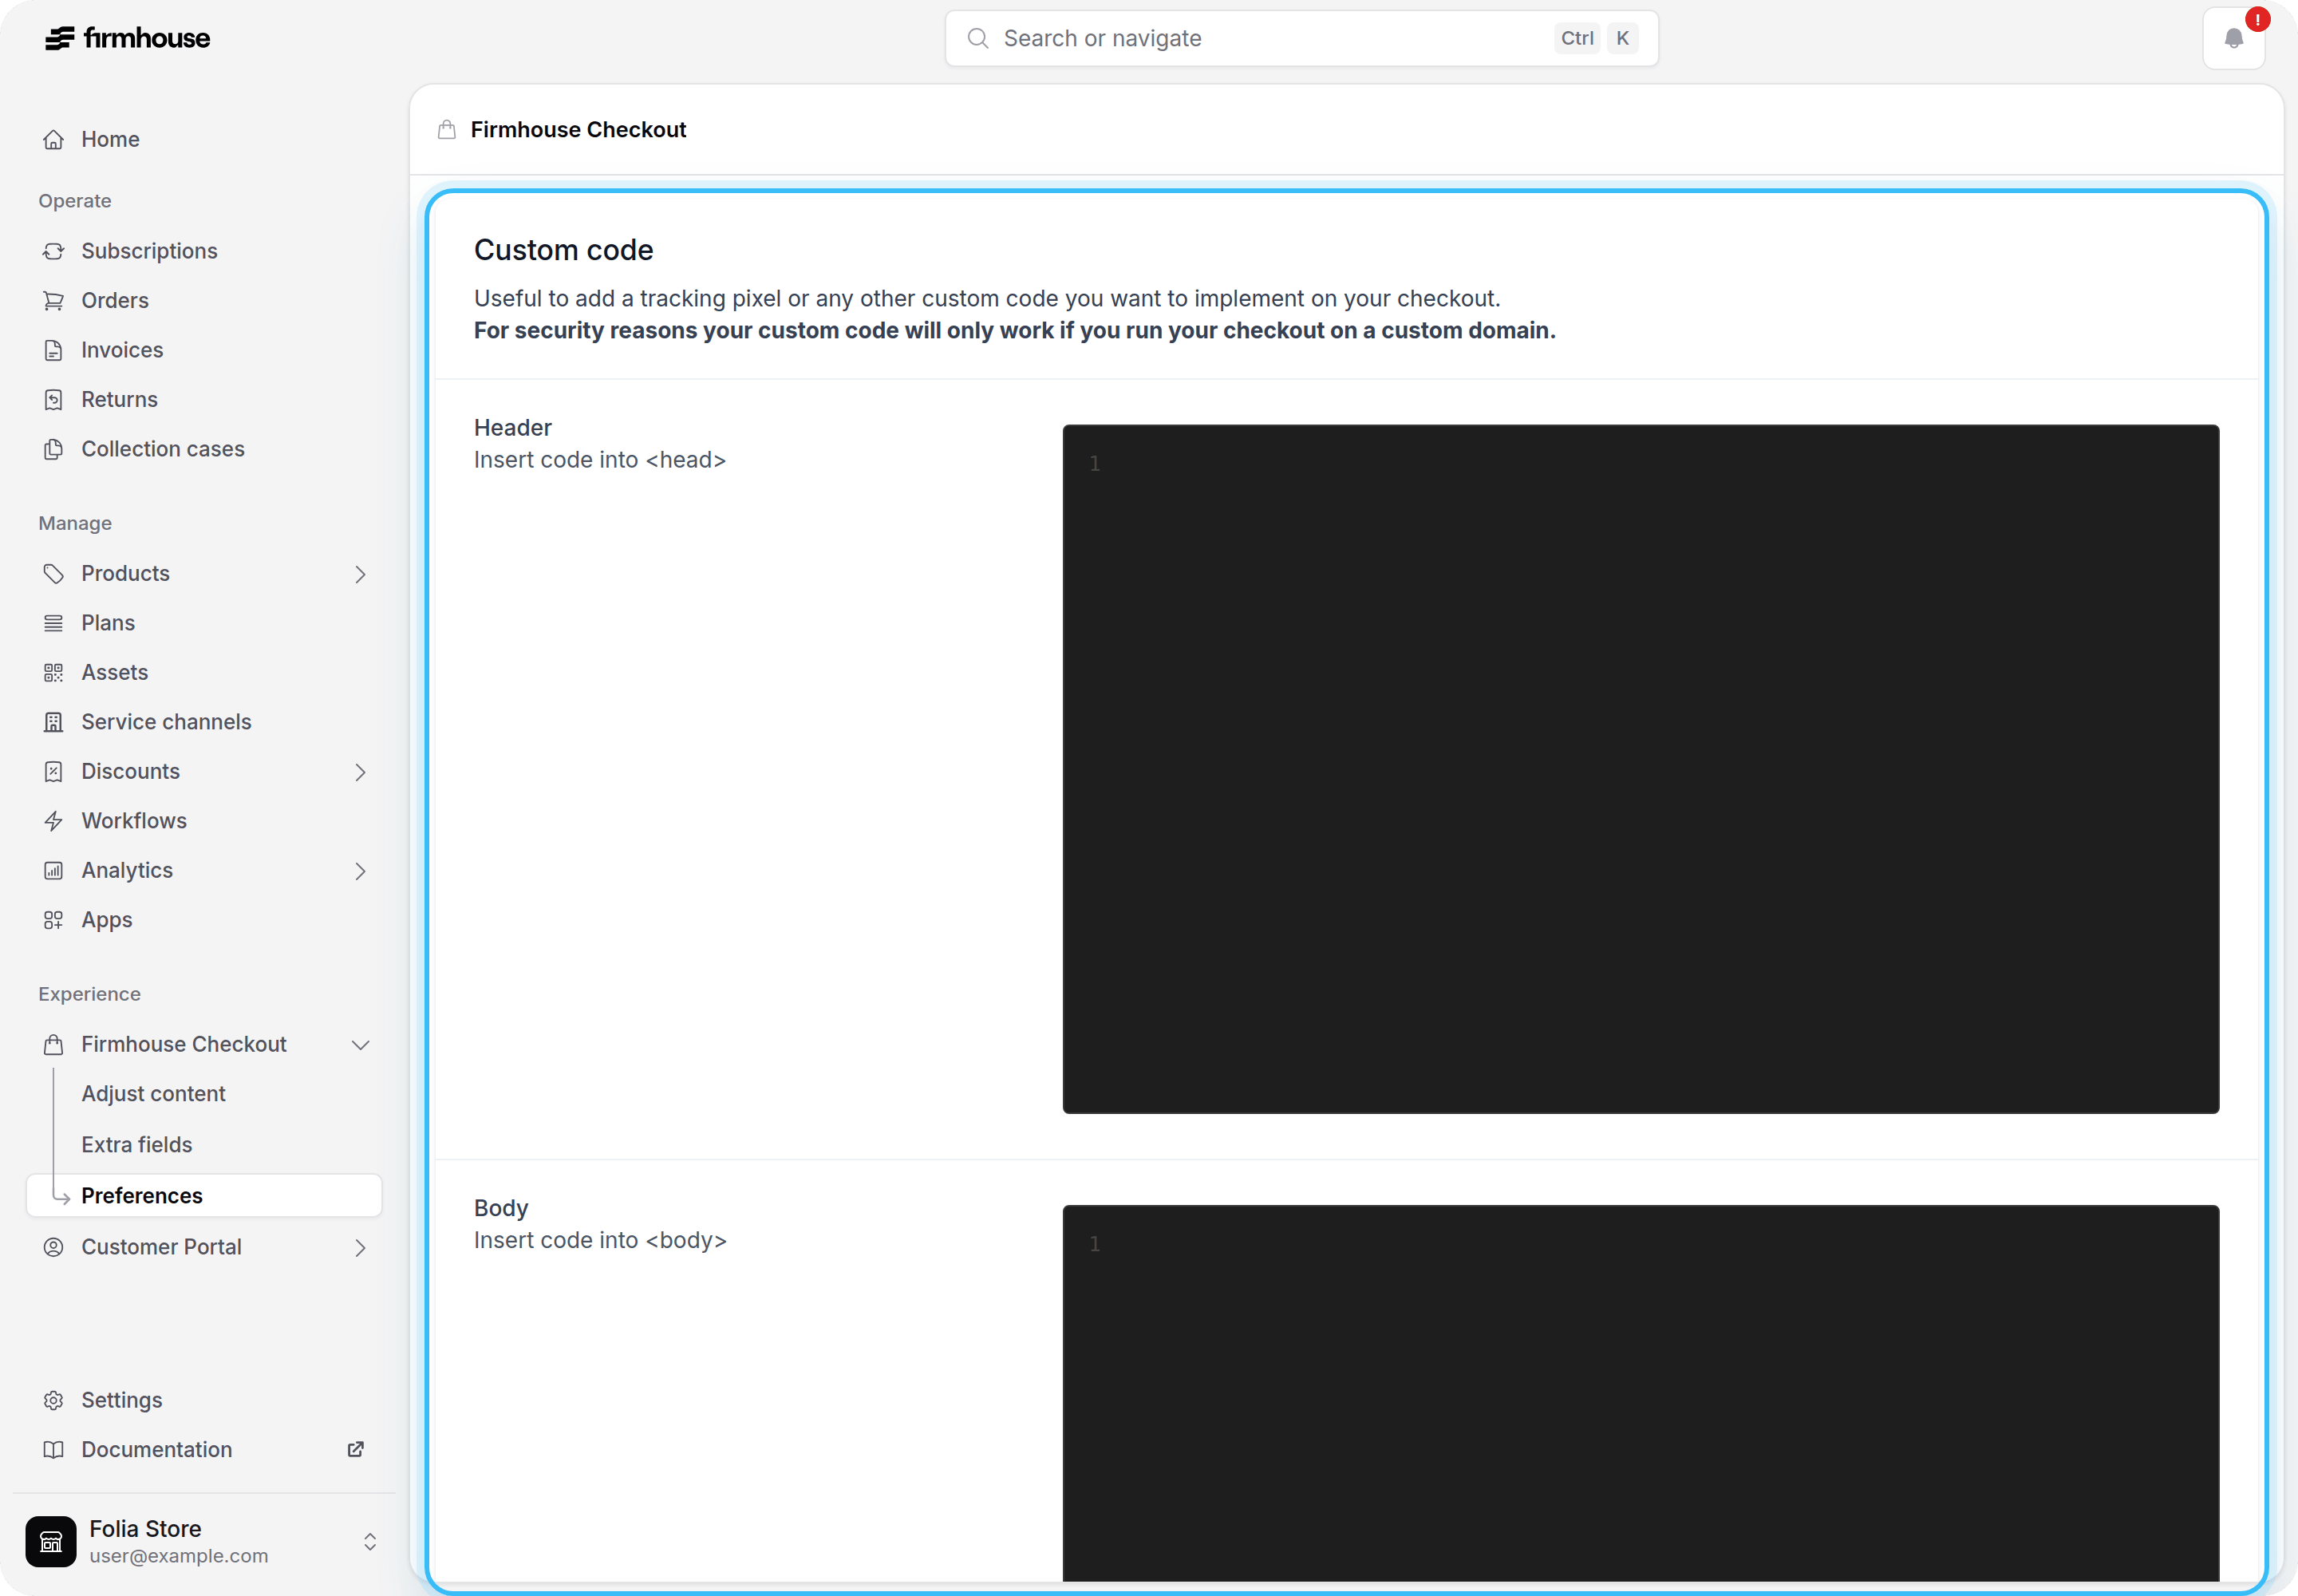
- In your Firmhouse project, go to Firmhouse Checkout > Preferences.
- Scroll to the Custom code section.
- Paste code that must load in
<head>into the Header field. - Paste code that must load in
<body>into the Body field. - Click Update project.
- Open a checkout page on your custom domain and confirm that the script loads.
GTM-XXXX with your actual Google Tag Manager container ID or replace a sample Google Analytics measurement ID with your own ID.
Update or remove existing tracking pixels
Update a tracking pixel when your tracking tool gives you a new snippet, account ID, container ID, or event setup. Remove scripts that are no longer used, duplicated, or causing issues.Steps
- Go to the settings page where the pixel is installed:
- Customer Portal > Templates for Customer Portal scripts
- Settings > Self Service Center for legacy Self Service Center scripts
- Firmhouse Checkout > Preferences for checkout scripts
- Find the existing script in the relevant template or Header or Body field.
- To update the pixel, replace the old snippet, ID, or event code with the new version.
- To remove the pixel, delete the snippet from the template or field.
- Save or update the change.
- Open the affected page and confirm that the pixel was updated or removed.
Best practices
- Use a tag manager when possible, so most tracking changes can be managed outside Firmhouse.
- Keep scripts short and only load tools you actively use.
- Avoid duplicate pixels. Loading the same pixel twice can create duplicate events and incorrect reporting.
- Test scripts on a real Customer Portal, Self Service Center, or checkout page after every change.
- Respect consent and privacy requirements for the countries where you operate.
- Do not paste scripts from unknown sources.
- Keep a record of which tools are installed and where they are installed.
- Review custom code after changing domains, checkout settings, or tracking tool configuration.