Overview
Follow these steps to create a checkout page:- Create a product or a plan
- Customise your checkout page
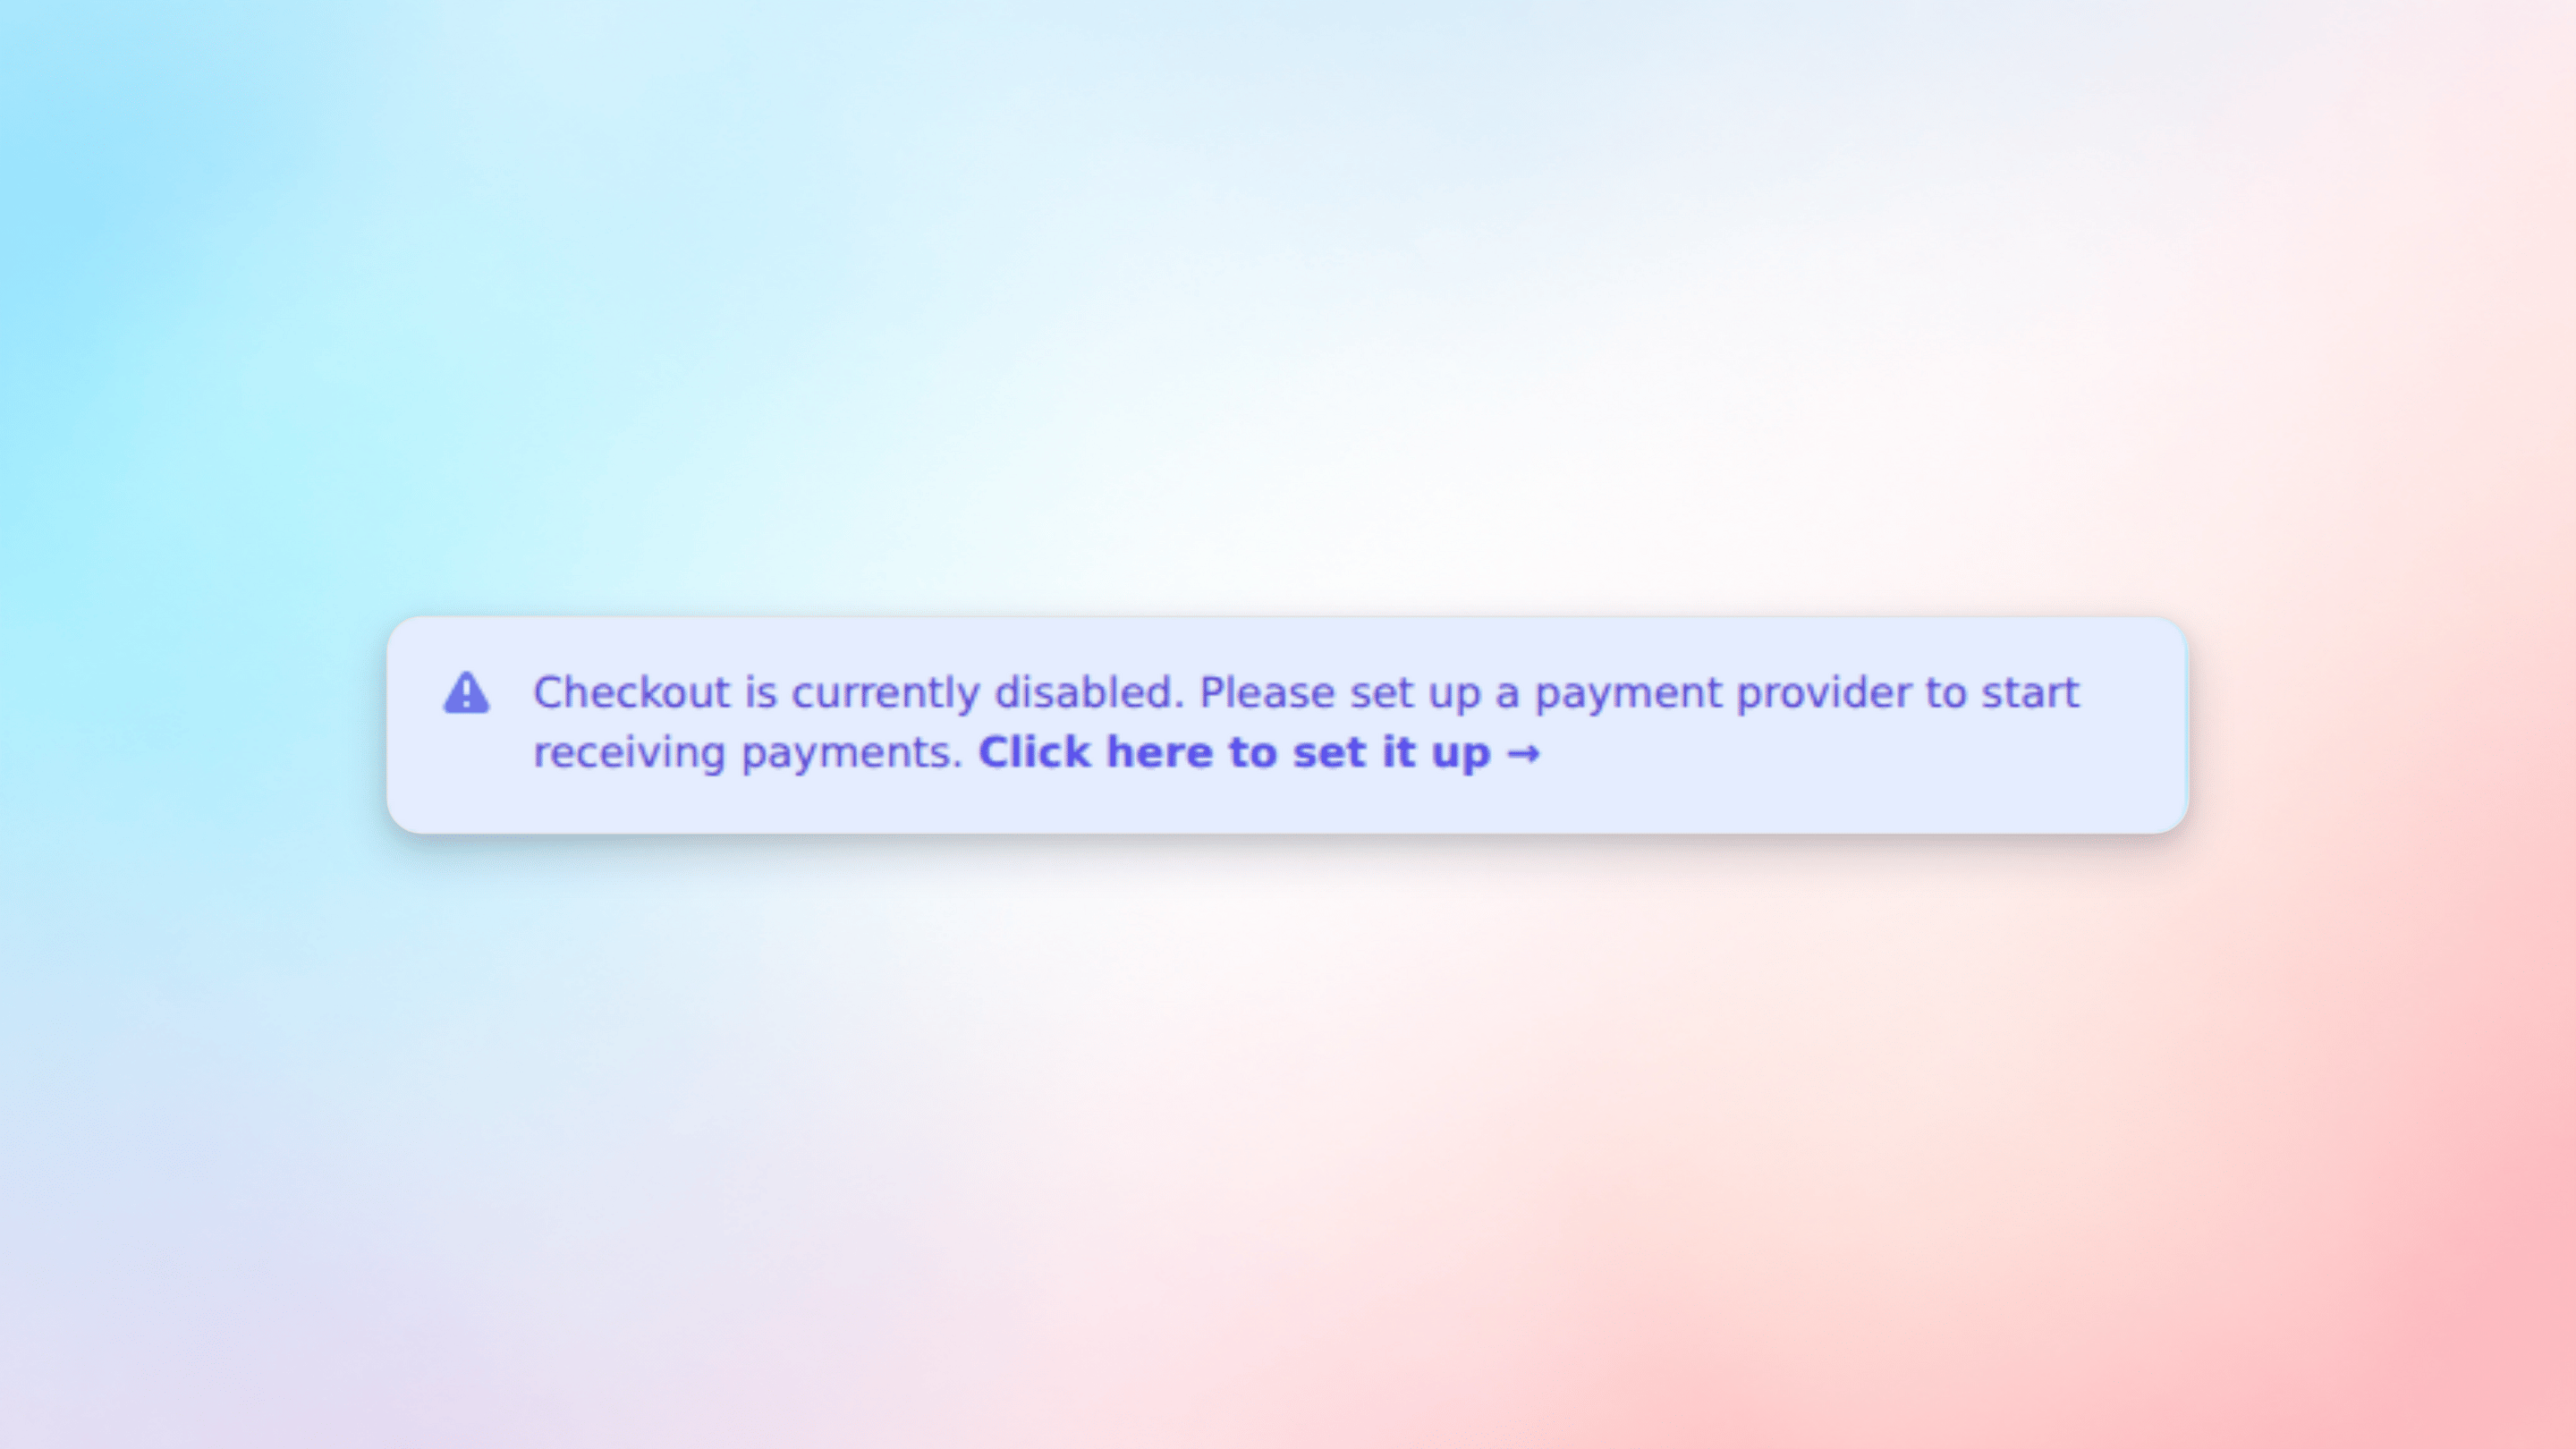
- Configure a payment provider
Step 1: Create a product or a plan
First you need to create a product or a plan that your customers can subscribe to. Firmhouse then automatically generates a payment page that you can link to from your webshop. Once you created a product or plan you can preview its payment page by clicking on “View checkout page” next to it.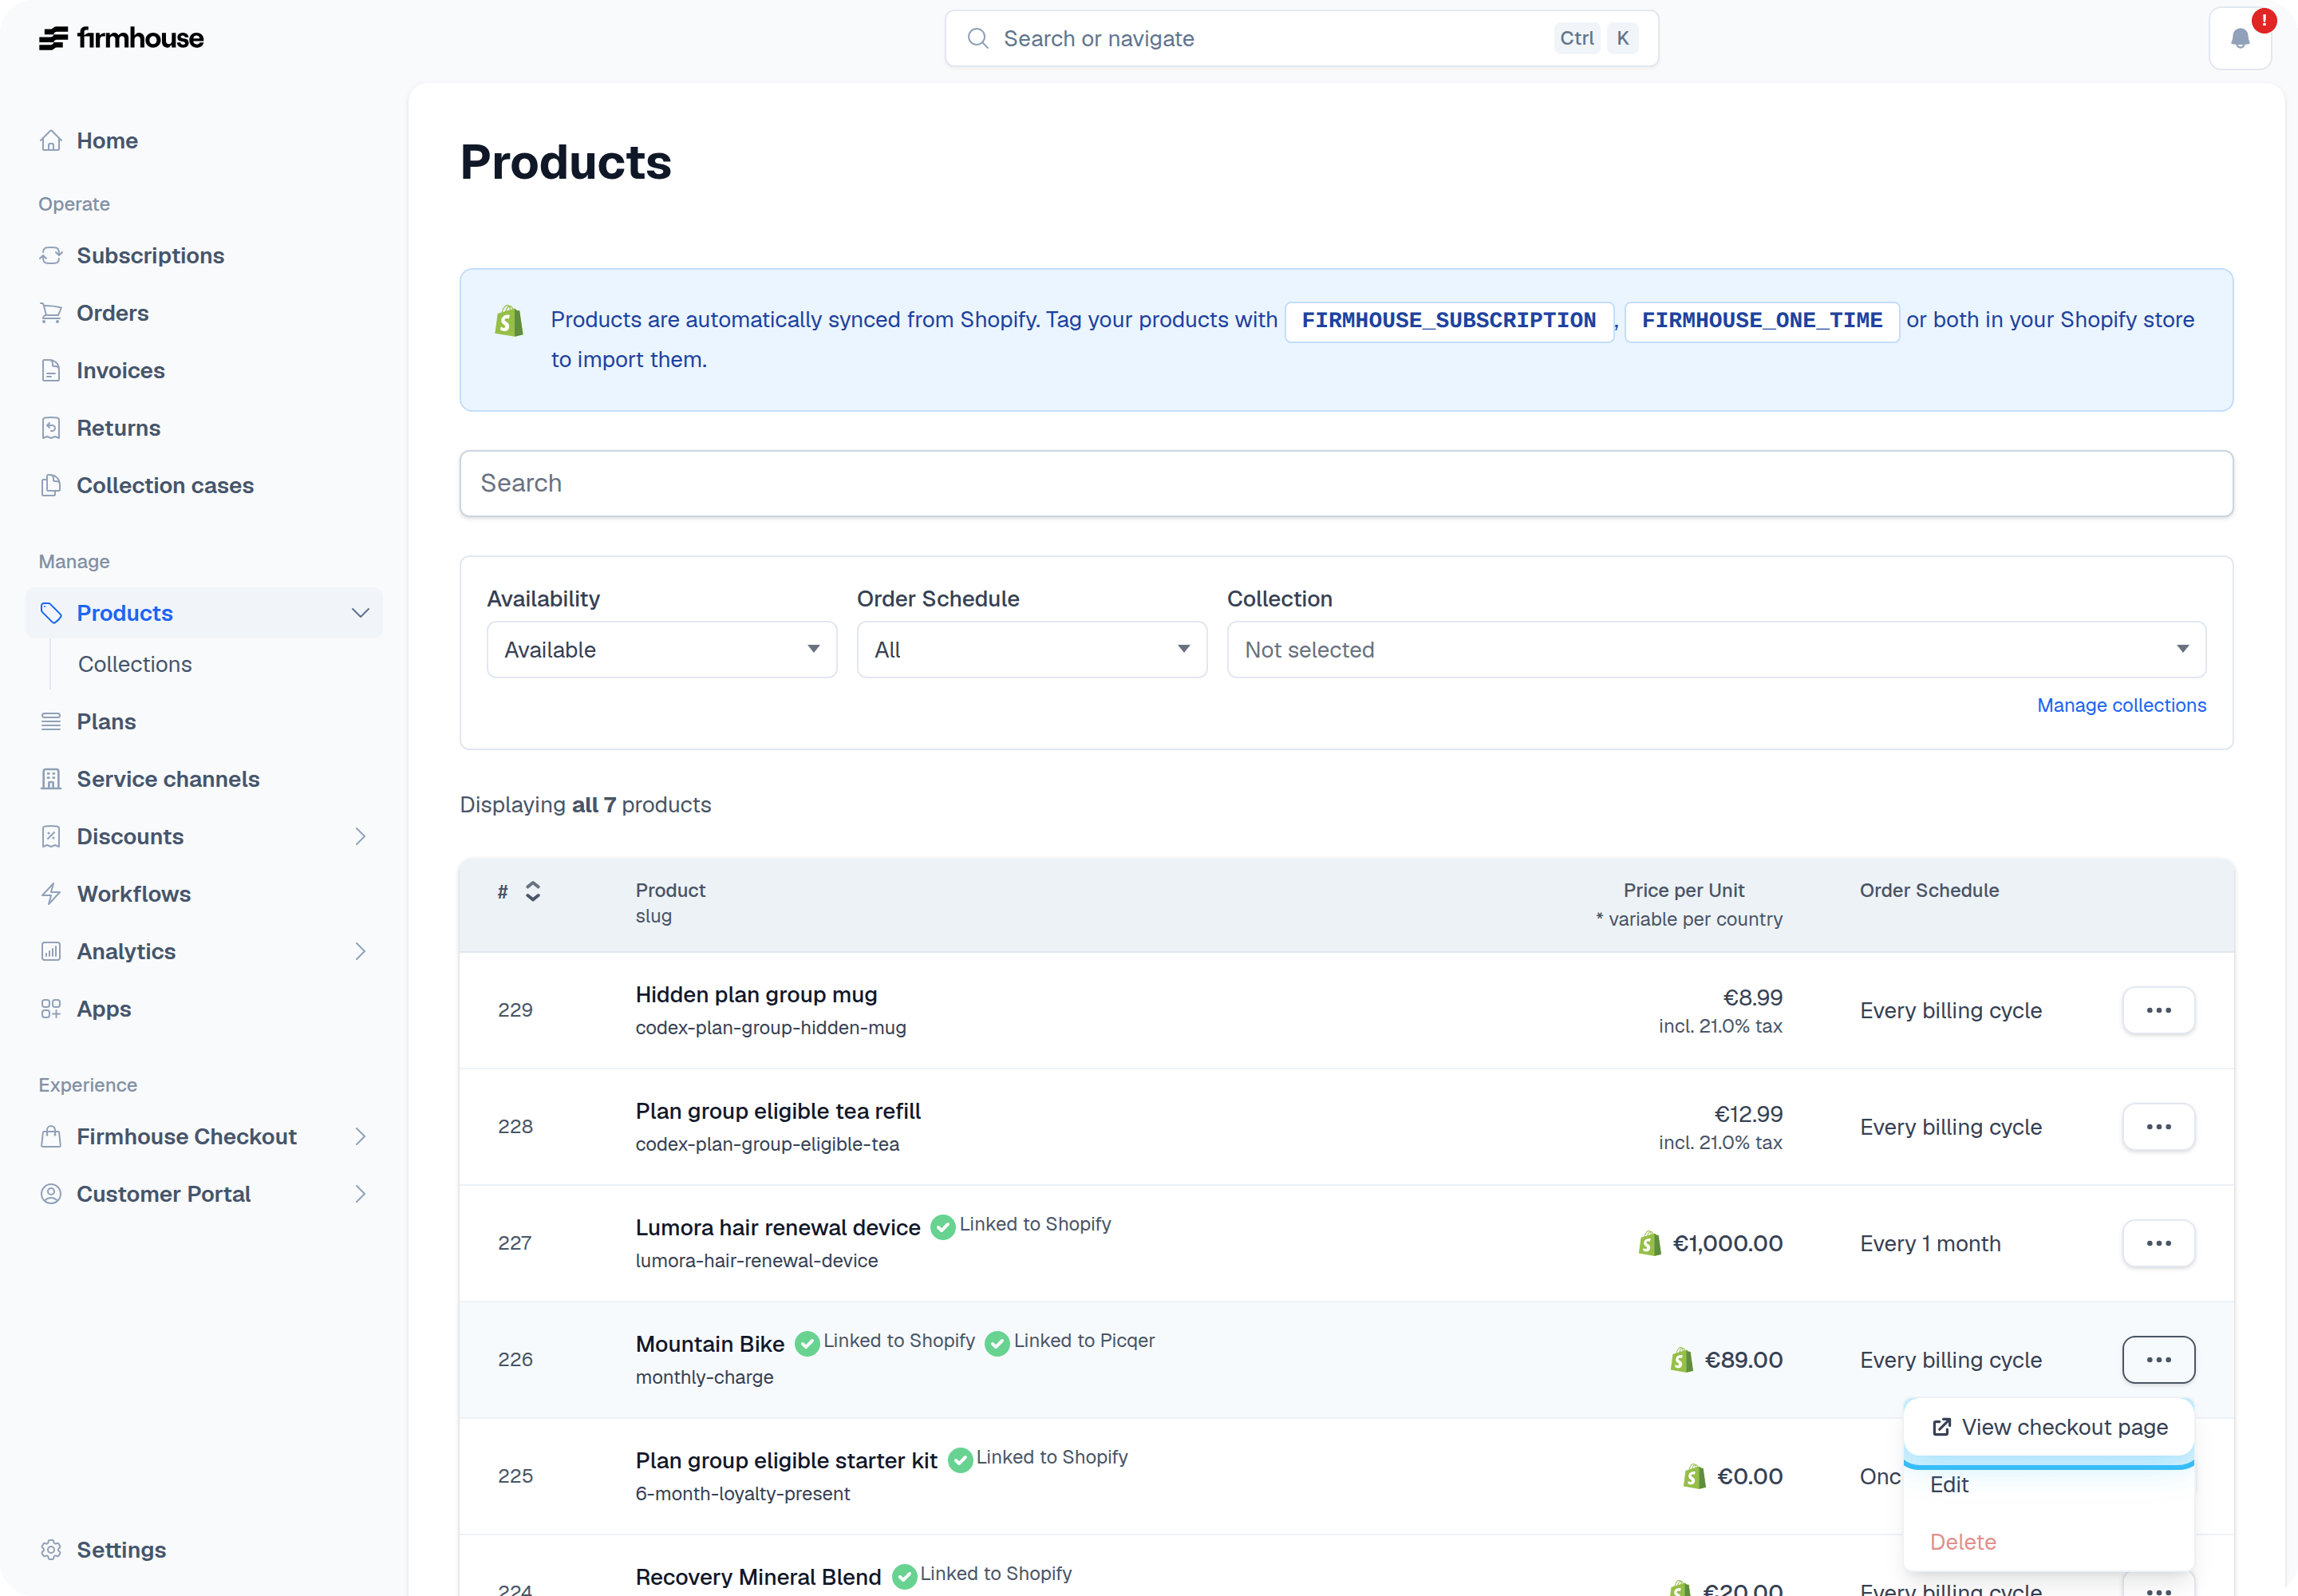
Pro tip: You can also create checkout pages that combine different products and plans.
Step 2: Customise your checkout page
You are able to customise the text, your brand, and add additional form fields.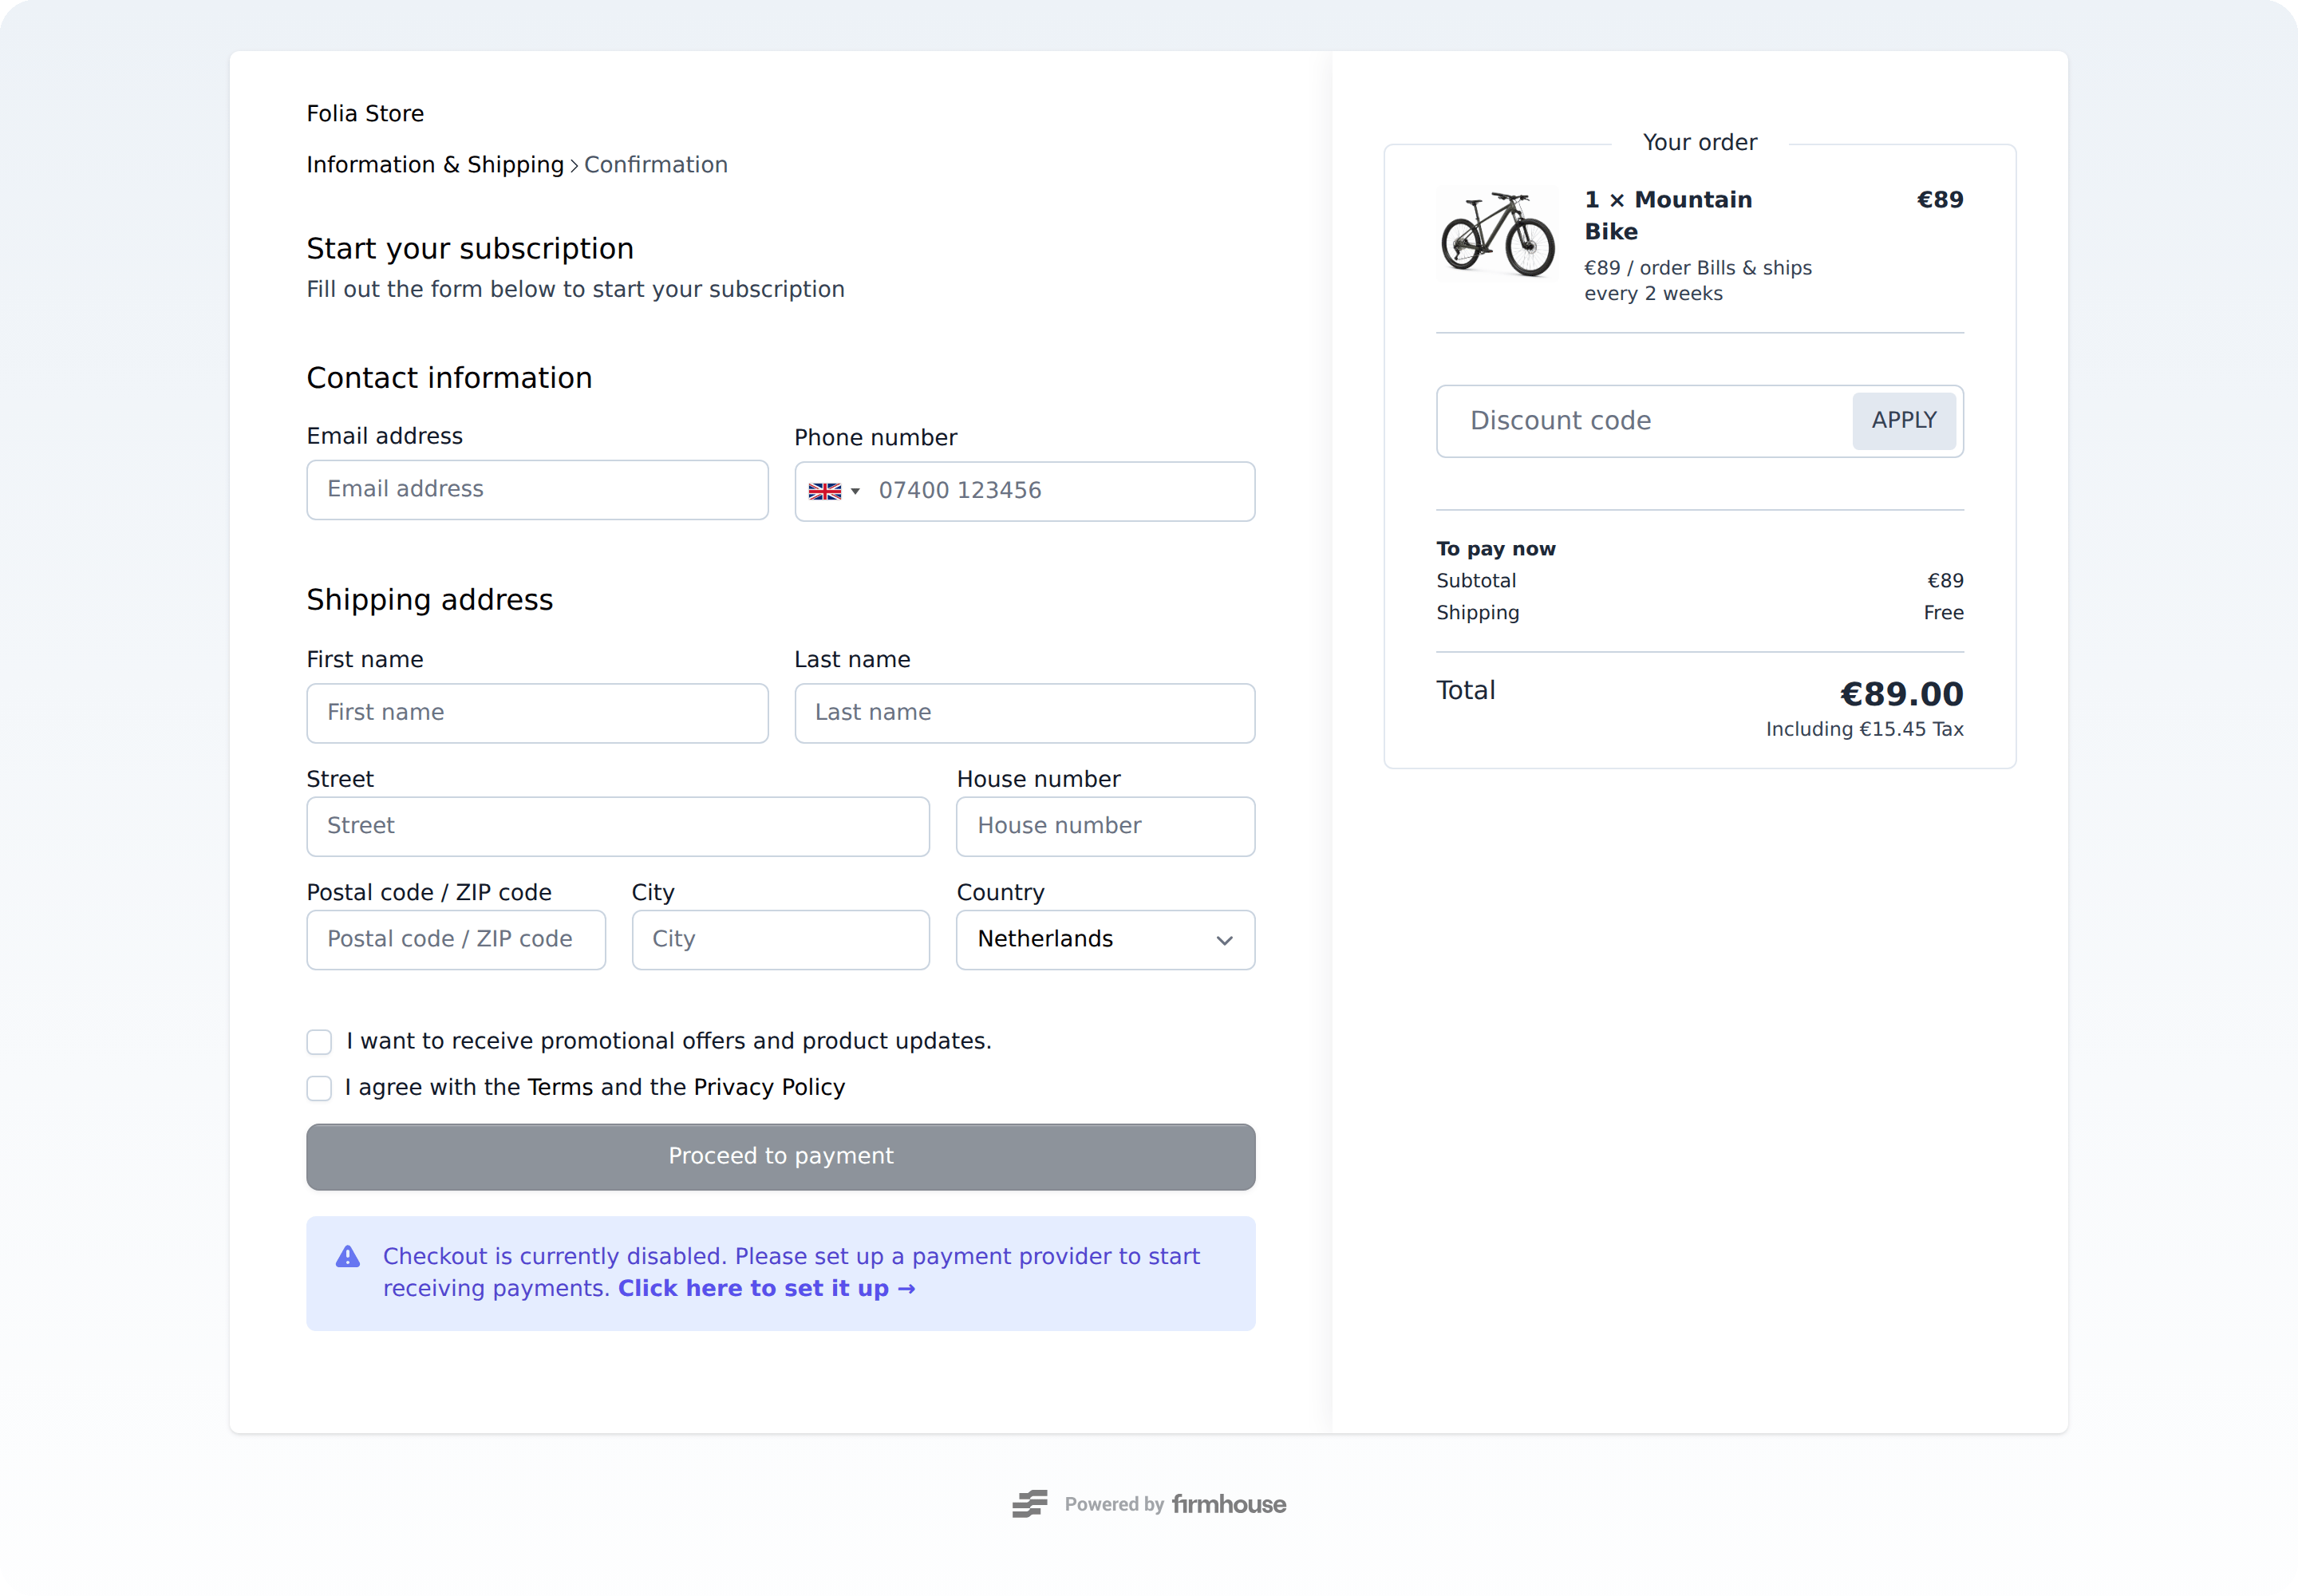
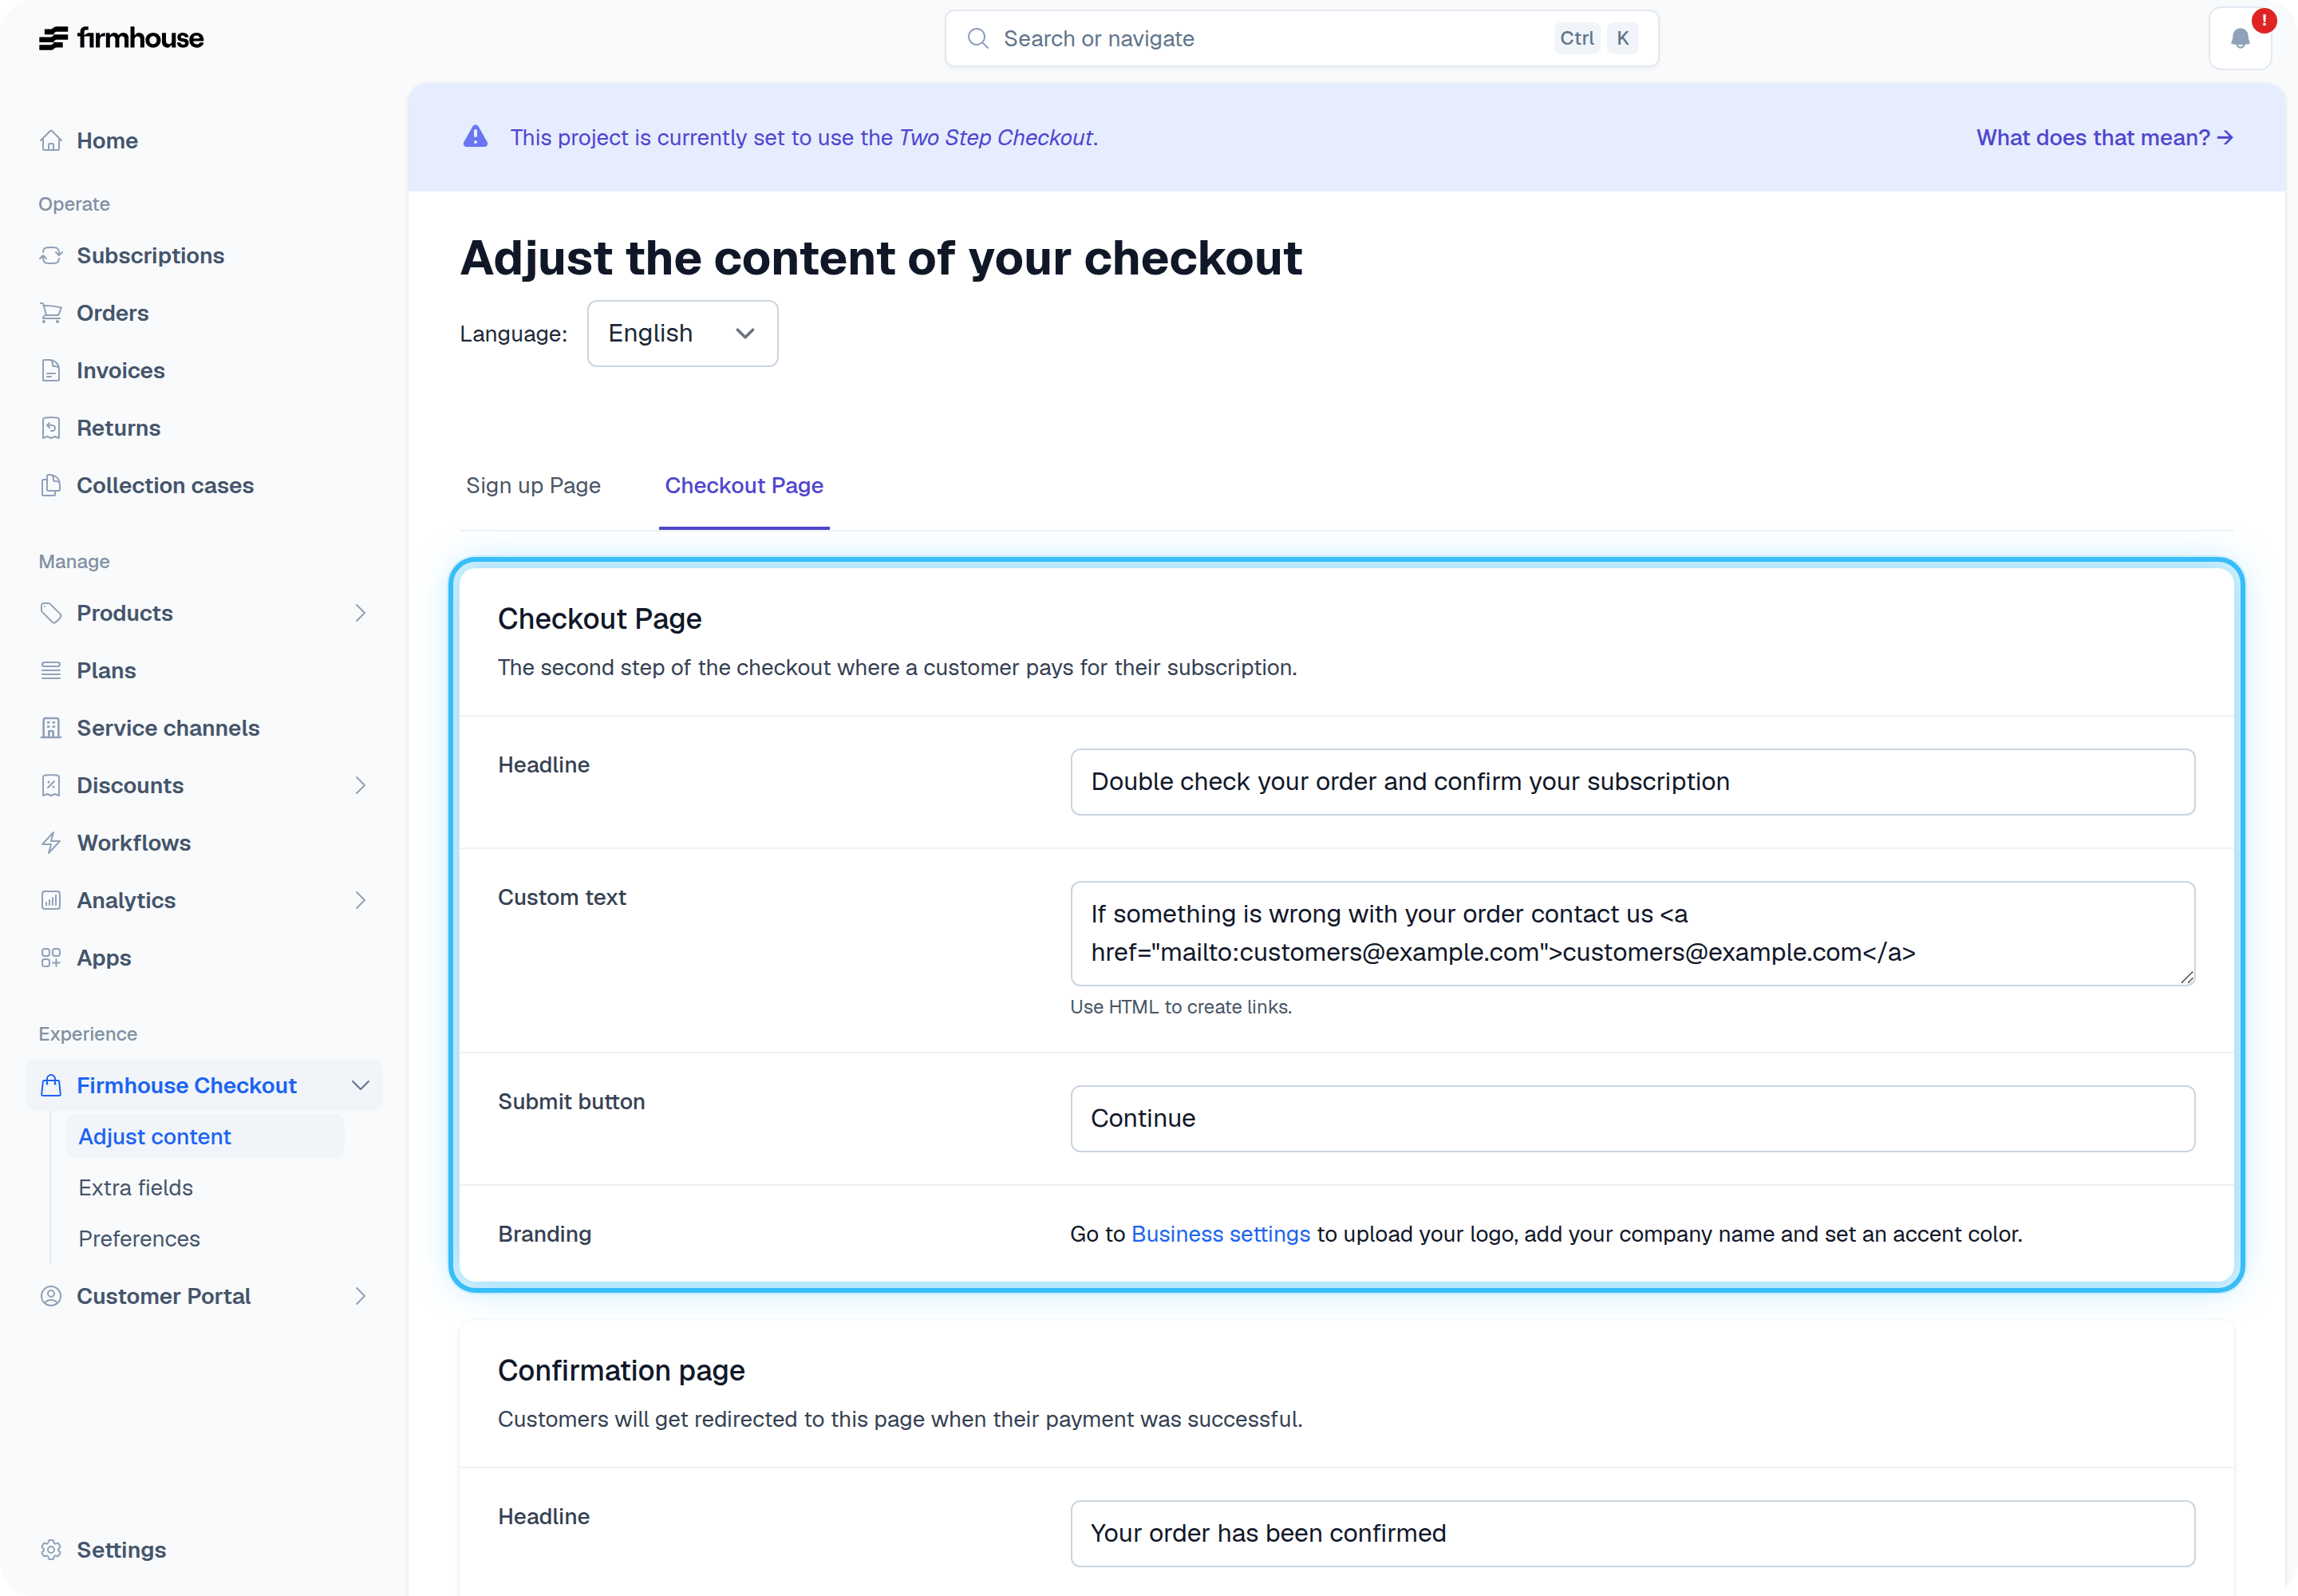
- Adjust copy such as headlines and a customised confirmation message
- Customise the appearance by adding a logo and setting an accent color
- Link to your terms and conditions
Extra fields
If you need more form fields you can go to Checkout Flow > Extra fields & validation. This can be useful if you need to collect additional details from your customer, like their date of birth or their driver’s license number, for example. See Extra Fields for more information.Analytics and tracking
You can track visits, conversions, and other metrics in your checkout flow by using a tag manager. See Add analytics and tracking scripts to Firmhouse Checkout for setup instructions.Custom domain
Get in touch with us to run your checkout flow or Self Service Center on a custom domain. Available on all plans. Firmhouse support will provide the DNS record that needs to be added for your domain, usually aCNAME record. After you add the record in your DNS provider, let us know so we can link the domain to the correct project.
If you want separate domains for production and testing environments, use separate subdomains for each project. For example:
subscriptions.example.comfor your production projectuat-subscriptions.example.comfor your UAT or test project
/uat when you need the test environment to match your production URL structure. A separate subdomain keeps the path structure the same across environments.
Step 3: Configure a payment provider
You’re almost ready to collect payments. The last step is to configure a payment provider. Follow the link at the bottom of your payment page and set up your payment provider.